

by Jared H.
If you’ve had a chance to try out the 16+ Hand Lettering Kit we introduced back in April, you’ll know that making wax seals is a pretty simple process. What you may not know is that in addition to customizing the color and design of the stamp, there are various other techniques and materials that can be used to customize your stamps even further. To help open those possibilities, we’ve added a couple of new things to the kit.
What’s New?
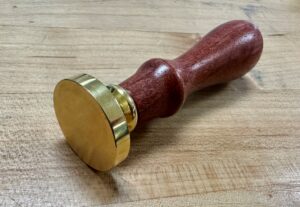
New in the kit: a 1″ blank seal

New in the kit: a 1″ circle paper punch
Different Techniques
Using Paper
Either bring in your own printed design or find something you like on the collage cart in Ignite. Use the 1” hole punch to cut your circle and place it on top of the melted wax just before pressing with the blank seal.
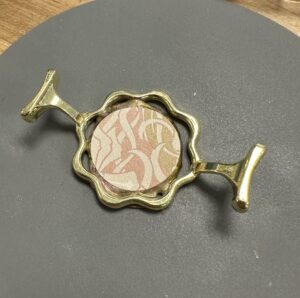
Place your patterned paper onto the hot wax before pressing it.
Layering colors
If you want the background/edge of the seal to be a completely different color, pour one color of wax and stamp it with the blank seal. Next, prepare the color of wax you want for the design. You’ll need less wax for this second layer than you did for the first layer since you don’t need the wax to spill out of the edge this time. Pour the wax onto the flat blank seal and stamp your desired design. The heat of the wax should melt the first layer just enough to fuse the two together.
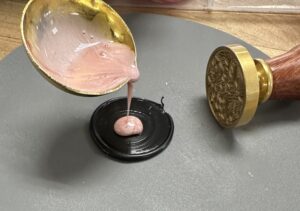
Pour your second color of wax onto an already pressed flat blank seal.
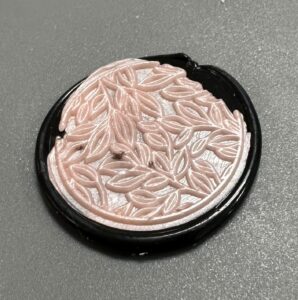
Layer your wax colors to get a variety of options.
Use other additives (not included in kit)
Another great way to customize your seals is to add other elements; for example, dried flowers. Dried flowers can be used in a few different ways.
One way is very similar to adding the paper circle: drop the dried flower onto the wax just before pressing it with the 1″ blank stamp.
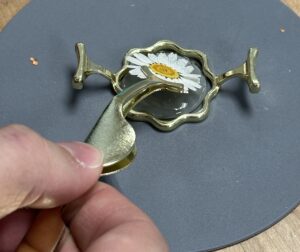
A dried flower being placed onto hot wax.
Alternatively, you could add a floral decoration behind a wax seal instead. This method will require just a little more wax than you typically would in order to hold the florals to the envelope. Pour the wax directly onto the floral stems and press after as you typically would.
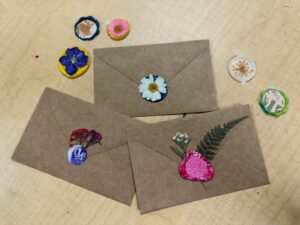
A variety of decorated wax seals.
I hope this inspires you to try out different methods of decorating your letters and gifts! Help inspire others by sharing your creations on the Ignite Community Discussion Board. Check out our previous blog on the kit here. Happy Making!
