by Corey D.
Hello Ignite Makers! It’s been nearly half a year of creating in the Maker Lab. Its been so exciting to see so many people getting certified to use our machines! As we make samples when training patrons on each of our machines, this has given us a mountain of materials leftover from our Certification sessions. I’ve been inspired to dive headfirst into an upcycling project that can be completed here in the Lab.
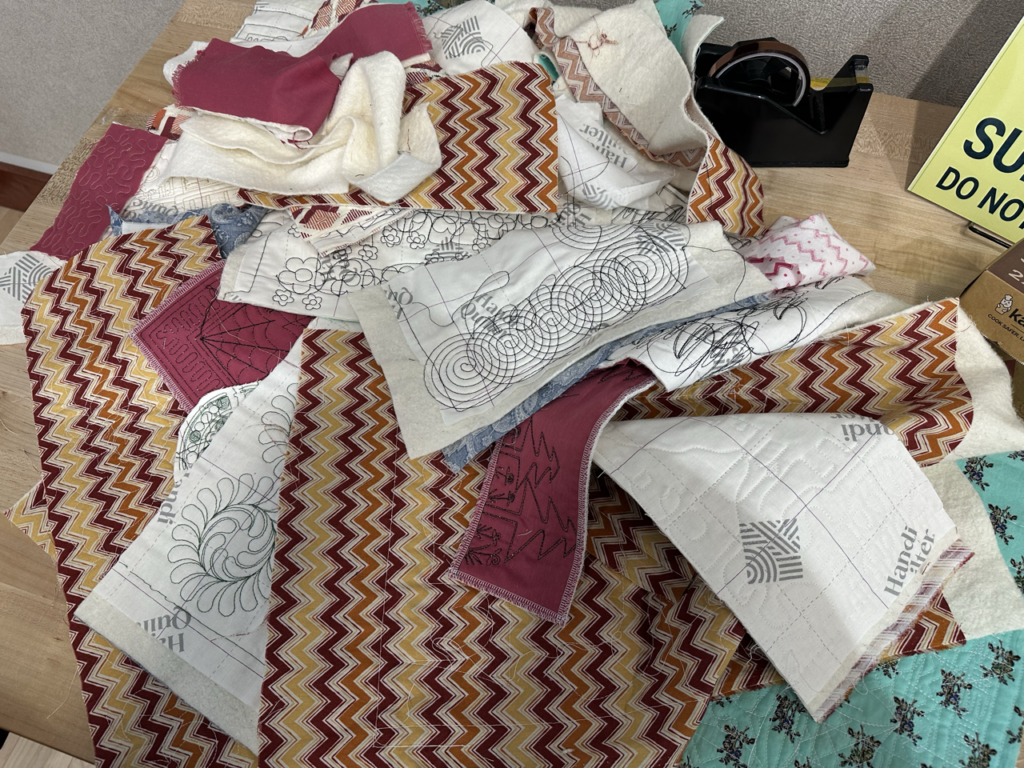
There are too many fun stitch designs and fabric patterns here amongst our sample materials for them to go to waste! In the spirit of quilting, we can take these materials, cut them to size, and piece them back together for all kinds of applications. Say we’ve just picked up a denim jacket at the thrift store. We can personalize it and make it our own with our quilted pieces!
Jacket Back Panel Construction
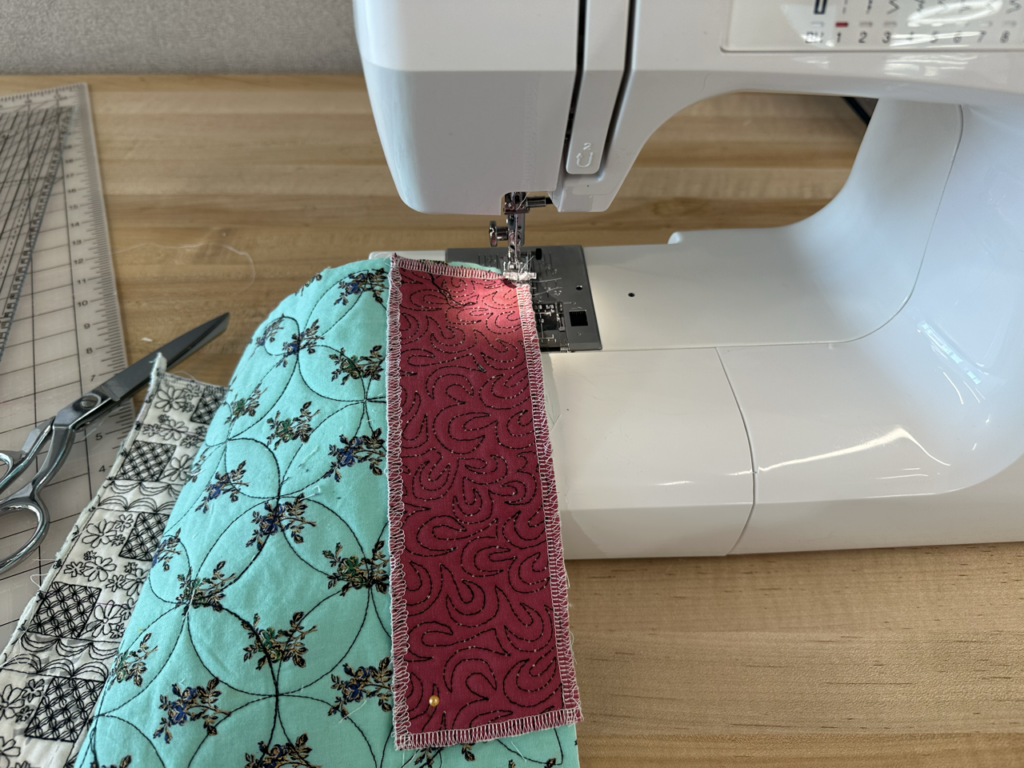
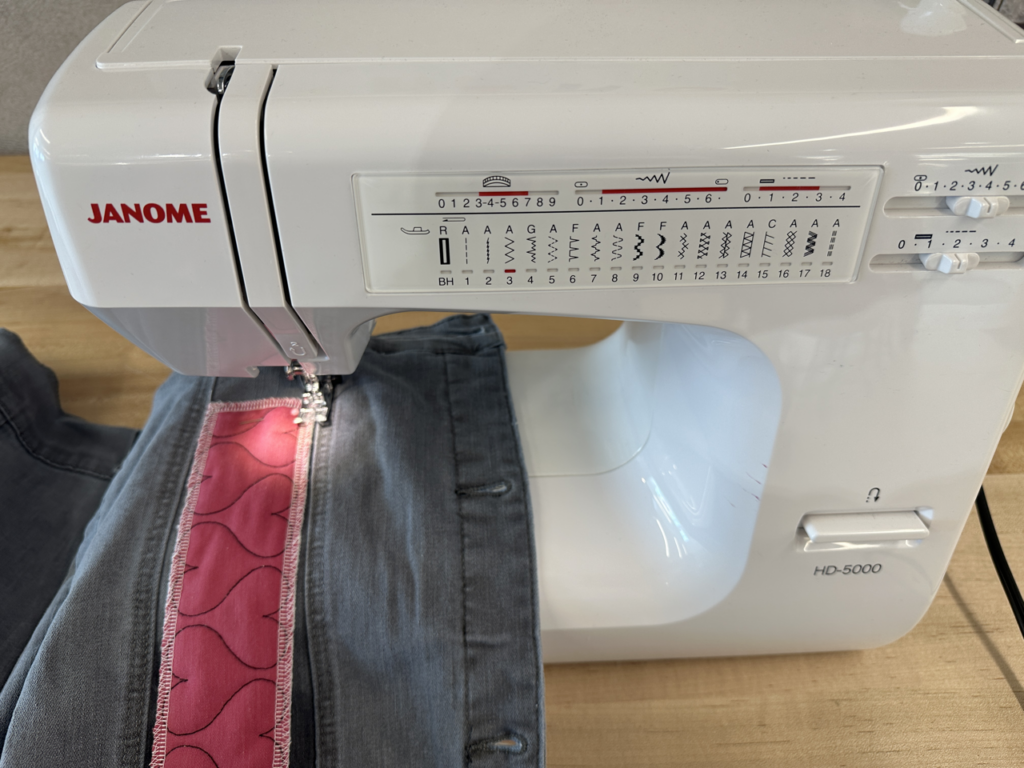
I started by selecting different pieces of quilting samples, and cutting them to size. The Maker Lab has all manner of rulers and cutters to achieve this. There are squares and straight edges, rotary cutters and pinking shears. I’m not the most precise maker in the world, so I eyeballed a lot of my measurements. I think this approach lends itself to the upcycled look too. Next, I bound the pieces them together with simple straight stitches on our Janome Sewing Machine to make a back panel for the jacket. This is a great opportunity to try our Allegro Sewing Machine as well!
The same way we’re using our Book an Expert samples, you might do something similar to repurpose your own practice materials for the Longarm Quilting Machine. This can be a fun way to experiment with free–motion quilting, or combining patterns together in ProStitcher to make new ones. You have a lot of power to mix and match the different patterns in ProStitcher Lite to make something unique to you.
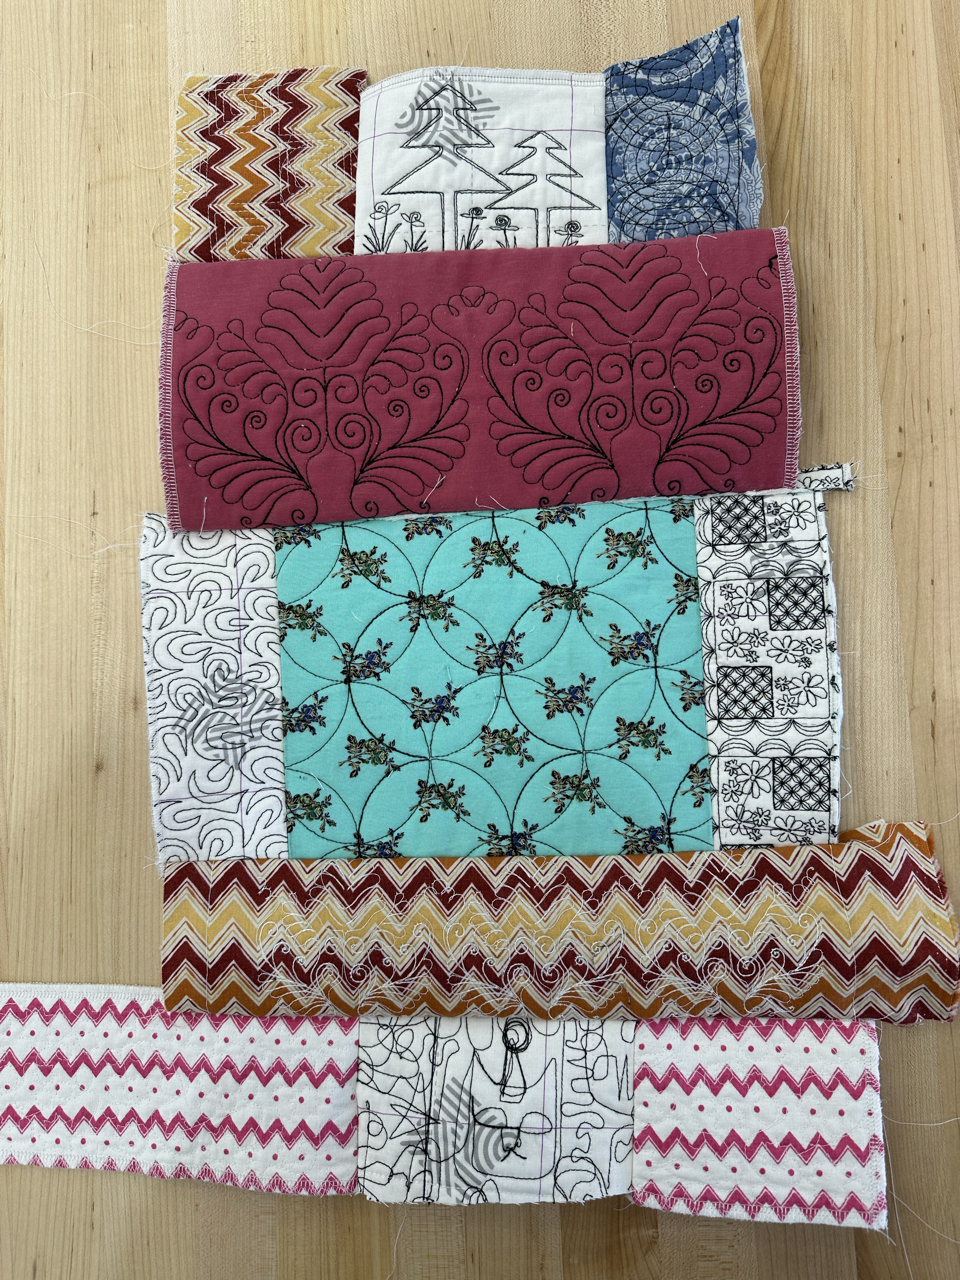
Planning the positioning
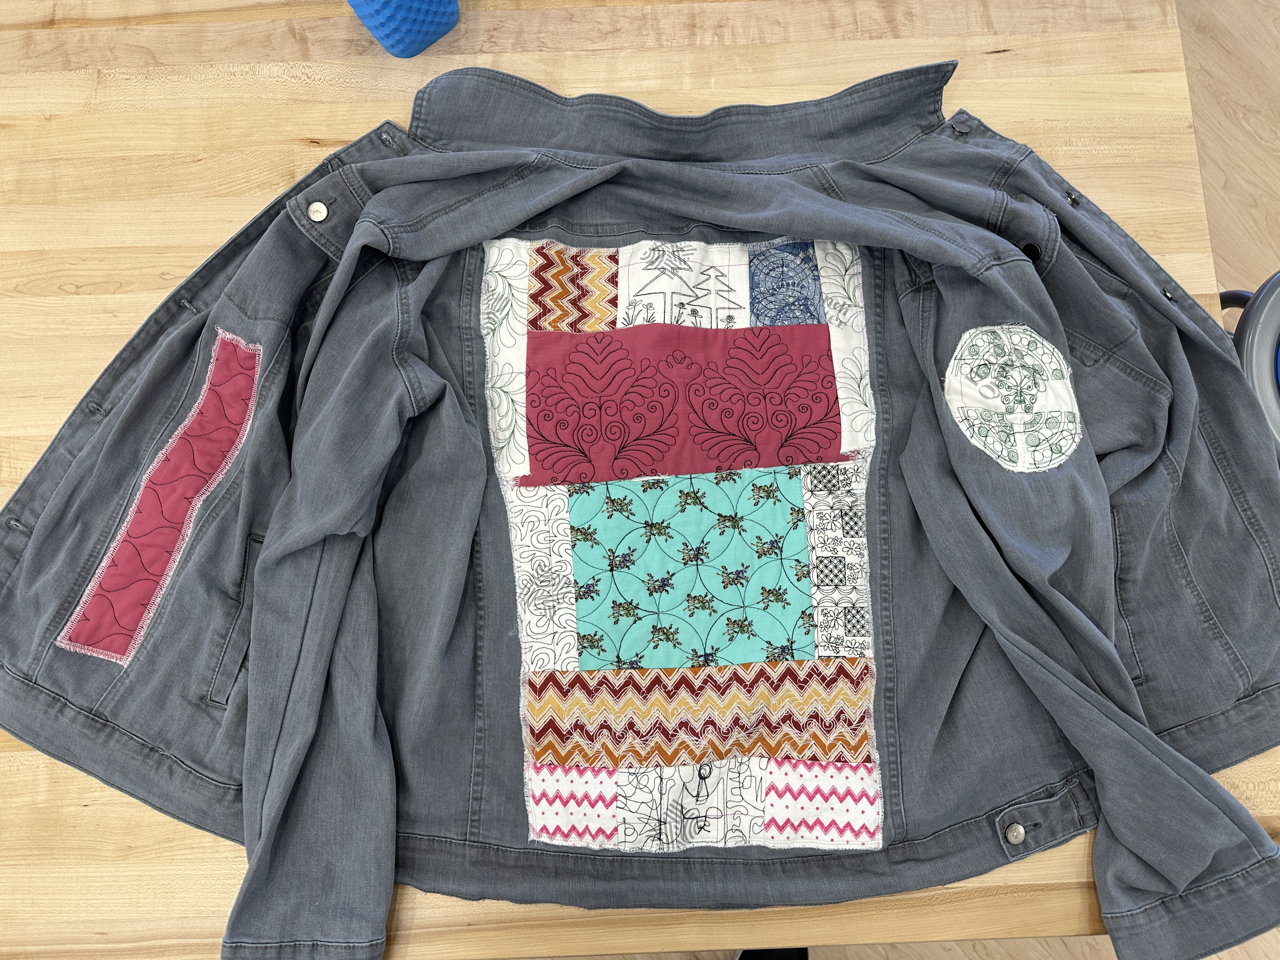
Once trimmed, I’ll add the quilting piece to the back of the jacket as an applique. Jacket panels have a tricky taper to them, so laying your quilted pieces over your fabric and tracing with a washable marker is a good idea to get the right contours. I’ll then use the Triumph Serger to simultaneously trim and finish off the edges with a cover stitch, and it’ll be ready to apply to our jacket!
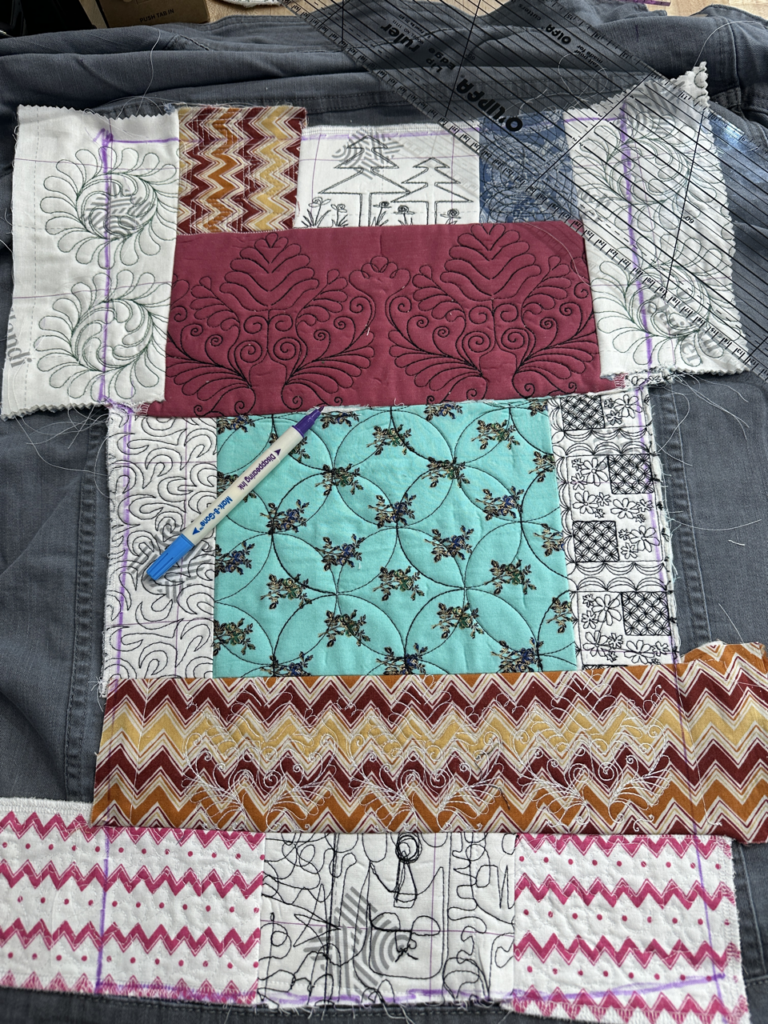
In addition to the back panel, we can use different shapes and sizes of our quilting materials for different embellishments. Those familiar with our embroidery machine might be surprised how the Longarm Quilting Machine can be used for making patches or “painting” with the thread. Or imagine the interesting designs that can happen with using printed fabric from our DTG printer! I used a zig-zag stitch with a longer stitch length around the edges of the applique. That way if we happen to want to rearrange the appliques, or reuse the back panel for a different jacket, we can more easily remove the stitches.
Finished Jacket
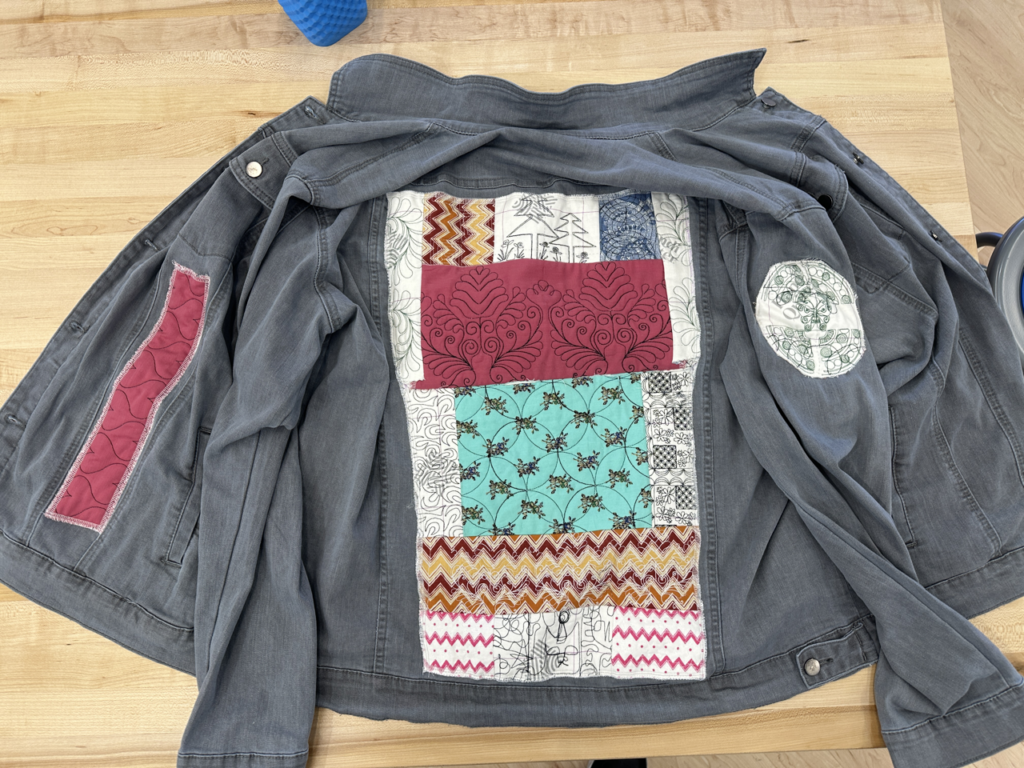
There we have our finished piece! I made a back panel, maybe you’ll make an entire jacket of upcycled materials! Whether you have beloved clothes that no longer fit, or are looking for ways to turn your practice materials to use, we can’t wait to see how you’ll repurpose and revitalize your favorite fabrics using all we have to offer here in the Maker Lab.
You may reserve our sewing machines here or get started with the Long Arm Quilting Certification Course. As always, feel free to share anything you make on the Ignite Discussion Board on Facebook.