

by Kate H.
Howdy makers! If you’re relatively new to sewing, you’ve probably heard the term “bias tape” floating around and wondered what that means. “Bias tape” refers to a strip of fabric that is cut on the diagonal (also known as the “bias”) of a fabric. Then this fabric is sewn into a long strip and attached around the raw edge of a larger project like a garment or quilt. Bias tape can either be bought or handmade!
Types of Bias Tape
There are many different types of bias tape. The most common types are either a “single fold” or a “double fold.” Single fold is when both edges of the bias cut fabric strip are folded over to meet in the middle. Double fold is when the edges of the cut fabric strip are folded over into the middle, and then folded in half again. (Source & learn more)
Where to Get Bias Tape
Bias tape can be bought online or in various craft stores or it can be handmade. Either option come with advantages and disadvantages. When you purchase bias tape from a store or online, it will be premade unless stated otherwise. This means it’s already been cut, folded, and ironed, so all you have to do is sew it onto your project. However, you will have limited options for the color or pattern of the tape. Making it by hand is not as convenient as buying premade bias tape, but If you’re making your own, then you can use any fabric you have on hand for better customization.
How to Make Bias Tape
The video I liked the most that goes over making and preparing your own bias tape is by madeeveryday on YouTube which can be found here. Generally, the steps for making bias tape begin by choosing a fabric. Then, you will cut the fabric depending on how thick you need the bias tape to be for your project. This table below outlines common bias strip width sizes:
| Cut Bias Strip Width | Finished Single Fold Bias Tape Width | Finished Double Fold Bias Tape Width |
| 3/4 inch | 3/8 inch | 3/16 inch |
| 1 inch | 1/2 inch | 1/4 inch |
| 1 1/2 inch | 3/4 inch | 3/8 inch |
| 2 inches | 1 inch | 1/2 inch |

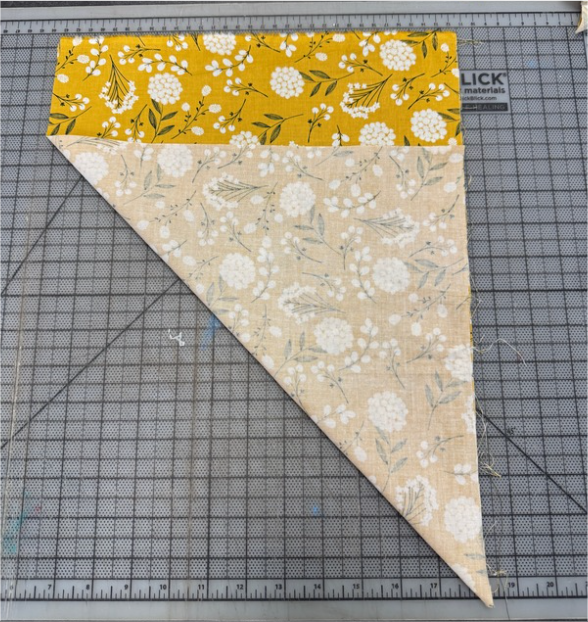
Start by placing your fabric with the pattern facing you. Fold the lower left corner up to the upper right edge. This should make a “triangle” shape. This is a similar process to making a square from a rectangle piece of paper.
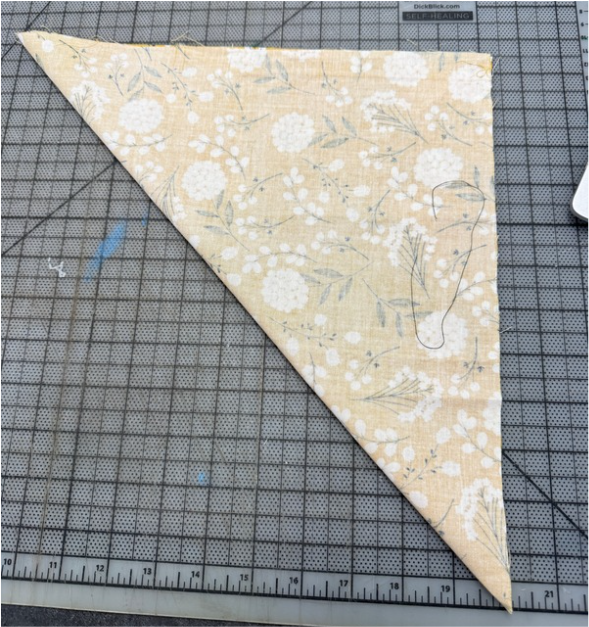
Then cut off the excess fabric so that you are only left with the “triangle.”
Then use a ruler to measure the triangle out into 2” segments, starting from the left edge and measuring inwards. Use a rotary cutter and a straight edge to cut along these lines.
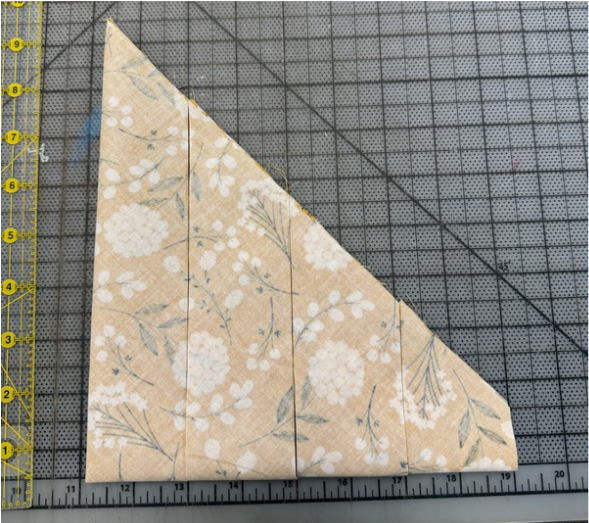
We have now cut the fabric on the “bias” and into strips that we will now sew together to make one longer strip. In my example I removed the rightmost tip of the triangle after cutting because it was not wide enough to be a 2″ strip.
Now it’s time for sewing!
Sewing Bias Strips Together
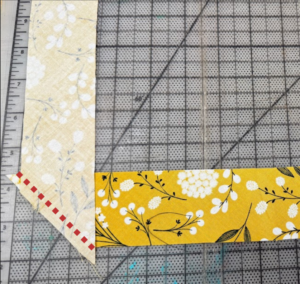
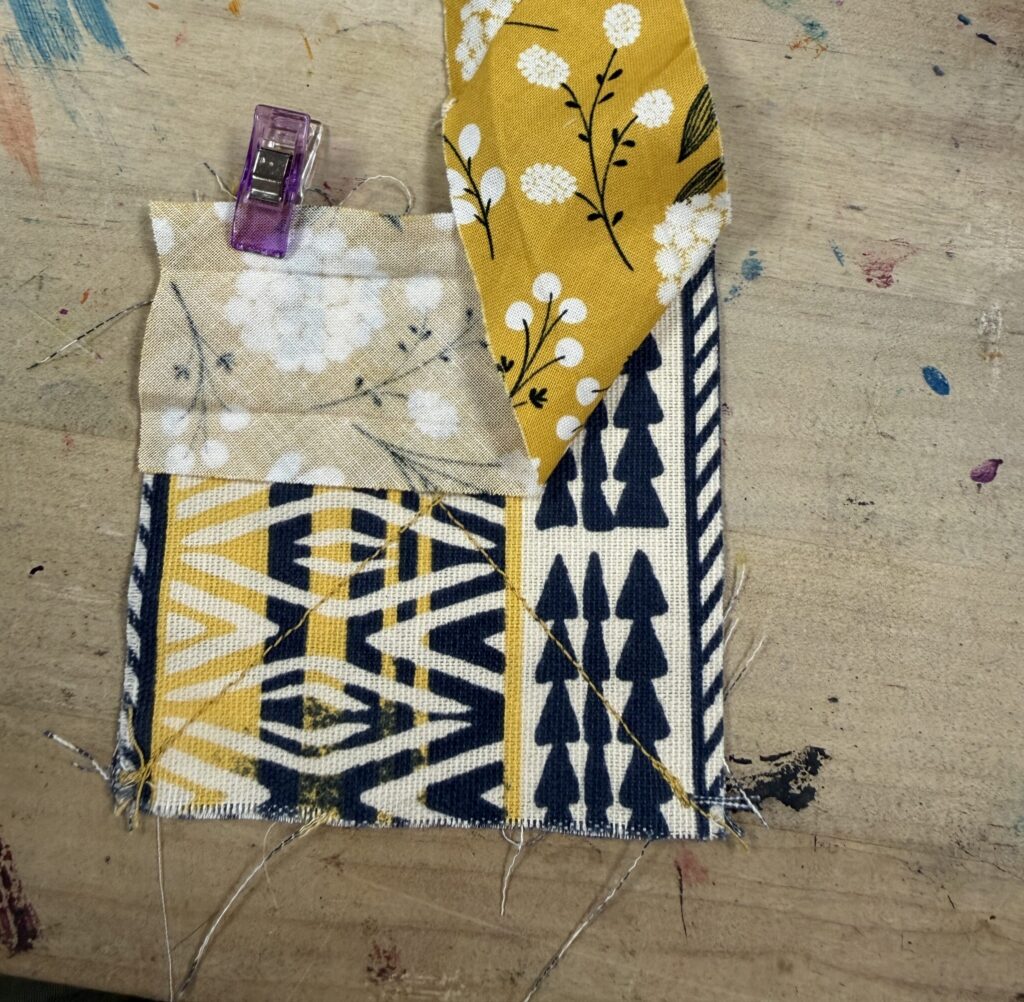
To get the strips ready for sewing you will place one of the strips horizontally with the “right side” face up (the right side is the patterned side). Then lay another strip over top of the first strip vertically with the “right side” facing down. The strips will be perpendicular to each other to create an “L” shape. Make sure the strips are slightly extended past the edges of each other. This will make two “triangles” formed by the excess fabric at both corners. See this excess circled in the photos below.
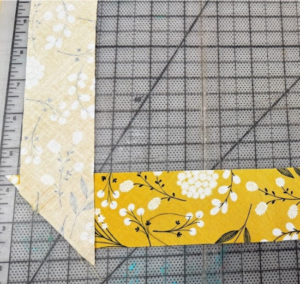

Next use either a fabric marker or chalk to identify where our seam will be. Use a ruler to draw from inside corner to inside corner like drawn in the photo below. This should be a ¼” seam allowance from the outside edge. Sew along the marked line. Make sure to backstitch at the beginning and end of the seam.
Lay your bias tape strip flat and trim off the excess triangles that were created earlier by our strips overlapping.
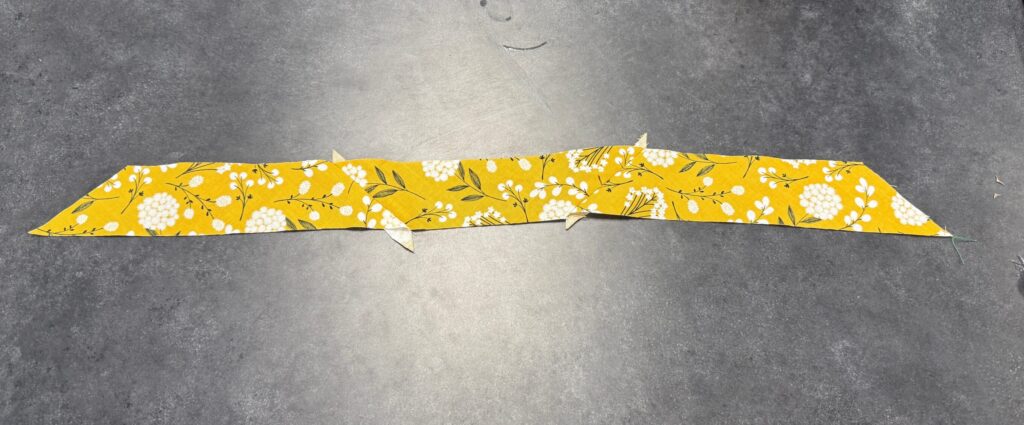
Bias tape strips sewn together and laying flat.
Finally, prepare the strip by folding the strip to be either single or double fold and pressing the seams using an iron. In this example I am using a bias tape maker to make a single fold bias tape. To use a bias tape maker, lay the fabric strip with the patterned side facing down into the tape maker. Pull the strip through the maker from the tapered end to make the single fold.
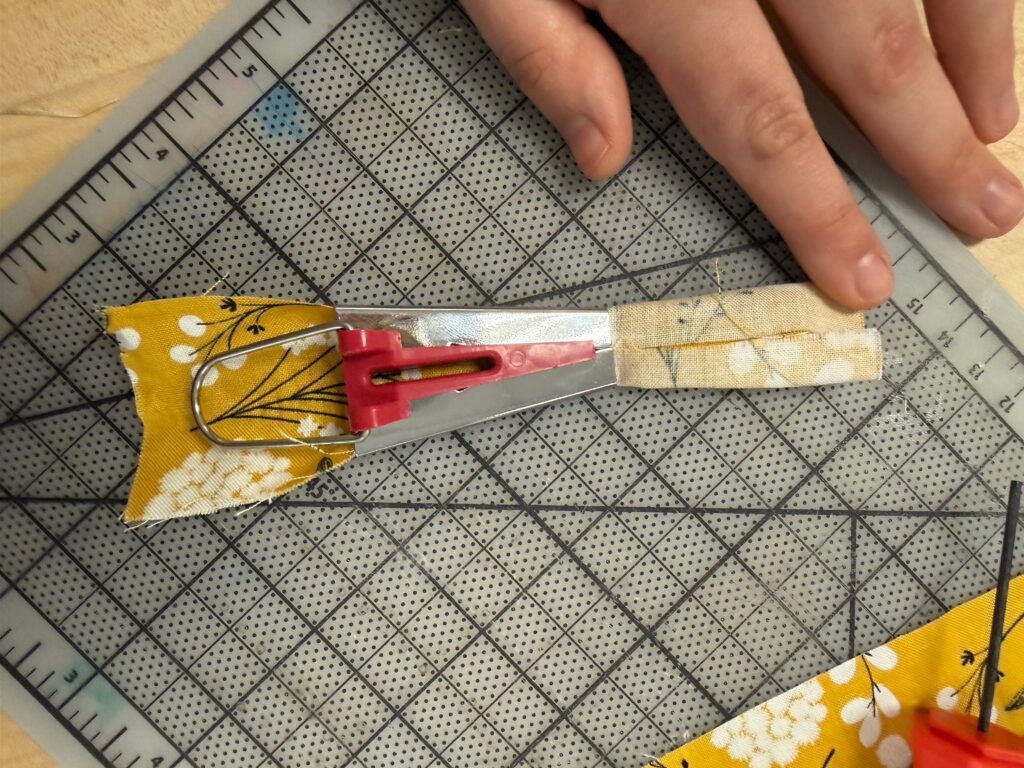
Use one hand to move the bias tape maker down the strip of fabric. Use your free hand to press the fabric into shape with an iron as you go.
Attaching Bias Tape to a Project
After we have enough bias tape made for our project (which is the sum of all of your sides + extra inches, more for larger projects) it is time to attach the bias tape. In my example below I am making a square fabric coaster. Begin by lining up the raw edge of your project with the raw edge of your bias tape. The right sides of the fabrics should be facing each other.
Next, use the top seam line as a guide for starting to attach our bias tape to our project. To begin this step, we will begin our stitches about 2 inches from the edge and we will be stopping about ½” from the other edge.
Tip: Use fabric markers or chalk to mark the seam line. When I initially did this, I sewed all the way to the end and it caused me to have to backtrack. This made my finished project not as neat as it could have been.
Once we reach the end (like mentioned above, about a 1/2″ from the edge), secure your stitches by backstitching.
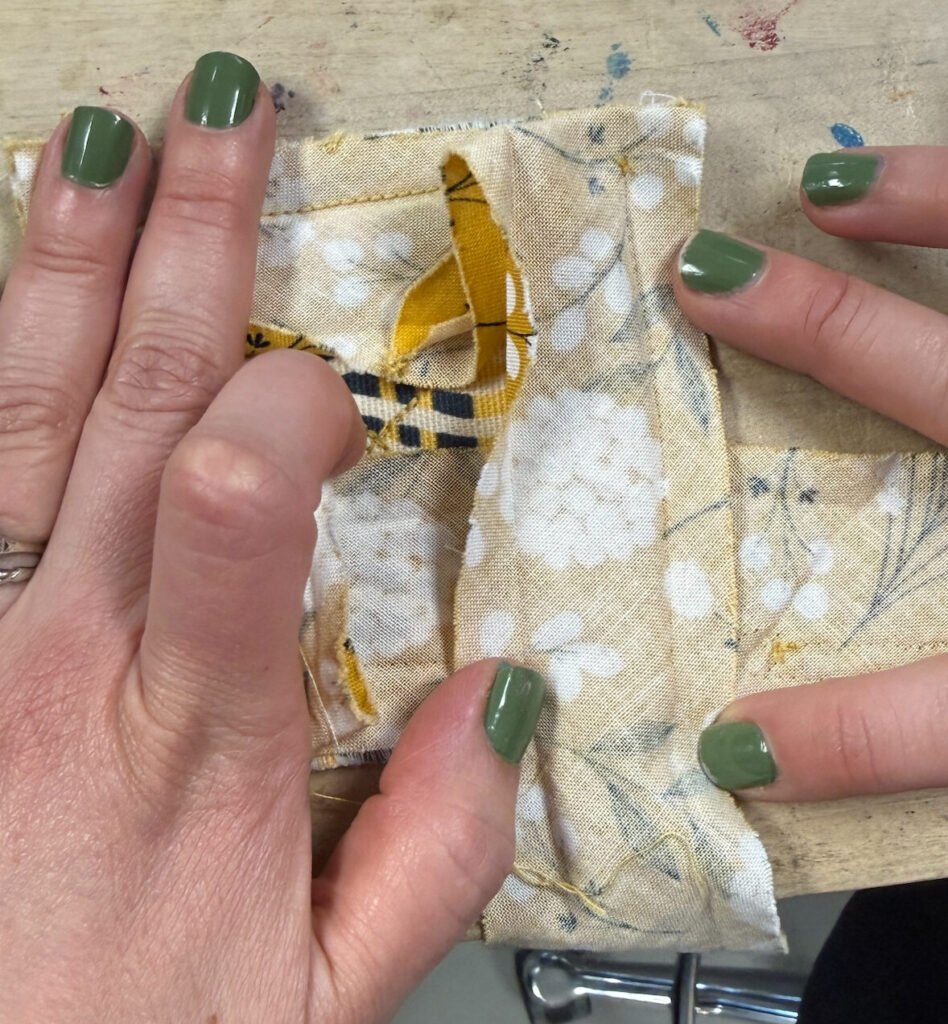
To proceed with the next edge we will need to make a mitered corner. Flip up the long excess of bias tape up at a 90 degree angle so you can see the patterned side.
Use your finger to hold the fold and bring the strip back down so the edge becomes parallel with the raw edge side. The patterned side should be facing down on this fold. Hold it down with a pin or clip.

Then repeat your steps from the previous side. Start sewing about 2 inches from the side and stop sewing about ½” from the next raw edge. Keep repeating for all sides until there’s about 3 inches of space from where you started attaching the bias tape at the beginning.
To finish sewing the bias tape to the underlying project we will need to attach the two loose ends together. To do this, take the end of the bias tape closest to you and fold it towards yourself. Then we will take the end of the bias tape and place it so both ends of the fabric are overlapping.
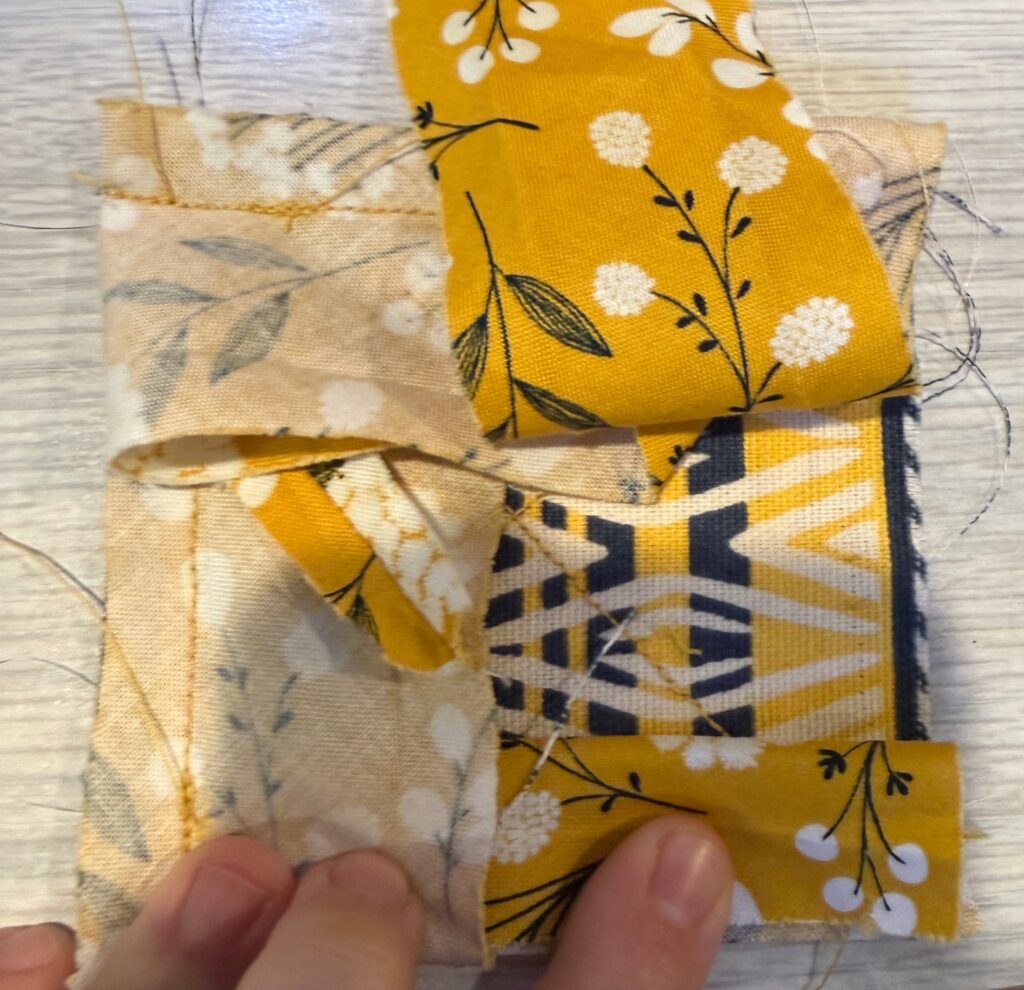
Finally, sew over where they overlap and this side is complete!
Finish Sewing on the Reverse Side
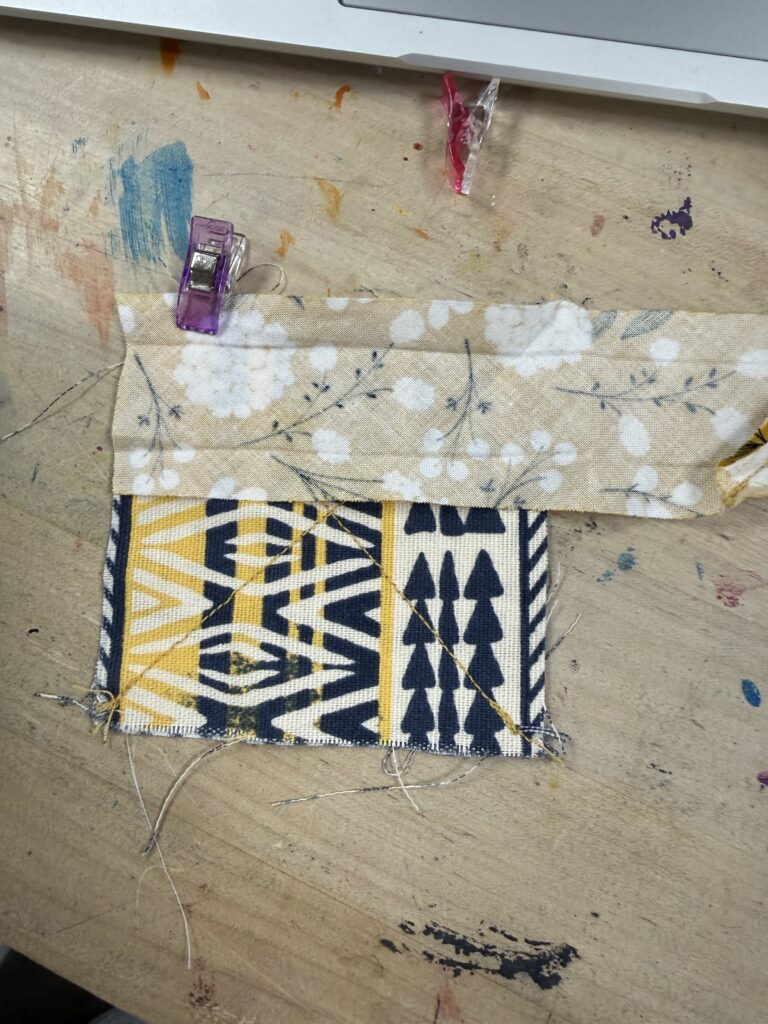
To finish up you’ll need to sew the bias tape to the reverse side of your project. Begin this by flipping the bias tape around the perimeter of your coaster and then flip your project over. Then, fold your fabric over the raw edge of the coaster. Tuck the raw edge of the bias tape under and use clips or pins to hold it in place.
Tip: You may want to use a dot of fabric glue in the folds so it stays in place.
Now sew around the perimeter of your coaster (or other project) as close to the edge of the binding as you can. Move slow to keeping your seams straight and backstitch at the beginnings and ends to secure your seams.

This is only one of many ways to sew bias tape. The next time I try biased tape I will try using this method. What method do you use when attaching your biased tape? Let us know in our Facebook Discussion Board!
