

by Kenzye P.
Ignite has created an adult kit that introduces patrons to the art of weaving! With contributions from Ignite’s Makerspace Director Megan Benson – an accomplished textile artist and weaver – the kit has all you need to learn this fiber arts skill. This new kit has all the yarn, looms, and tools to get started on your first project, including an instructional book, The Weaving Explorer by Deborah Jarchow, to spark inspiration. The written instructions also included in the kit will walk you through setting up a loom, starting a weave, and how to finish the project at the end. From coasters to bookmarks to wall hangings – weaving has endless possibilities!
The Tools
This blog will be a quick introduction to the tools of the kit and an overview of the kinds of projects you could do. First, let’s learn about our tools.
- Loom: The frame on which a project is woven. The loom firmly holds the warp threads in place.
- Warp: The thread that’s loaded onto the loom to create the vertical lines.
- Weft: The horizontal threads that are used for weaving back and forth.
- Shuttle: A tool that holds the weft yarn to make it easier to pass back and forth across the warp.
- Shed Stick: A tool used to weave back and forth through your warp threads to lift them and allow space for your shuttle
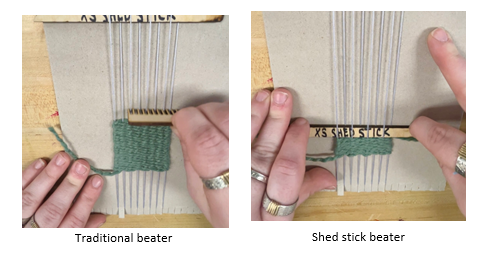
- Beater: A small comb that’s used to flatten each line of weft.
Simplifying the Process of Weaving
Ignite’s weaving kit will also use the same tool to complete different tasks as a means of simplifying the traditional process. For example, the shed stick will also act as a beater between each line of weft you complete. Traditionally, a beater will look like a small comb (pictured below), however, many tools can achieve the same outcome. Even just using your fingers to evenly push down each line will work.
These processes aren’t meant to perfectly replicate the art of a traditional floor loom, but to instead introduce you to the potential of creative weaving. If you find yourself interested in understanding the traditional process, check out Ignite’s floor loom.
Tips and Tricks for Weaving at Ignite
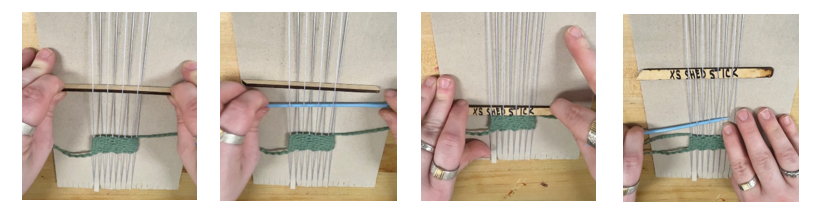
- Don’t remove the shed stick
After finishing your first line of weft, you’ll remove your shed stick and weave it back through the alternating threads. Then, tilt the stick perpendicular to create space between your warp. Pass your weft through. Flatten the shed stick but do not remove it. Use the plastic needle to weave through the alternating threads and pull your thread all the way through. Then, raise the shed stick perpendicular with the loom again and pass your weft through again.
- Weave your ends into your design
For a quicker finish, weave until you thread ends in the warp. Then, pick up your next weft from where your last thread ended.
- Leave 2 inches of warp at the top and bottom of your loom
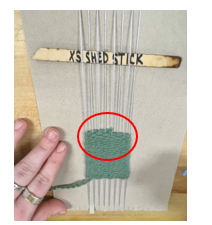
When beating your weave between wefts, be mindful of the space left at the bottom and top of the loom. Leaving at least two inches ensures that you have enough to tie off at the end of the process.
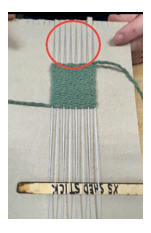
- Don’t pull your weft too tight
Over-pulling your weft threads can cause your weave to look warped on the sides and create uneven edges.
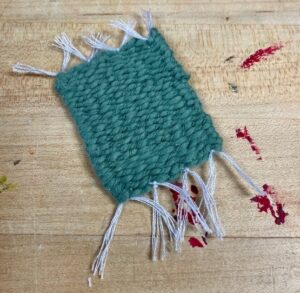
We encourage you to think outside the box and be creative with weaving to make it uniquely yours. Remember that no weaving is perfect! Try weaving with unconventional materials like paper, embroidery floss, scrap fabrics, or threads. Get yourself in the fiber arts mood by checking this kit out, or bring your weaving projects to work on during our monthly Fiber Friends meetup. Fiber Friends meets on the 2nd Thursday of every month from 5:30 – 7:30 PM in Ignite. Be sure to post your creations to the Ignite Community Discussion Board. Happy Making!!
