

by Kenzye P.
Print then Cut: Making Stickers with the Cricut
Making stickers with the Cricut is fast and fun! You can use almost ANY design to make a piece of stick-able art. Cricut Design Space has a function called “Print then Cut” (P/C) which is exactly what it says – it will print your design first, and then send the layout to be cut by the Cricut machine. While the process is simple to explain, the steps you take to complete a P/C are more involved so let’s get into it.
Getting Started
- First- Let’s find an image or design that we want to turn into a sticker. You can use just about anything- a personal picture, a design you made, or something fun you found online. If you want to isolate just the subject of any picture, you’ll have to find a way to remove the background. There are lots of apps and online tools that can help with this, or you can decide to make the background part of your sticker.
- Once you have the design you want to use, you are going to upload it to Design Space. To do this, hit “Upload” on the left side of the canvas screen and choose your image. You can make minor edits using the “erase” tool.
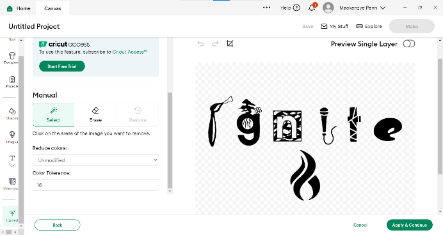
3. Once you’re happy with how it looks, click “continue.” Design Space will ask you if you want to save your image as a “flat graphic” or “single layer”. For a P/C you always want to save the image as a flat graphic to ensure you get all the colors that appear in the image.
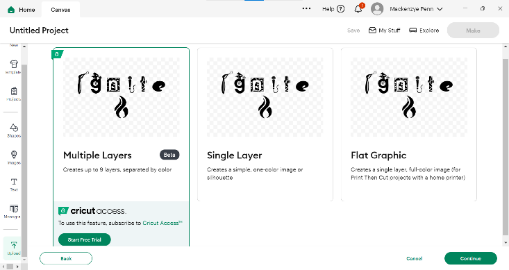
- Finish by naming your image and selecting “upload” in the lower right.

Resize Your Stickers
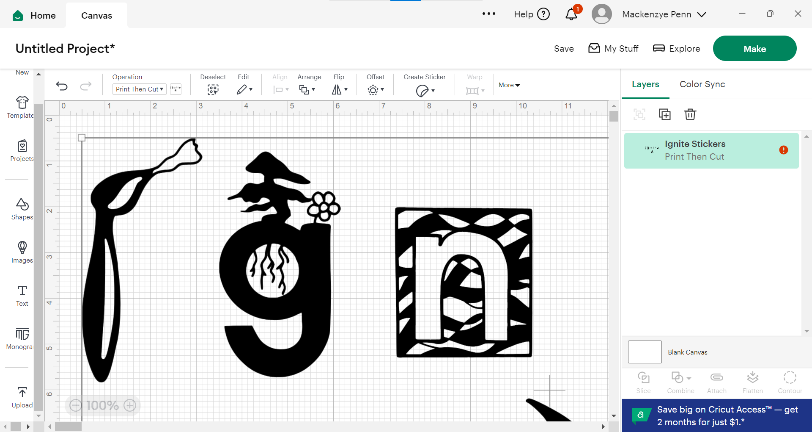
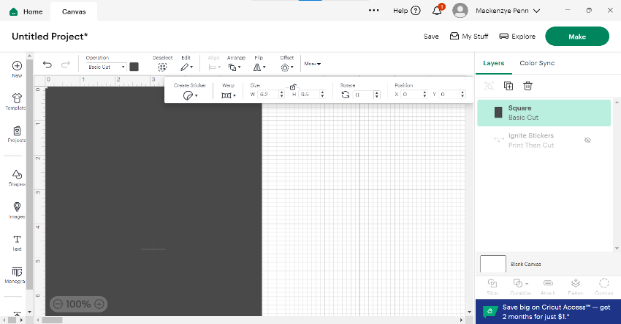
- Your image will populate onto your canvas with an error message on the layers panel. This error message will tell you that the size of this image is too large for a P/C happening on 8.5” x 11” material. You will need to be able to fit your stickers into a 6.5” x 9.2” rectangle due to the size restrictions of a P/C project. To more easily measure how many designs I can fit in this size, I typically use a basic square to develop my layout.
From the shapes on the left side, select the square to insert it into your canvas. Then, make the square 6.5” x 9.2”. Finally, drag this square to the bottom in your layers panel to see your design on top. You can now resize your design to fit in the square.
Add a Background
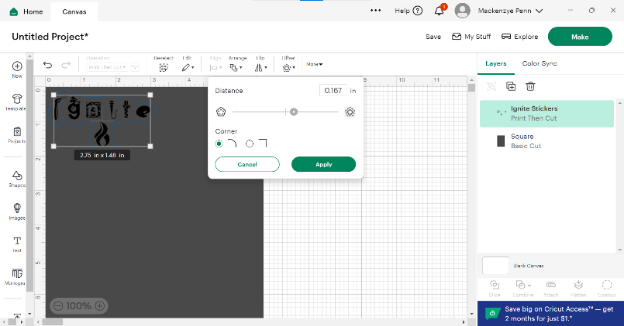
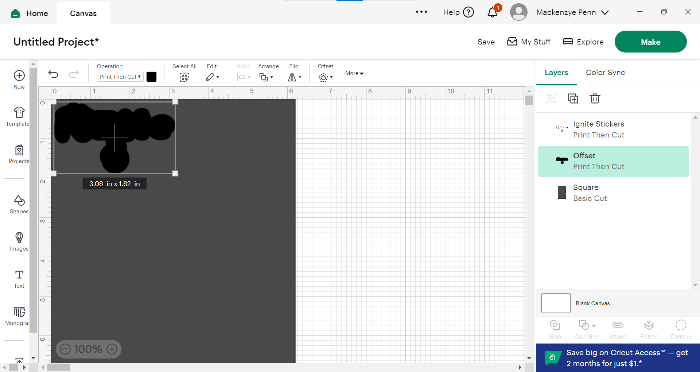
- Now, you will need to add an offset to your design. An offset will expand the shapes of the design outwards and give a background to the sticker. I’ve made my offset a diameter of .167” to give it enough of a border around the outside and to fill in the spaces between the letters. Cricut displays a blue outline to show you how the offset will generate.
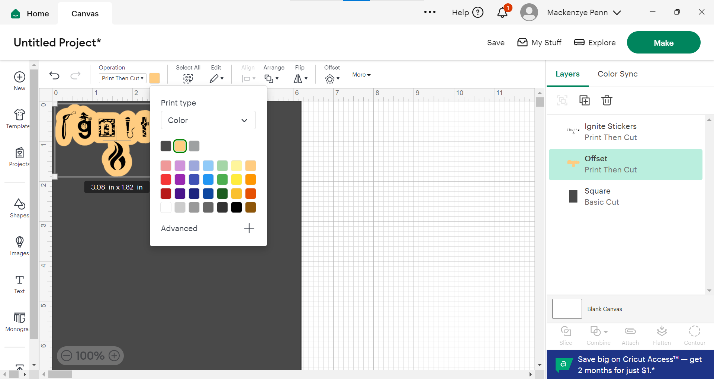
Once you apply your offset, you’ll need to change the color of it to be able to properly see your image. On my stickers here, I want an orange background. Click on the colored box under the word “operation” on the top ribbon and select the color you’d like your background to be.
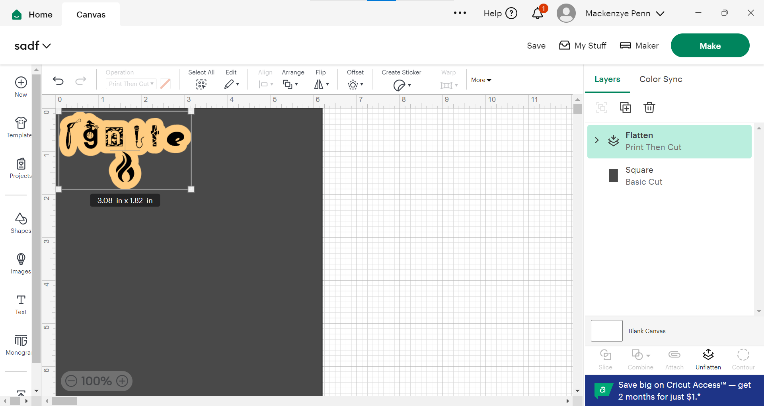
- Next, select both the design and offset layer and select “flatten” on the lower right side of the screen.
Create the Sticker Sheet
- Duplicate your flattened design as many times as you can to fill the grey square you created in step 5.
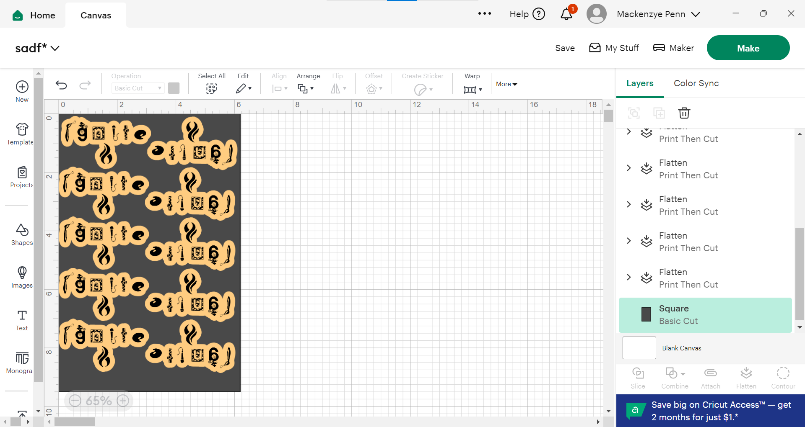
- Once you’re happy with the layout, click on the eyeball next to the square layer to hide it from the canvas.

- Then select all of your layers (except the square) and select “attach”

Time to Print Your Stickers!
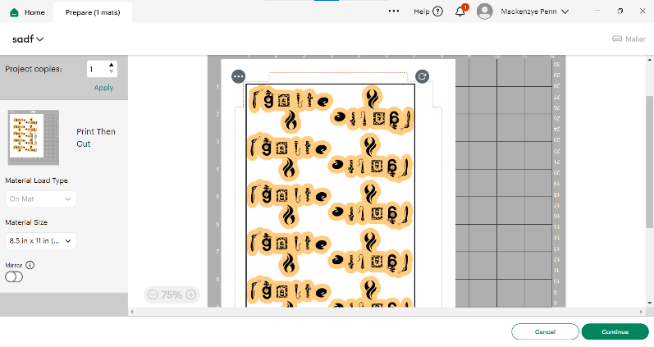
- Click “Make” in the top right corner to start your project. Make sure to change your material size to 8.5” x 11” and then click “continue” in the bottom right.
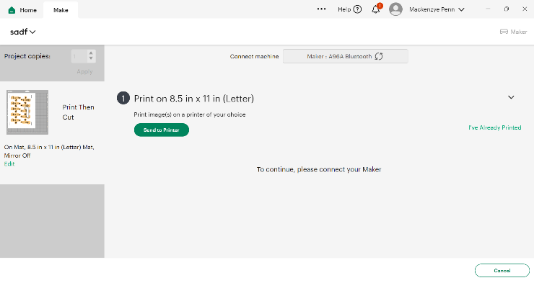
- Next, send your project to the printer – look for the printer named “Sticker Maker.” A pop-up will appear. Make sure to load your paper in with the matte side down (satin side up).
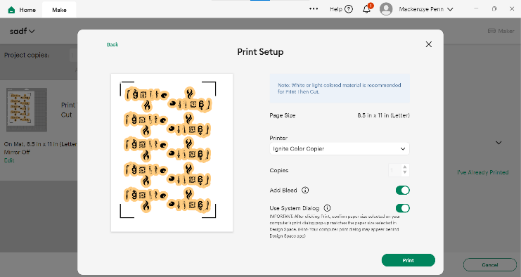
“Add Bleed” expands the edges of your design so that when you go to cut, there aren’t white lines around the edges of the design.
“Use System Dialogue” will ensure that your project prints correctly and utilizes the proper printer settings rather than Design Space settings – ALWAYS use system dialogue when creating P/C projects.
Laminate Your Sheet & Cut it with the Cricut
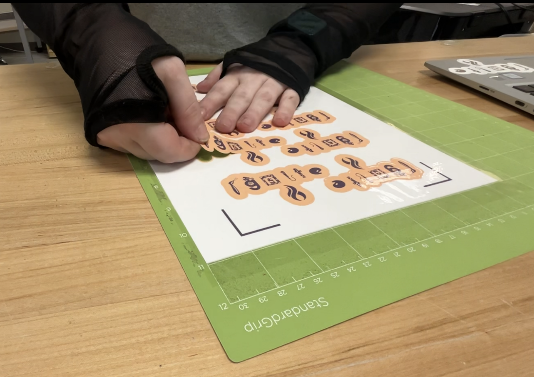
- Once you have your project off the printer, line it up on the green standard grip mat.
- If you’re using the clear laminate, there’s a strip of backing you will peel off, then lay the laminate down on top of your sticker sheet while it is on the mat. Using a rubbing tool or straight edge, slowly roll the rest of the backing out while smoothing the laminate over your sheet. This is the best method for avoiding bubbles.


- For the material setting back in Design Space, you will want to choose a setting for something thicker than the normal “sticker paper” because of the added layer of laminate that the machine must also cut through. I’ve found that the “Poster Board” setting is the best for cutting through all the layers in one try. Now you can load your mat into the Cricut and start cutting.
- Once it’s finished, slowly bend the Cricut mat to remove your stickers gently. Bending the mat lets the stickers naturally peel up from the sticky mat.
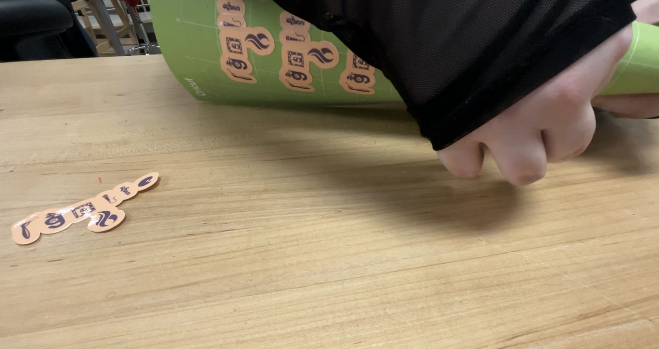
Just like that you have your own handmade stickers! These stickers are water resistant which means they’ll hold up on your water bottle that gets hand washed, but they may not be suitable for a cycle in the dishwasher or for sticking on your vehicle.
If you need more help with the Cricut, take a Quick Start Session to learn Cricut basics. Use Ignite’s NEW Print then Cut Sticker Maker by purchasing your materials in-studio and create your very own sheet of stickers with the Cricut! Be sure to share your creations with us on the Ignite Community Discussion Board. Happy Making!
