

At the Ignite Studio kit library we have a relief cut printmaking kit that comes with everything you need to carve your own stamp. In this blog learn the process & a few tips along the way to help you get started with relief cut printmaking.
Get Started with Relief Cut Printmaking
What is a relief cut? It’s a type of printmaking technique in which the printing surface is cut away so that the image alone appears raised on the surface. A variety of materials are used to create prints, but here in the kit we have rubber carving blocks and linoleum.
***Disclaimer: Patrons must be 16 years or older as it includes sharp carving tools ***
Inside the kit you’ll find:
- Instructional book/packet
- Pink rubber carving block
- Lino Cutters
- Ink
- Roller
- Brayer
- Palette knife
- Mixed Media paper
- Bench Hook
- Acrylic sheet
Some tips to keep in mind before starting:
- Always carve away from yourself and keep fingers out of the way to avoid injury – The carving tools may not look very sharp at a glance, but they can easily leave deep cuts.
- Work with a newsprint or paper towel underneath your project to catch shavings when carving, and to keep your work surface clean when printing.
For my project, I tried carving a deserted landscape.
First, I started by sketching out the design I wanted onto a piece of paper.
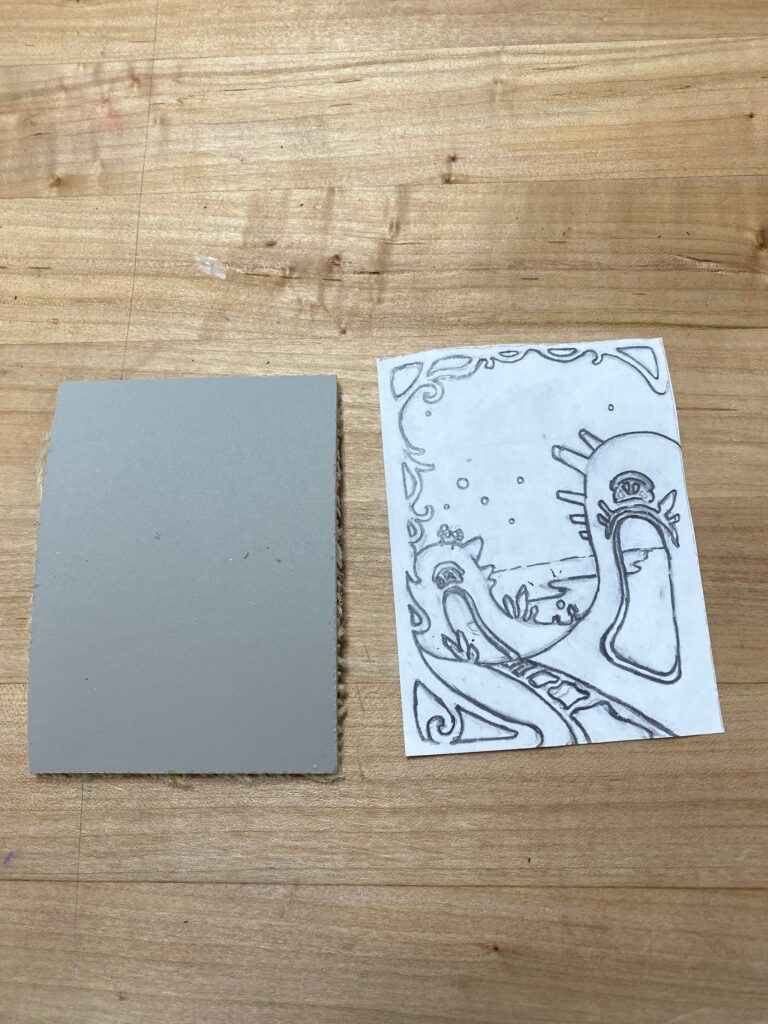
Alternatively, you sketch directly onto the linoleum to skip a few of the next steps. But keep in mind the final print design will be mirrored.
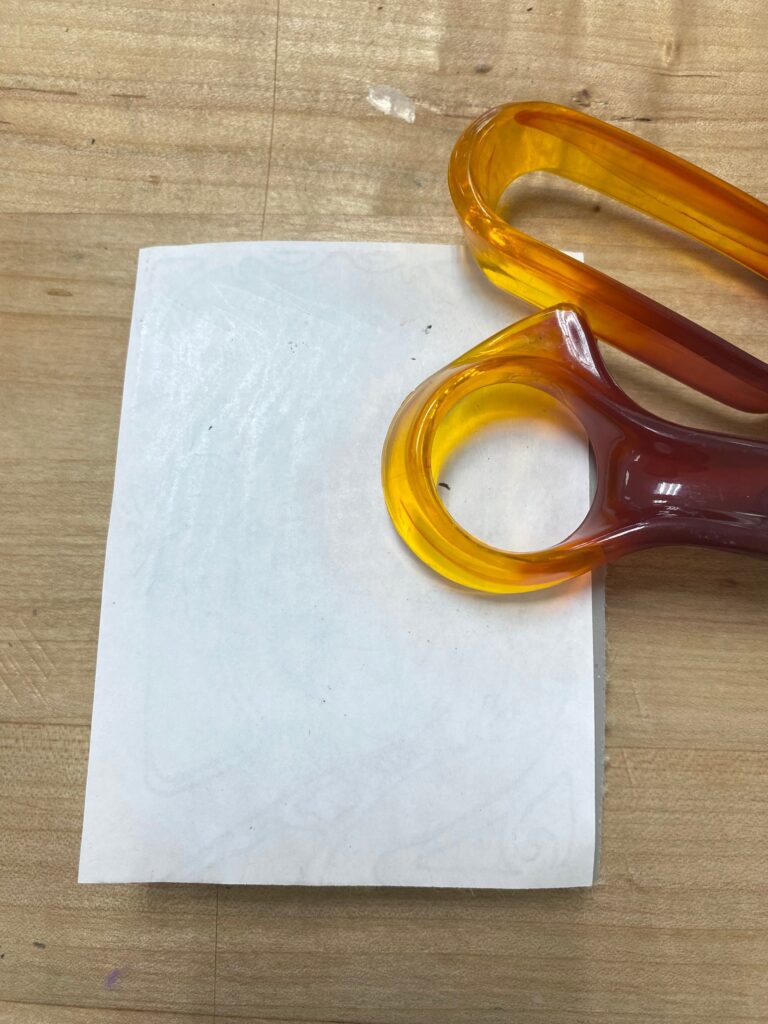
Next, I traced my design with a darker 6b graphite pencil, laid it onto the linoleum, and applied pressure with the back of a pair of scissors to transfer the graphite onto the surface.
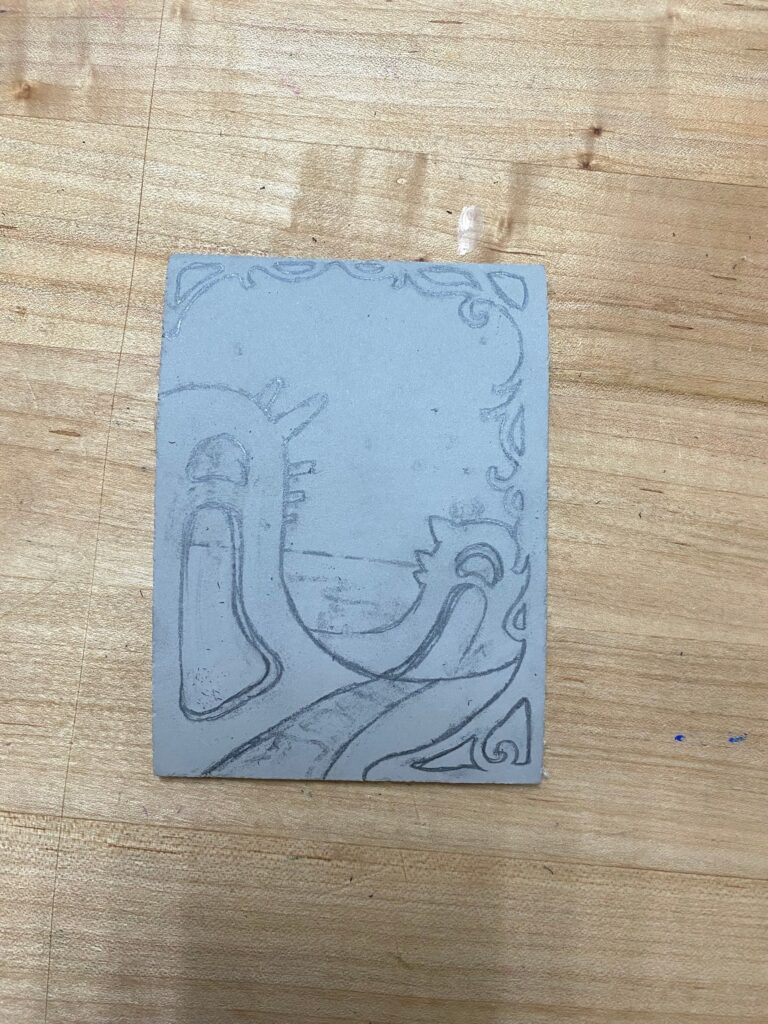
Here you can see that while the larger shapes transferred easily, the smaller details did not. To fix this, I went in and refined the details as much as possible.
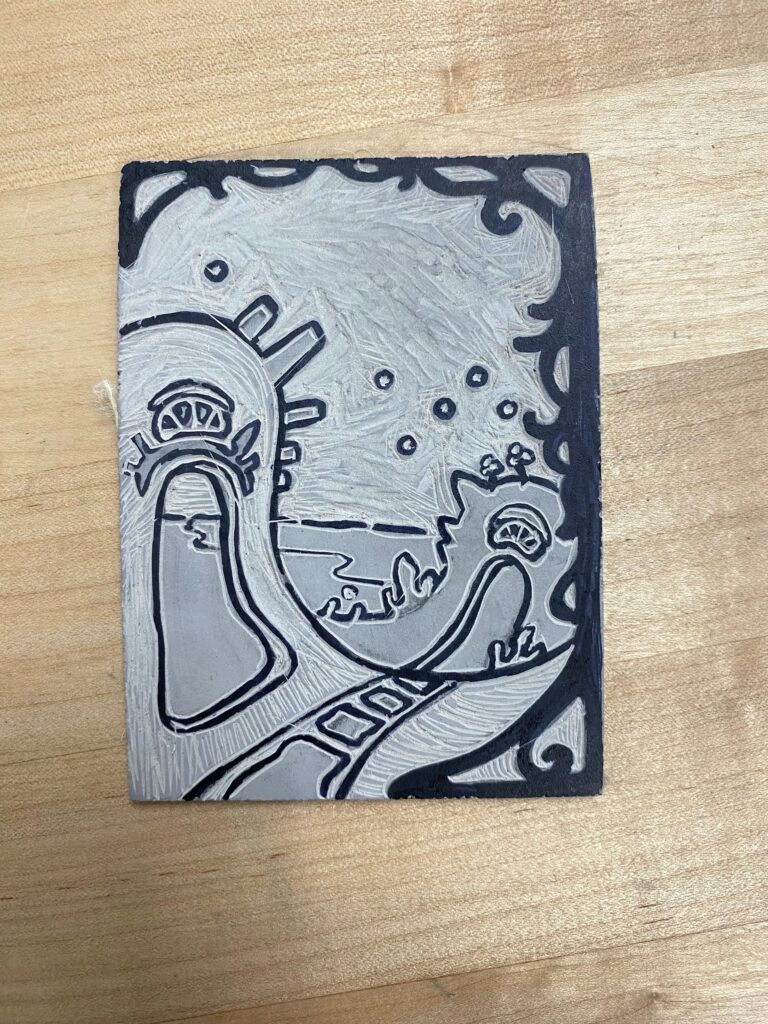
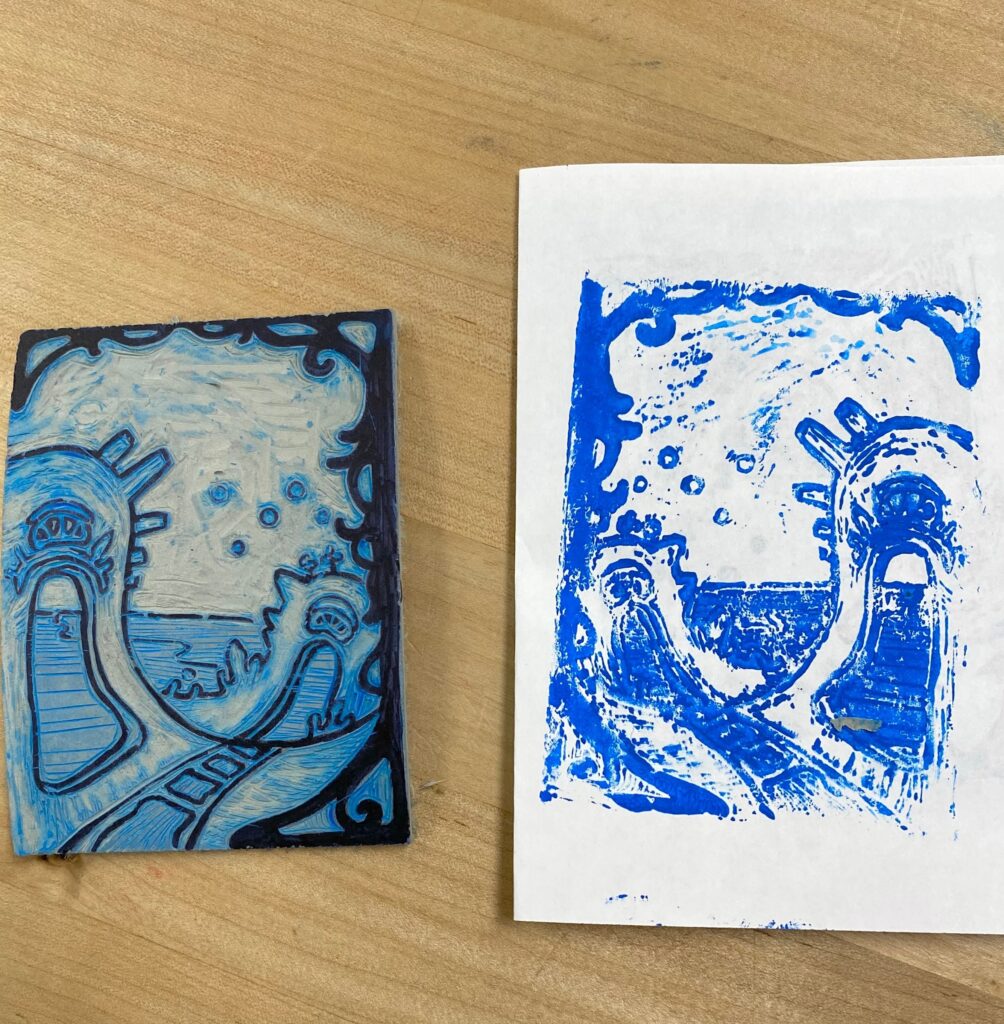
Next, I went in with a sharpie and outlined the areas I wanted to transfer with ink & began to carve around it.
Next, I rolled some ink onto my roller and began my first test print on some paper. For this first print you can see that the design didn’t transfer well & the ink bled past some of the smaller details because I had too much ink on the roller.
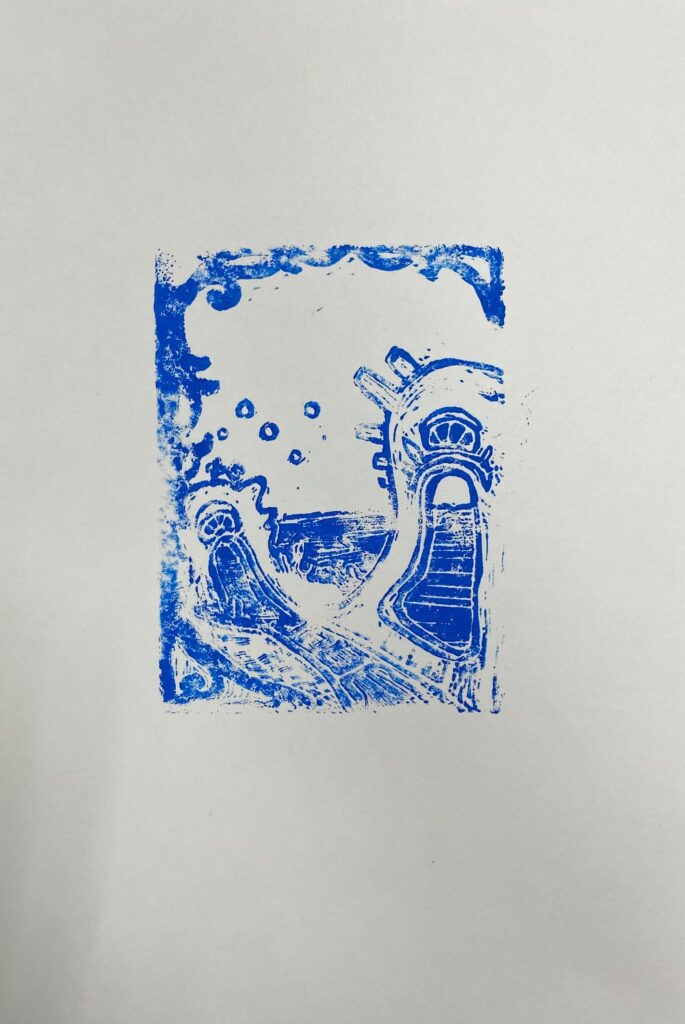
After 4 more prints, this was the one that looked the best.
Lastly, to add a little more color, I checked out one of the chalk pastel kits from the library & applied some blue and green pastel on top of my print.
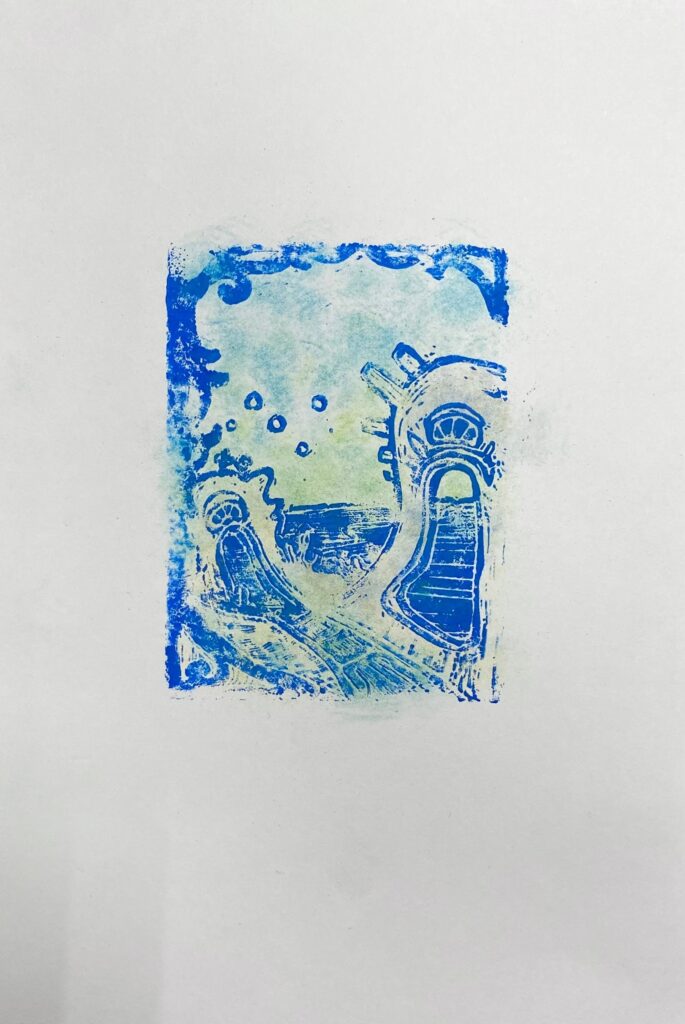
To create a soft gradient, I dusted some chalk onto a piece of tissue paper and dabbed it on top. After blending out the colors, my print was complete.
It was a lot of fun experimenting with relief cut printmaking and chalk pastels, come try this kit for yourself and have fun printing! Happy Making!
