by Jared H.
I previously wrote a blog about how I make sublimated acrylic earrings. Since I receive a lot of questions about them, I thought it would be worthwhile to explain an advanced technique I’ve started using to increase the efficiency of my production time. This process will primarily benefit those who want to make several items at once but this technique could also be used for small quantities.
The Challenge
Making sure everything is lined up perfectly at each step was more difficult than I expected. Initially I tried sublimation printing first and then cutting the acrylic shapes out on the laser engraver afterwards. However, during the sublimation process, the pressure of the heat press made the sheet of acrylic slightly expanded in size – just enough to throw off the alignment of my cut lines. Therefore I learned that the acrylic needs to be cut first.
File Preparation
This method will require a little more prep work on the software side of things to eliminate the laborious process of having to tape each individual cut acrylic piece in place. A lot of the process is the same as I discussed in the previously mentioned blog except this time I’m preparing all of the files at the same time on a 8.5”x11” digital artboard. Be sure to check out the previous blog if you’d like additional instructions.
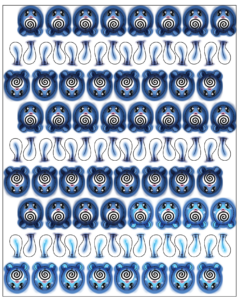
Screenshot of artwork and cut lines layered together.
I highly recommend organizing your artwork using the layers panel when using Adobe Illustrator to design your file. First create a layer for the cut lines on top and then a layer for the artwork below that. Doing this ensures you can line everything up how you want. Then, when you’re ready to save the files, toggle the visibility so that only one layer is shown at a time. This will allow you to save two files, one for the laser cutting and then additionally one for sublimation printing.
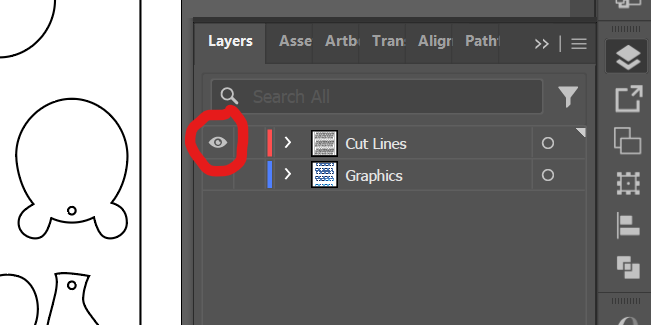
Screenshot of layer panel organization.
We will need two files for the process. Both files should be mirrored.
- First save your cut lines as an .ai file
- This file should contain only the outlines where you want your image to be cut.
- I also added in an 8″x10″ rectangle border around all of the cut lines so that the acrylic sheet will be smaller than the 8.5″x11″ sublimation paper.
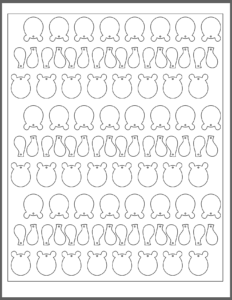
Screenshot of cut lines only.
- Toggle the visibility of the layer with the cut lines off and the graphics on.
- Secondly, save the graphics as a .pdf file.
- This file contains only the imagery you want visible on the acrylic.
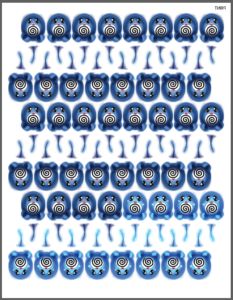
Screenshot of the graphics layer only.
Using the Files
After the files are saved, take both your files and your materials to their respective machines. This process will work best with white acrylic.
Import the .ai file into Lightburn or RDWorks at the laser engraver in the Fab Lab to cut out the acrylic shapes. Make sure to keep both the cutouts as well as the sheet they came from. We will use the negative space as a template to accurately place each piece for sublimation. Peel the protective cover from all of the cut out acrylic pieces. The negative can stay covered.
Open the PDF in Sawgrass Print Utility at the sublimation station and print your graphics. Unlike if you were to do regular sublimation, make sure “Mirror” is NOT CHECKED. Since we mirrored the design in the file preparation in Adobe Illustrator, we don’t want to mirror it again or else the images won’t line up with the cut file.
Bringing it Together
Now that you have both the sublimation paper printed with your graphics and the cutout acrylic shapes, lay the acrylic negative on top of the sublimation paper. Then, line up the images within the cutouts as well as you can and use heat-safe tape to secure the edges of the acrylic “template” to the paper.

Acrylic layered on top of the printed sublimation paper and taped into place.
This will create perfect little holes to fit your cutouts into. Drop each of your cutouts into their matching hole like it’s a puzzle.
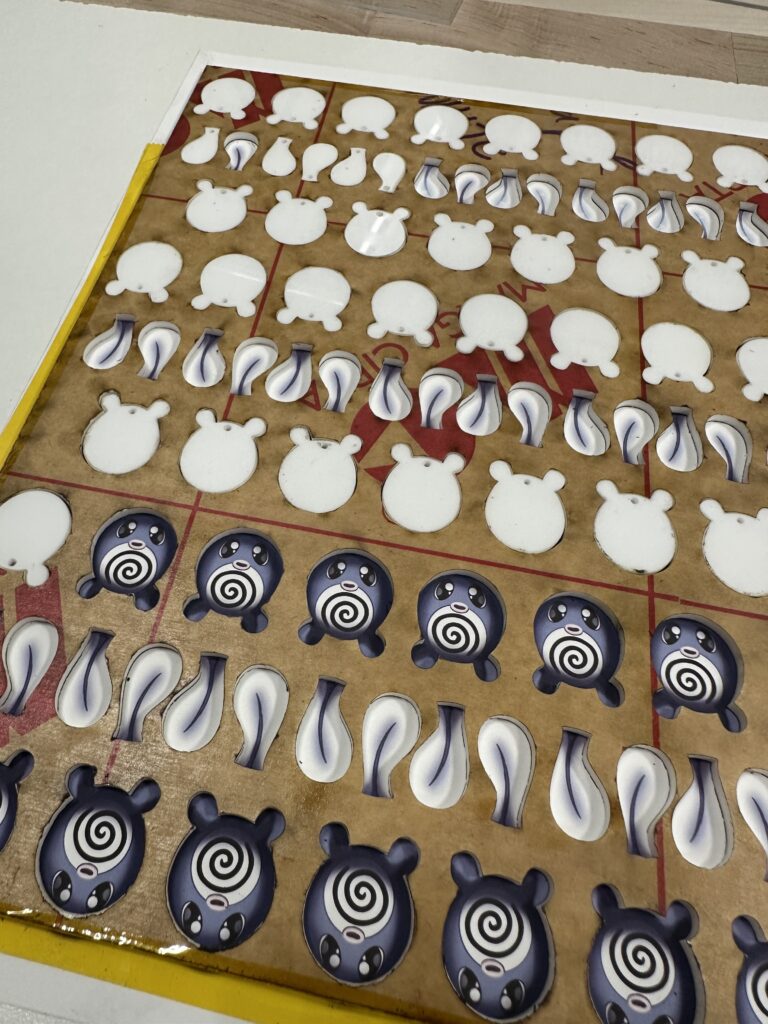
Acrylic cutouts being placed into the template.
Once all of the pieces are in their spots add some heat-safe tape to make sure they stay in place.
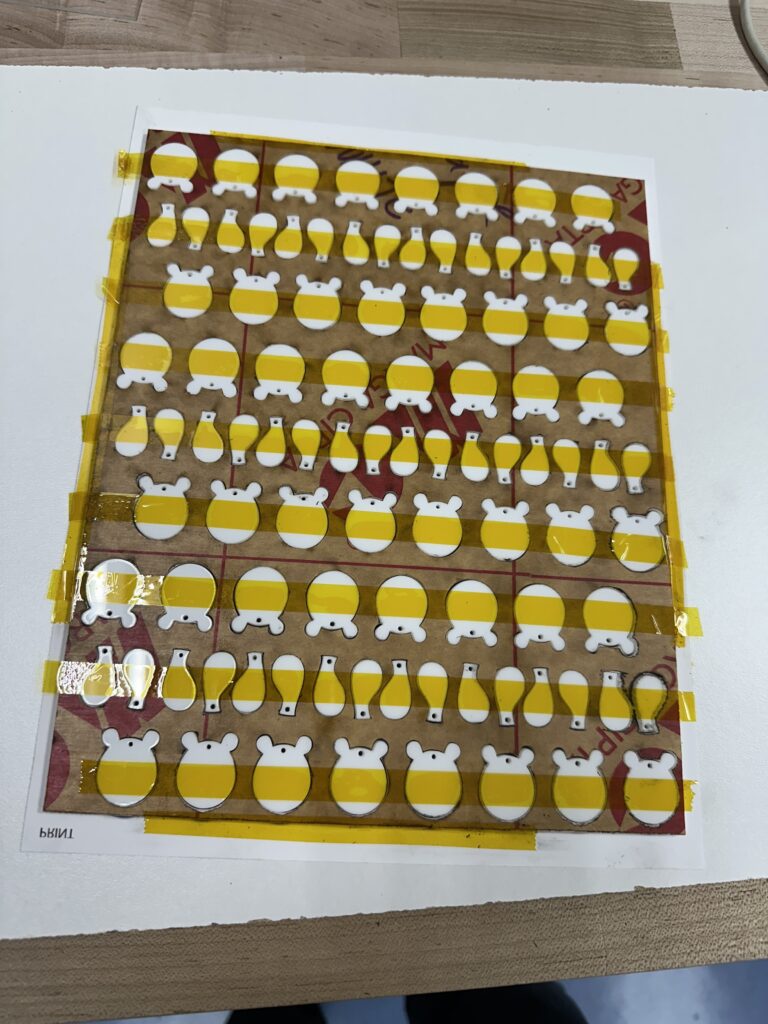
Strips of heat-safe tape are added to help secure everything in place.
Now your project is ready to be flipped over and heat pressed. Make sure the sublimation paper is facing upward towards the top platen of the heat press. I usually press at 400°F for 60 seconds.
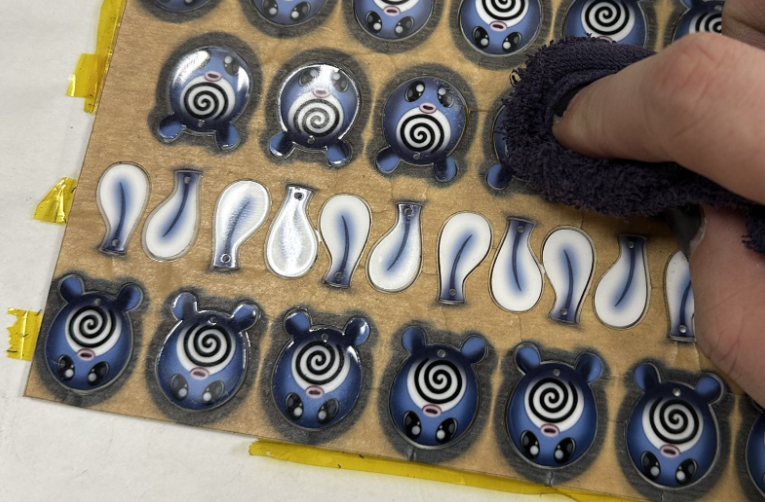
Peel off the sublimation paper after pressing to see the printed acrylic. Now is a good time to take a wet cloth and rub off any sublimation paper that may have stuck to the acrylic.
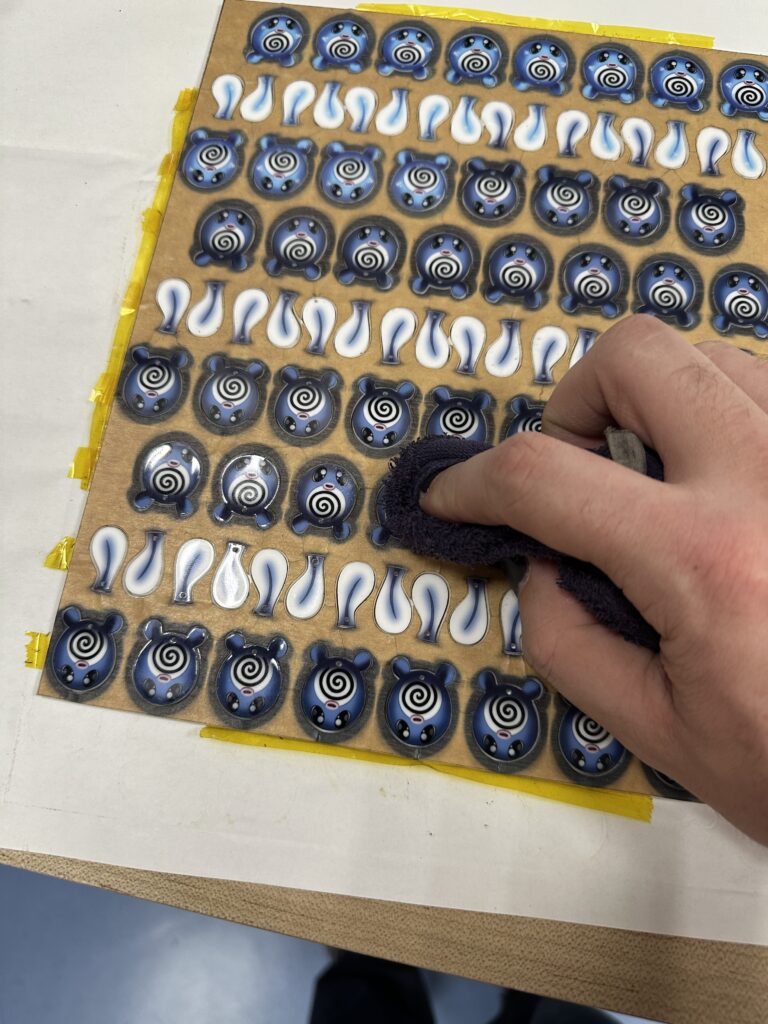
Paper remnants stuck to the acrylic are being rubbed off with a wet cloth
After cleaning the sublimated acrylic I just needed to add the jewelry hardware that connected the tails to the body and earring posts to make them wearable.
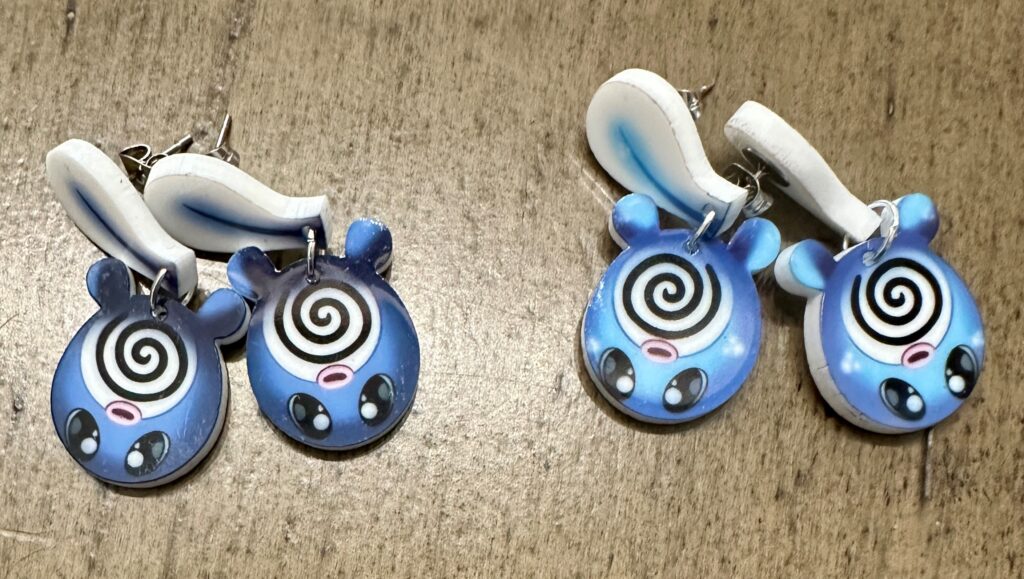
Two pairs of sublimation-printed dangly earrings.
I hope this inspires you to make some of your own personalized jewelry! Help inspire others by sharing your creations on the Ignite Community Discussion Board. Happy Making!

