

by Jared H.
While using one kit or piece of equipment in Ignite is great, combining multiple tools can produce some pretty exciting results. One such case is the acrylic earrings I have been making. I have been getting a lot of questions about how I make them, so I am going to share that process with you here. This blog will be written assuming you are familiar with preparing laser-cut files and how to use our laser engraver. Prior to using Ignite’s laser engraver for the first time, we require that you take our short certification course. If you need to do that, you can get started on our website HERE. Learn how to sublimate acrylic earrings in this step-by-step guide.
How to Sublimate Acrylic Earrings
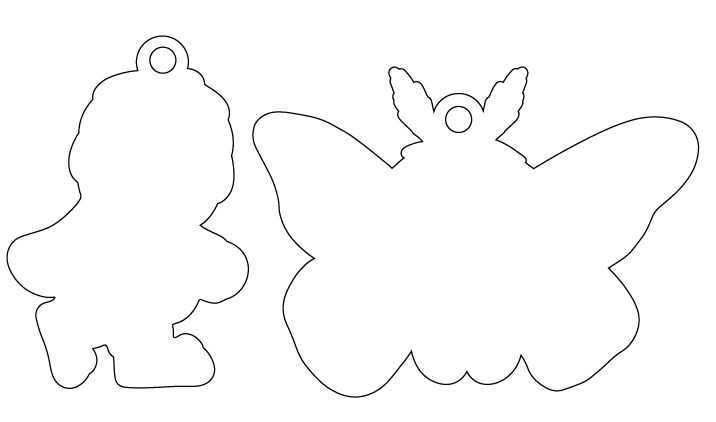
To begin the process, I drew my illustrations digitally and then used Adobe Illustrator’s “Offset Path” tool (Adobe software is available on the iMacs in our Digital Media Labs) to prepare my cut line with a little extra border around the image. For my project, I found that creating a 2mm circle is an ideal size to fit the jump rings when adding the earring hardware.
On the graphics I want to have a black edging, I create an additional offset path filled with black that extends outside the area I intend to cut. This will make the final product cleaner if your alignment isn’t perfect in future steps.

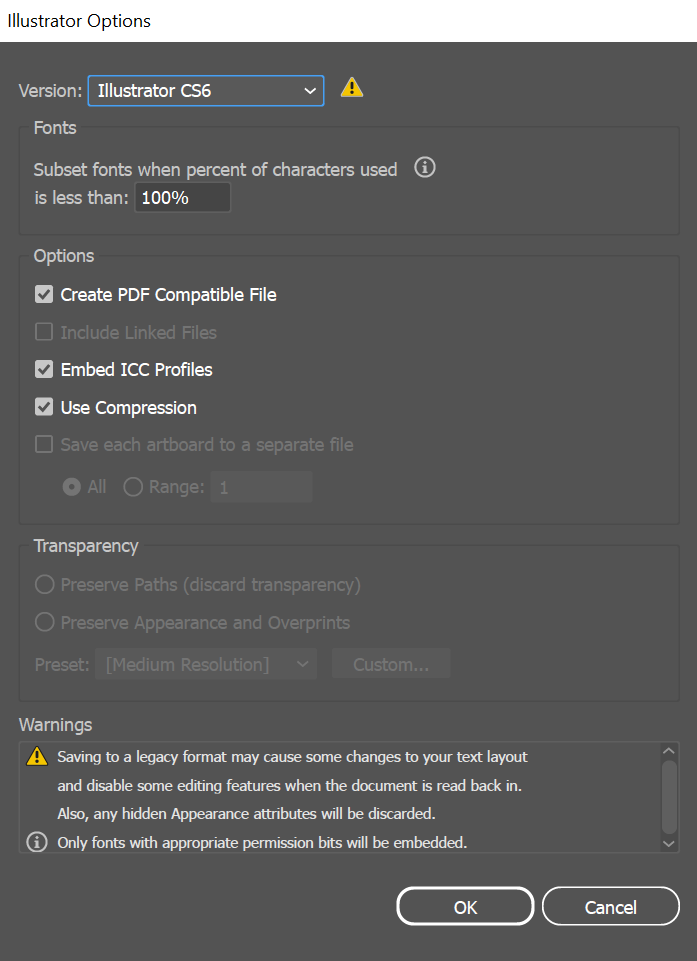
I then create a new document and copy over only the shapes I want to cut. In order to import Adobe Illustrator files into RD Works, there is a special way it needs saved. During the saving process, an “Illustrator Options” popup will appear. To make the file compatible with RDWorks “Import” function, change the “Version” drop-down to “Illustrator CS6”. All the other default options are fine. (Screenshot below).
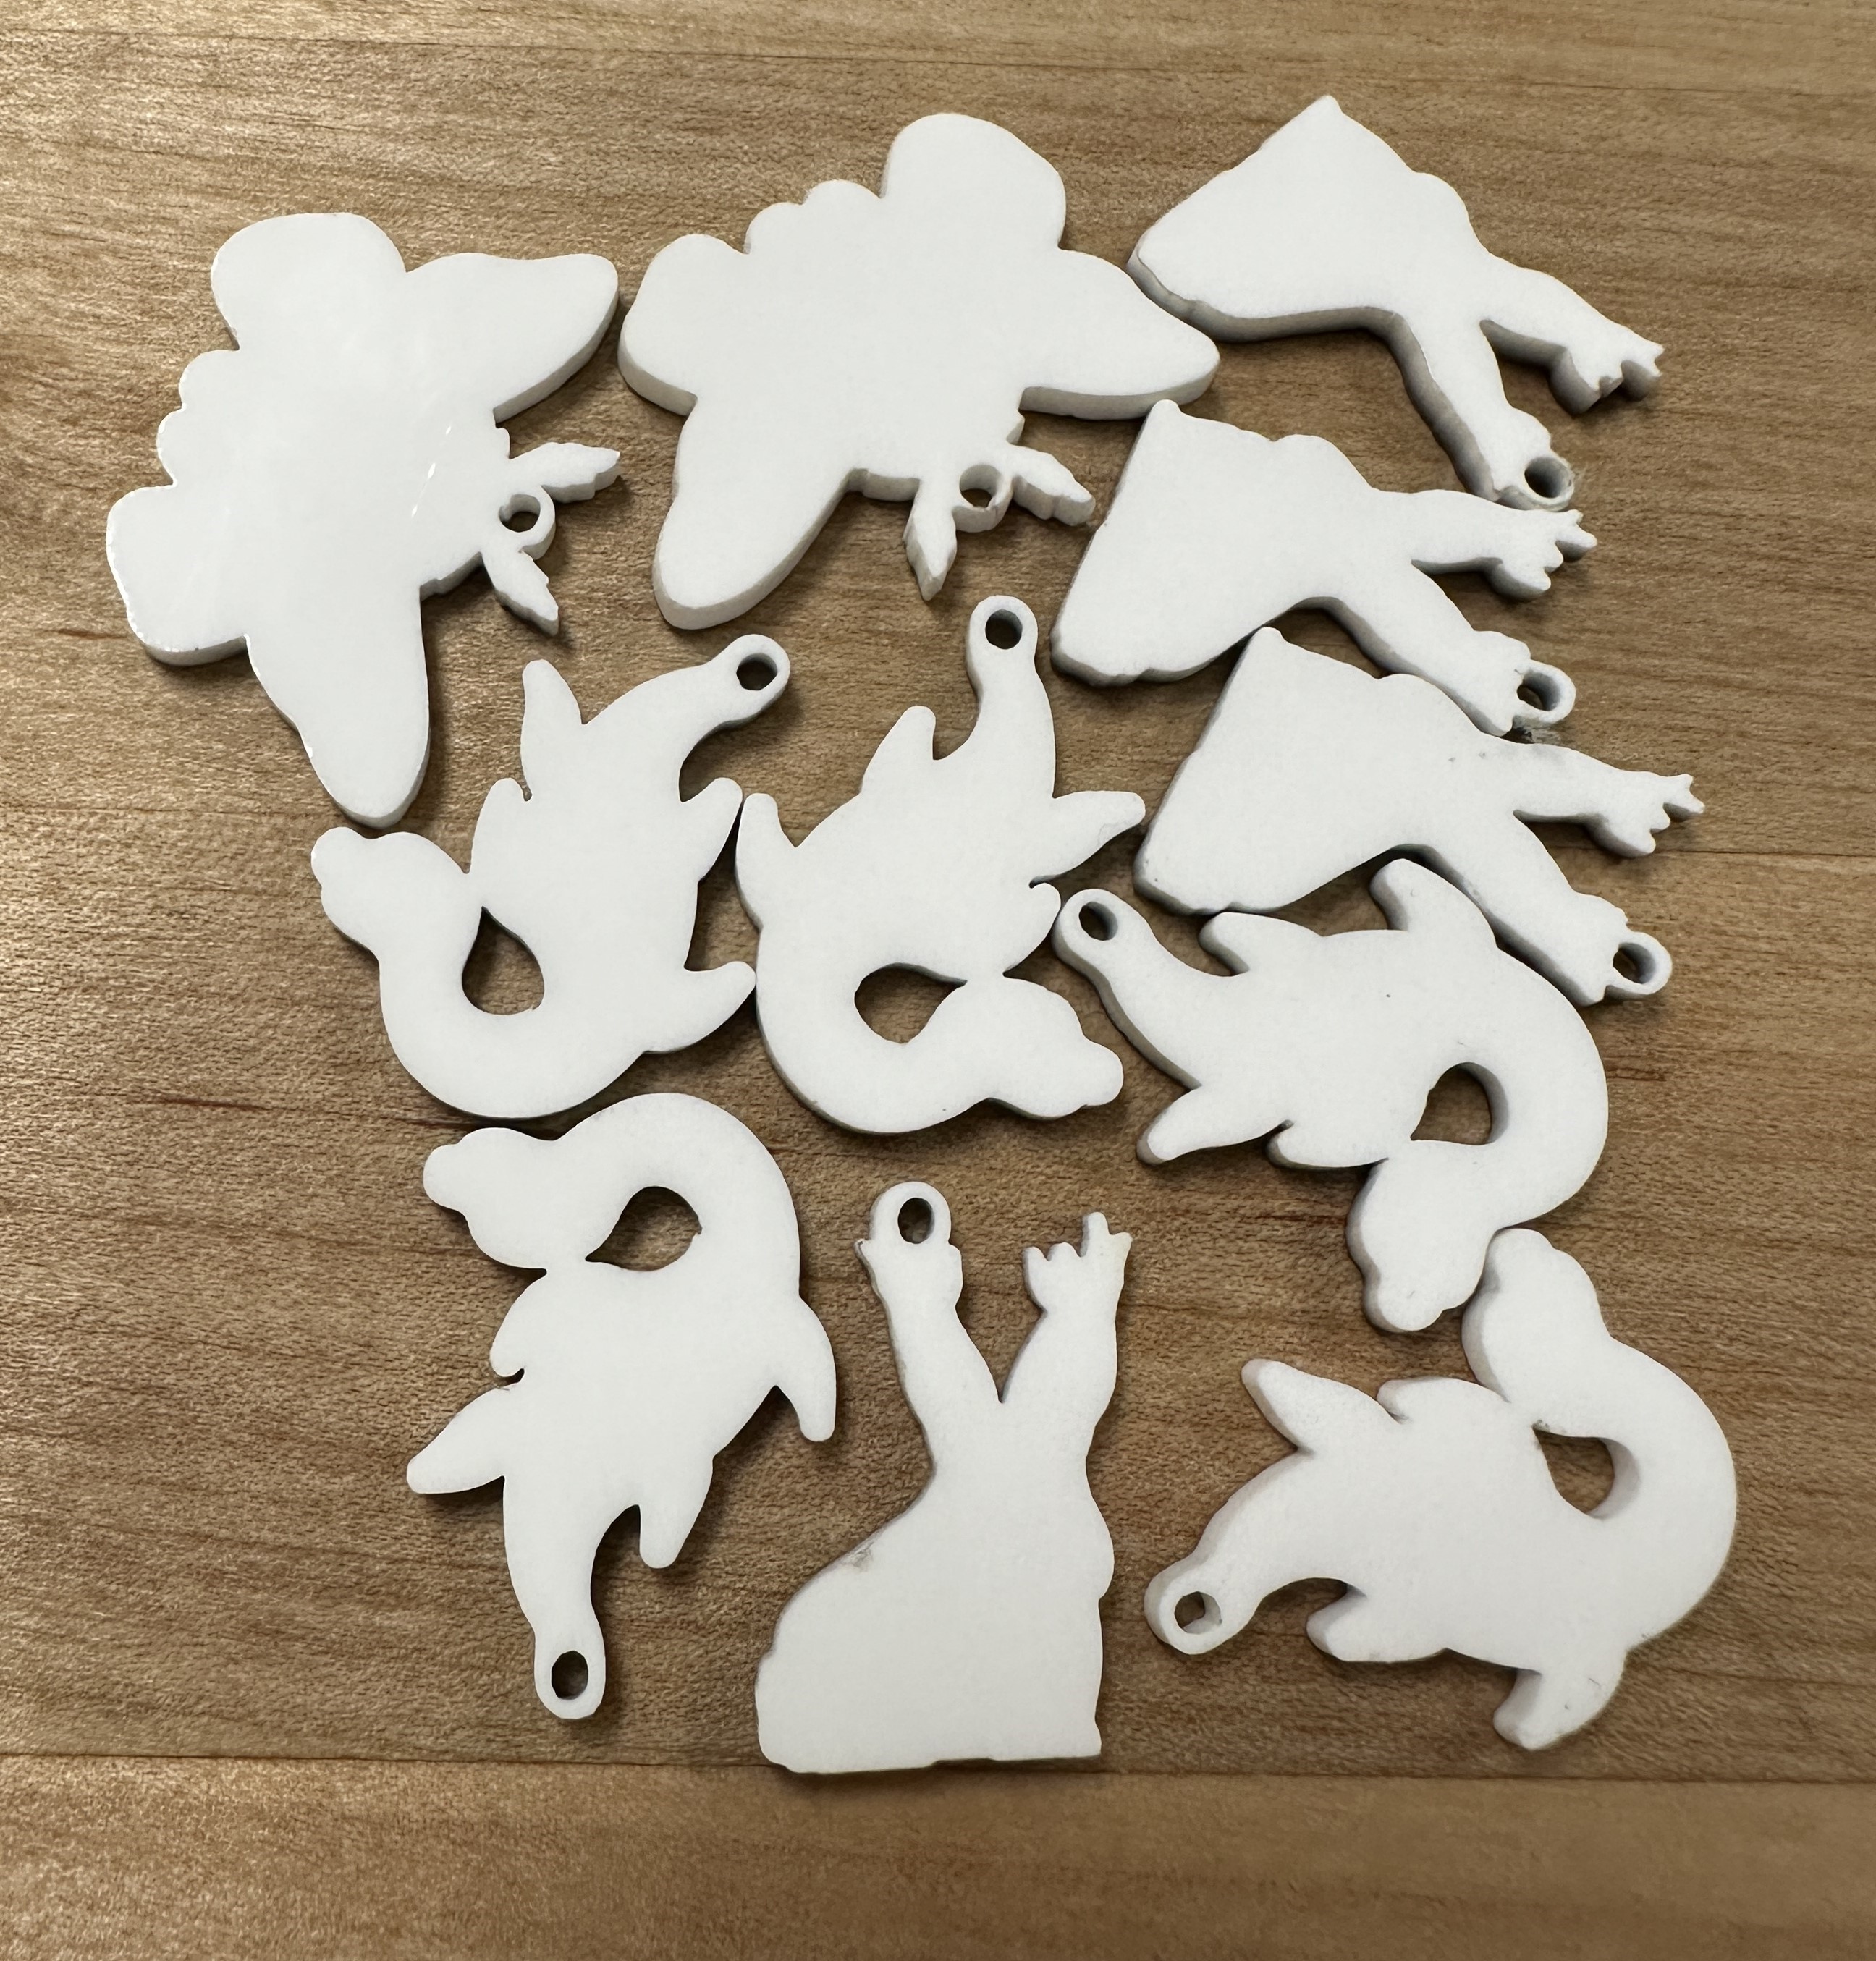
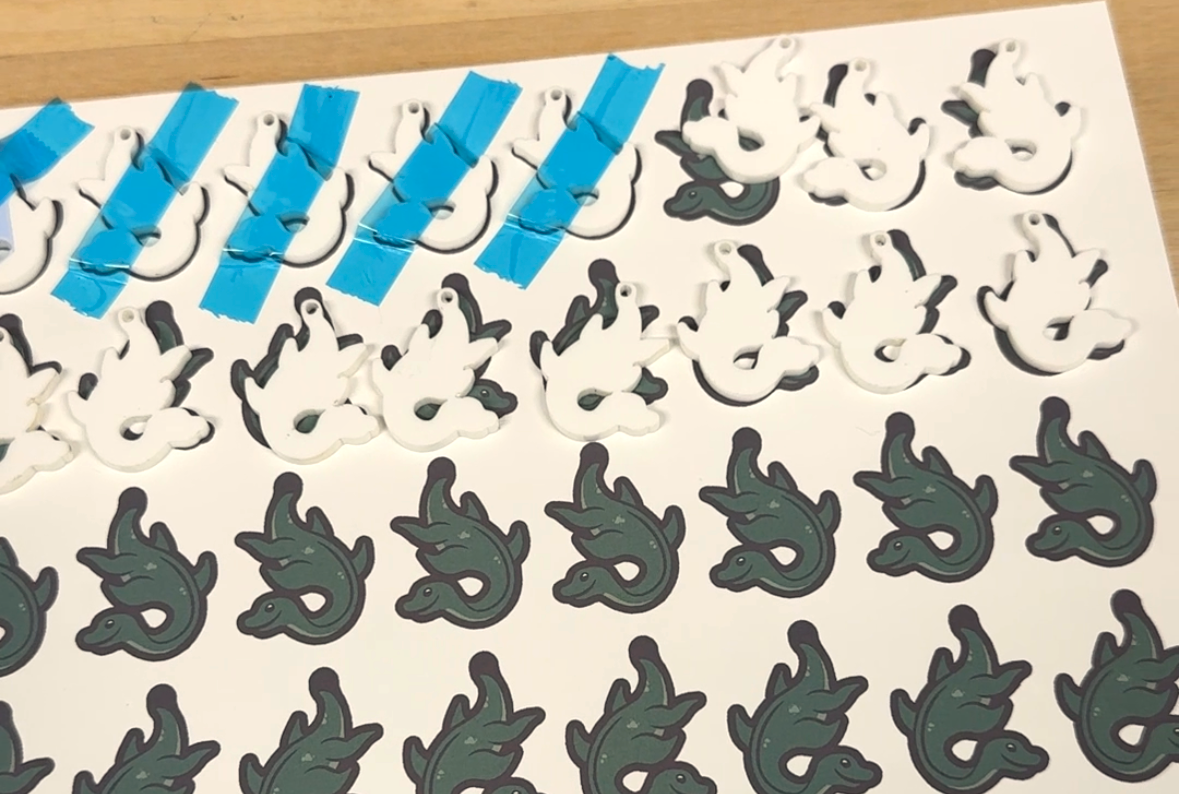
Once all of the shapes are cut out of solid white acrylic, I can move on to the sublimation process. If you’d like to learn more about the sublimation process, check out our tutorial videos HERE. After printing out my design file on the sublimation printer, I carefully align each piece to the image and tape it down with heat tape.
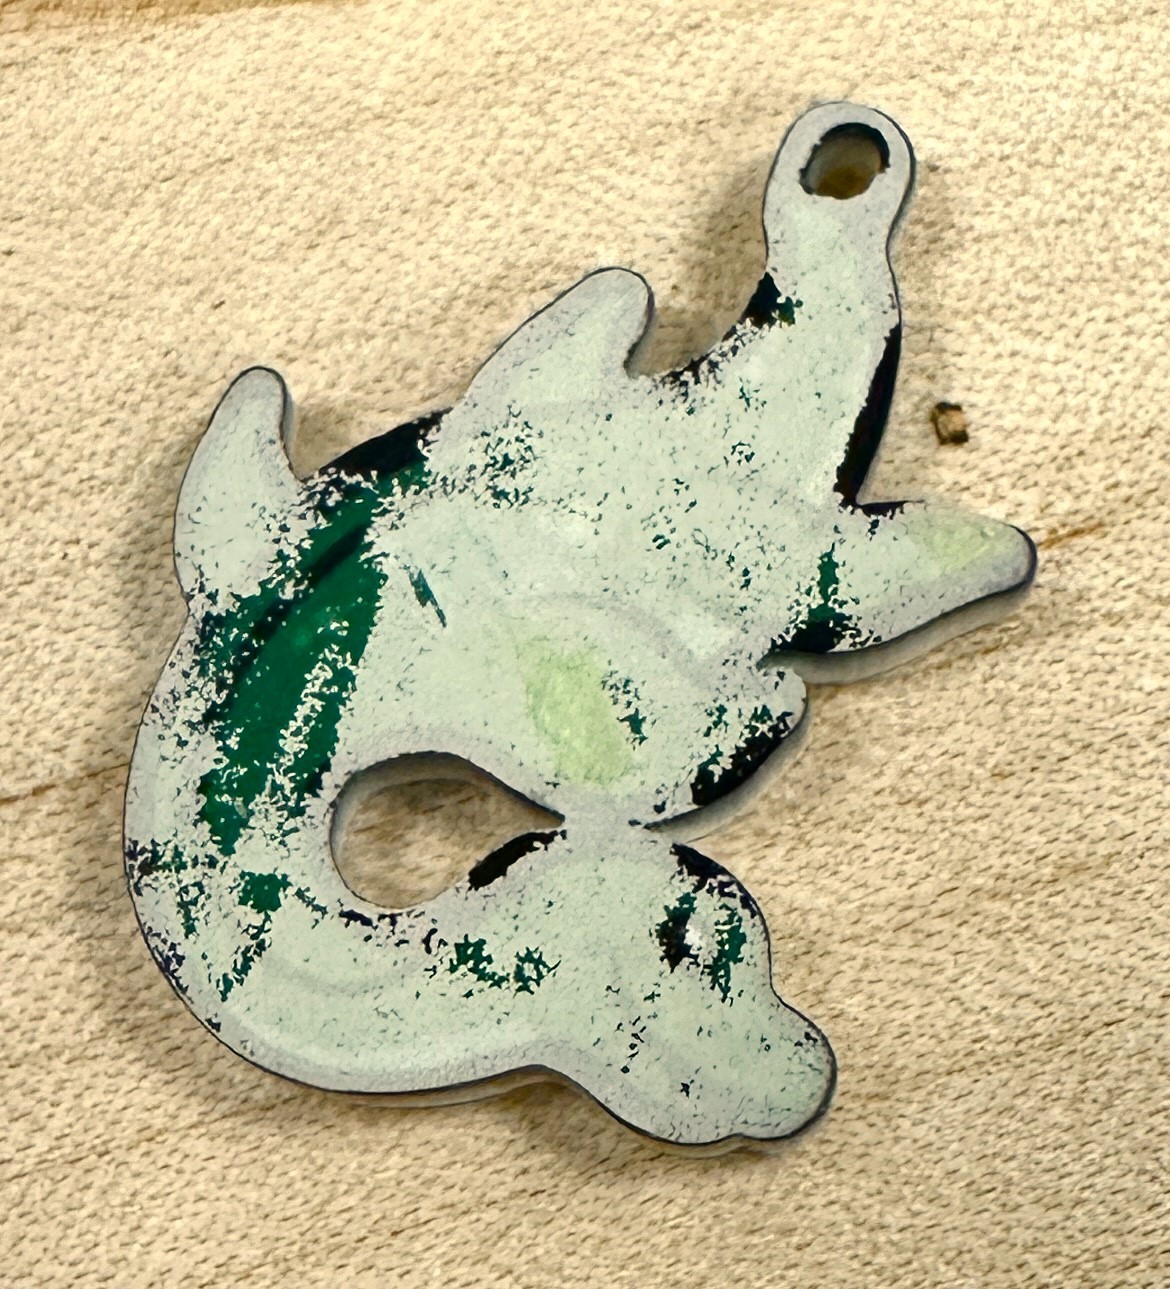
I have been pressing mine at 400° F for 180 seconds. Acrylic gets very rubbery when heated so when you pull it out of the press, place something heavy on it so it does warp when cooling. After peeling off the paper, the image may look bad like in my photo below. This is just paper that got stuck to the acrylic. Gently rub it underwater with your fingers to remove the paper. I don’t know why this happens; I suspect it may be due to pressing for too long. However, the colors came out great, so I’d rather overdo it than underdo it.
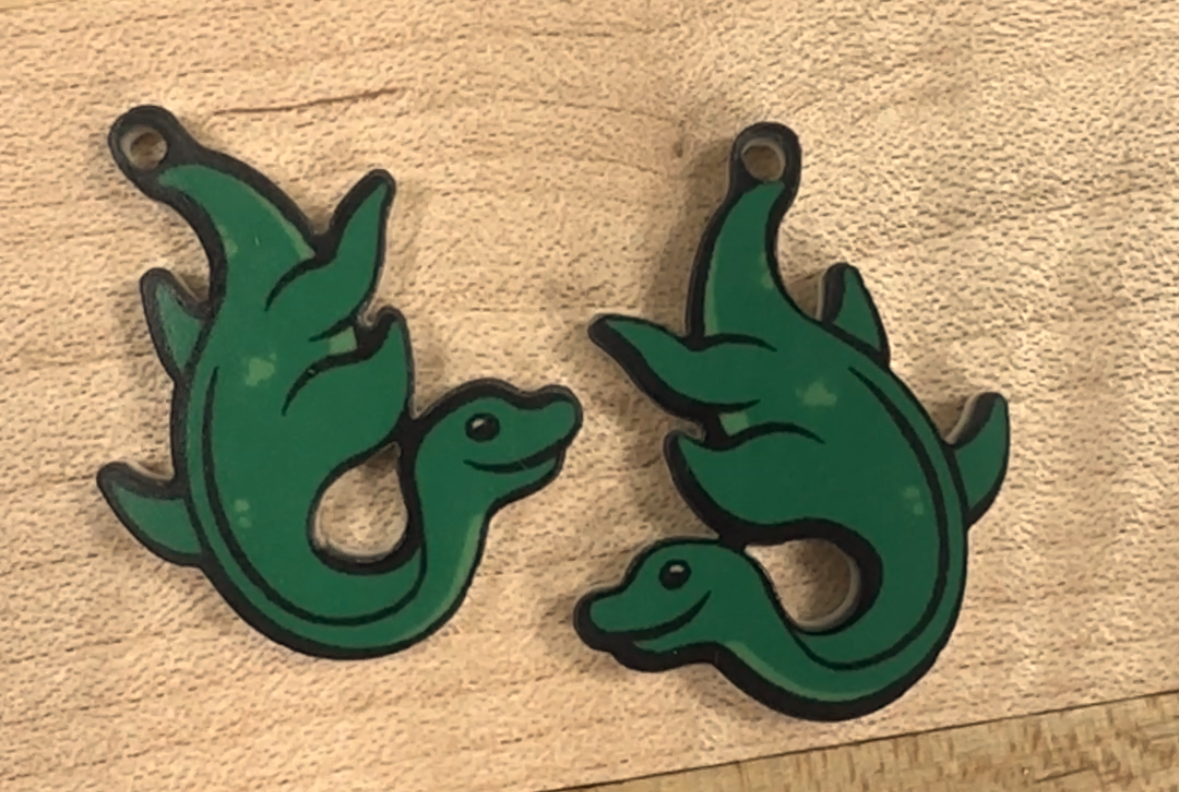
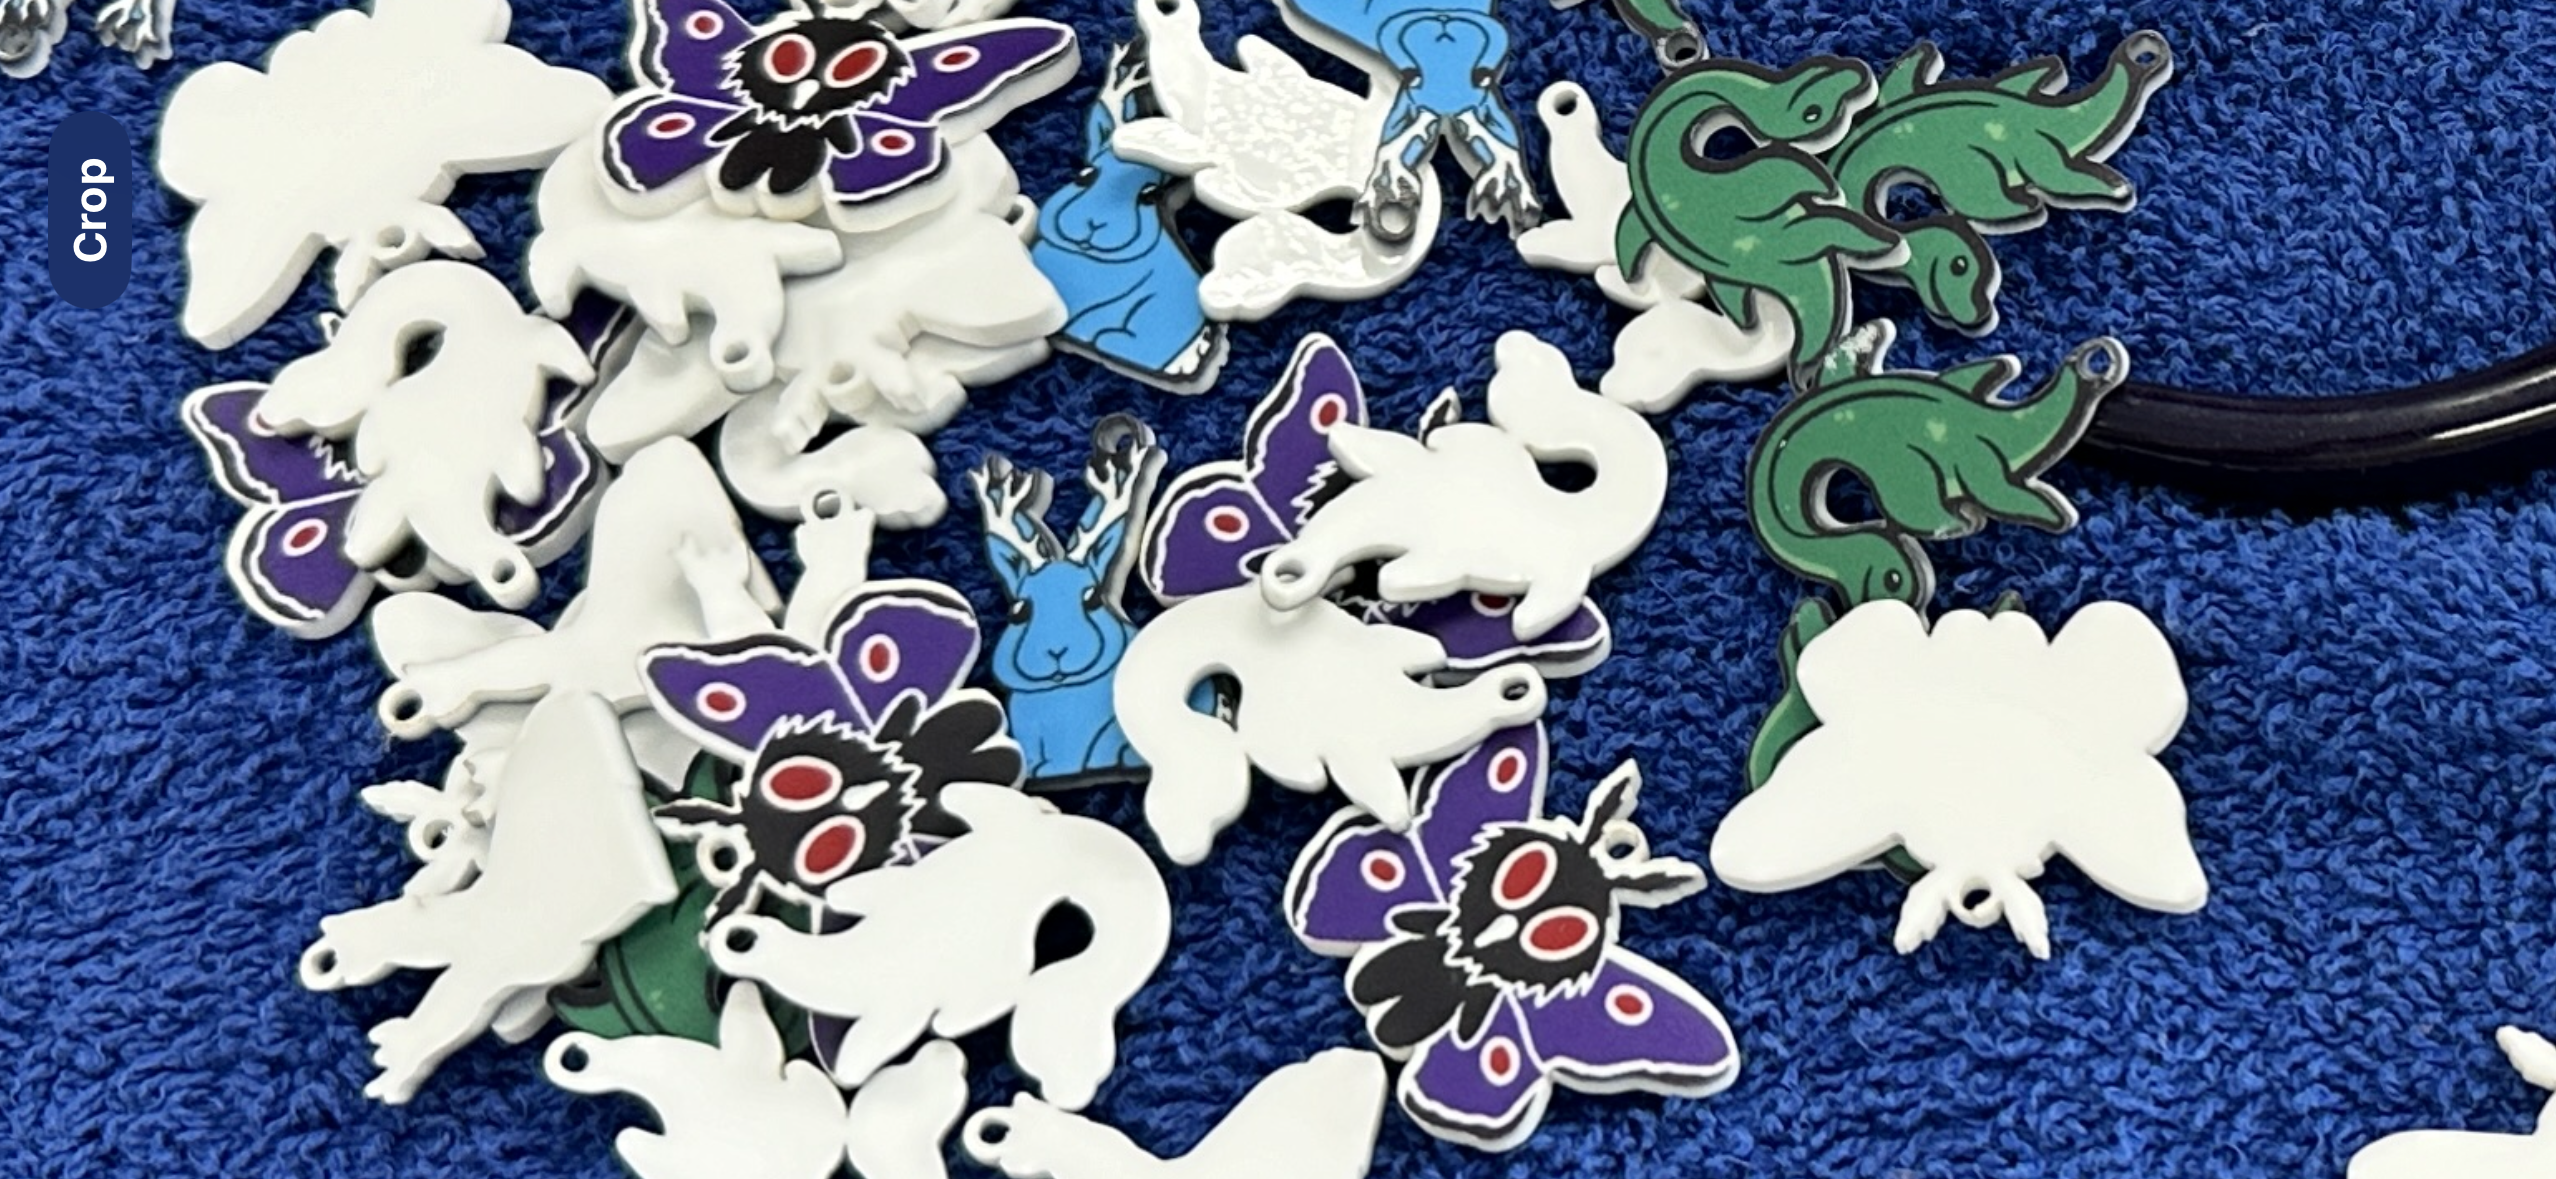
Once the image is pressed and cleaned, the final step is to just add some jump rings and earring hooks. Jewelry hardware can be found inside the Jewelry Making Kits in our Kit Library.
I hope this inspires you to make some jewelry featuring your own drawings! Help inspire others by sharing your creations on the Ignite Community Discussion Board. Happy Making!
