by Katie W.
Looking for a cute, personalized gift for your friends and family this holiday season, or maybe something for your own home? Well look no further than this blog, where I’ll be teaching you how to make sublimated ornaments.
“Sublimation” is a process of putting designs onto various materials including textiles, ceramics, and metals, which uses a specialized printer, sublimation ink, and a heat press. The process involves the transformation of ink from a solid state to a gas state, bypassing the liquid state, which is a chemical process known as sublimation. The combination of pressure and heat embeds your artwork for long-lasting and vibrant results.
Here in Ignite, we have this special equipment in our Fab Lab. We also offer the sublimation paper and ornaments for a small fee if you do not have your own materials.
Design your Project in Canva
The first thing you’ll need is an image to go on your ornament. This can be anything you’d like, like a family picture, fun design, vacation picture, etc. Keep in mind that the higher resolution your picture is, the crisper/clearer it will turn out. For this demonstration, I’ll be using a picture of our family dog, Feather.
When you have chosen your image, you will need to make it the right size and shape to go onto the blank circle-shaped ornament. One way to do this is by using Canva, a browser-based design that’s free to use – although you will need to make your own account first.
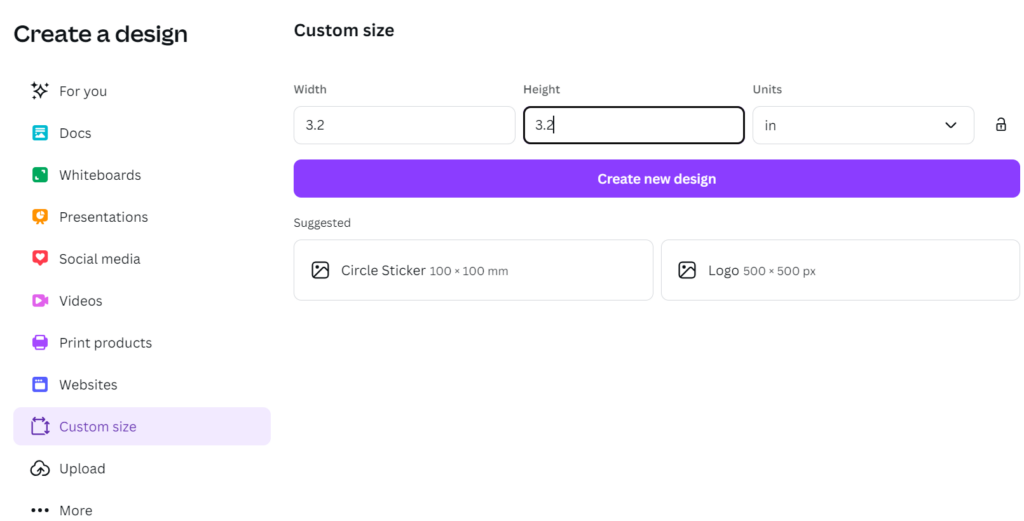
Once you’re in Canva, create a custom template that’s 3.2”x 3.2″. This is the size of the ornaments that we have in stock here at Ignite, but if your ornaments are a different size, then that’s what you should set your custom template to.
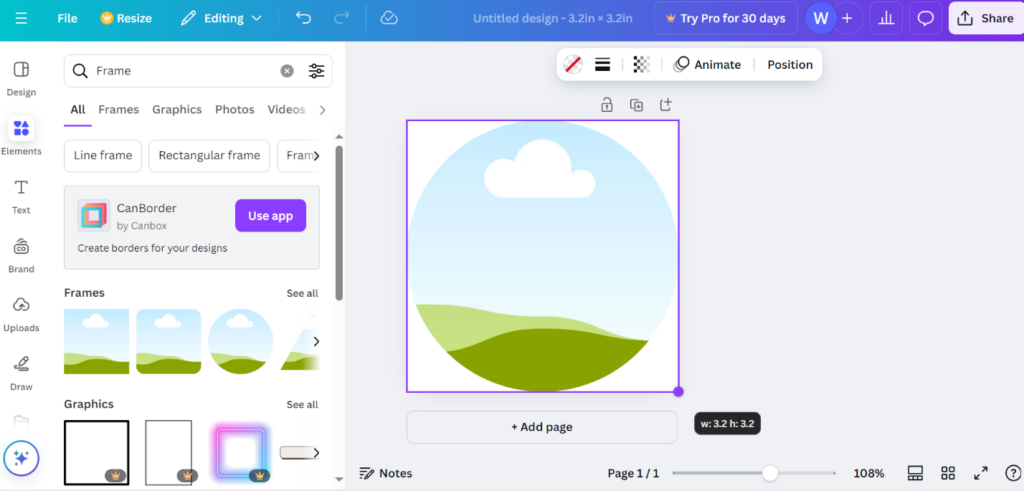
From the section titled “Frame”, choose the circle frame and enlarge it until it is the size of the canvas.
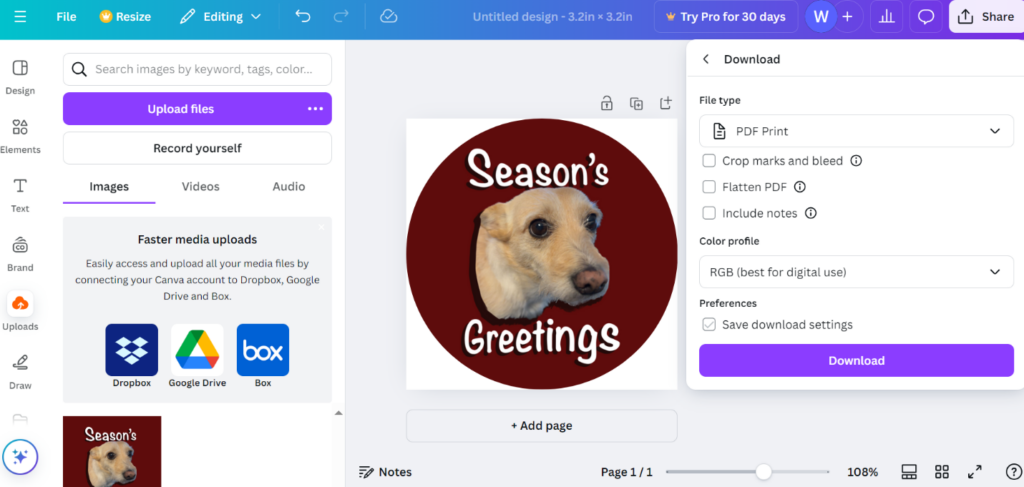
Then, upload your image and drop it into the frame. This should make it the size and shape of the frame. If you’d like, you can fiddle around with some of the other settings in Canva such as adding text, filters, and other effects.
When you’re done editing your image, download it as a PDF.
Print your Design from the Sublimation Printer
The rest of the process will need to be done in Ignite Studio with our Fab Lab software and equipment.
On the computer attached to our sublimation station, open Sawgrass Print Utility and upload your PDF file.
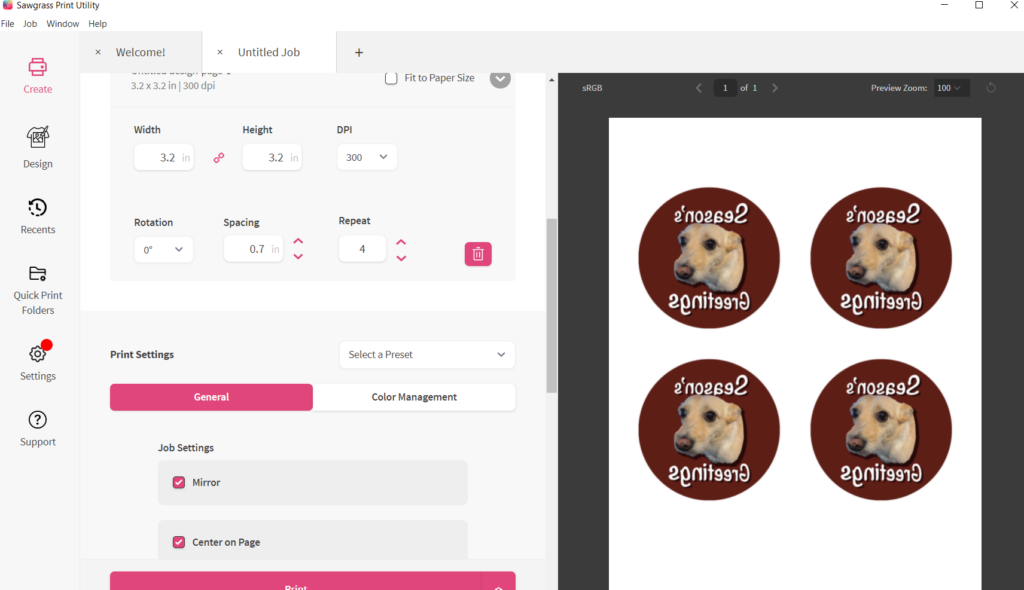
If you’d like to make multiple ornaments at once, I would suggest formatting your document so that you have your multiples all on one page, and then printing them at the same time to conserve sublimation paper and keep your costs down. You can do this in the section titled “repeat.” Make sure to set the “product” to MDF board.
When you’re ready to go, place paper white side-down in the paper tray and press print.
Use the Heat Press to Sublimate your Design
Now that you have your printed image, you’ll move onto using the clamshell heat press.
- Heat the press to 400 degrees and set the timer for 60 seconds.
- Peel the thin protective layer of plastic off BOTH sides of the ornament.
- Cut out the area around your image and tape the paper to your ornament with heat transfer tape that you can find in the Fab Lab. Make sure the tape is on the back of the ornament, as shown.
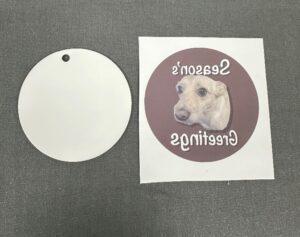
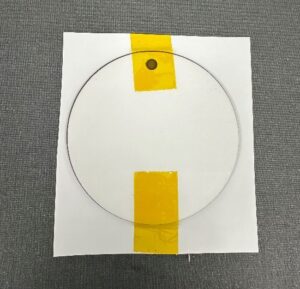
4. Lay your ornament inside the press, placing butcher paper both above and below it. Make sure the side of the ornament with the sublimation paper on it is facing up.
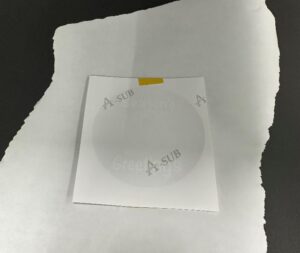
5. Close the press until the timer goes off. Use our special heat-resistant glove to safely remove the ornament from the press, and leave it to cool down for a couple minutes. Once it is cooled down, you can peel the sublimation paper off to reveal your image!
Tip: If there are white spots on your image, don’t worry! It’s just residue from the sublimation paper. These spots can be wiped off with a wet cloth, or soap and water for more hard-to-remove areas.
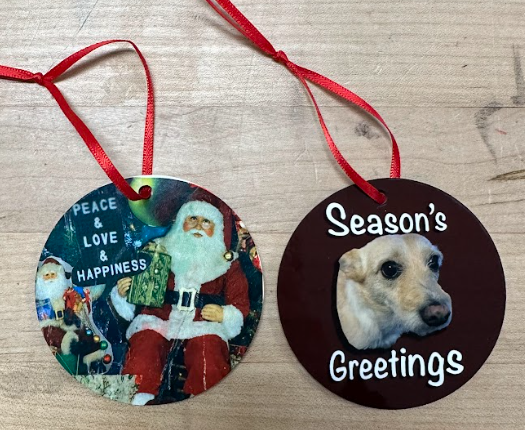
Your finished product will look something like this:

Learn how to make other sublimation projects by following along to our YouTube videos or by attending a Sublimation Quick Start Session. Post your makes on our Ignite Community Discussion Board on Facebook! Happy Making!

