by Hailee Smith
One advantage to creating in Ignite: mash-ups! Being able to work across genres and disciplines allows patrons to discover creative ways to blend techniques. Read on for a printmaking and laser engraving mash-up using Ignite’s relief-cut print making kit and laser engraver.
What is Printmaking?
Printmaking is a versatile and interesting medium. Not only does it provide a very pleasing and sought-after texture and line quality, printmaking also allows you to reproduce your work at a higher rate than drawing or painting by hand.
The term “printmaking” casts a very wide net–there’s silkscreen, lithography, etching… the list is practically endless. There are tons of ways to transfer an image onto a surface, some dating back for centuries. One of the oldest methods of printmaking is block printing. It’s the process of taking a block, carving a design into it, and then transferring that design to paper. Traditionally, block prints are carved from wood. It’s more modern cousin is lino-block printing, which uses linoleum instead.
Could Laser Engraving Play a Role?
When it comes to block printing, I started to wonder if laser engraving technology could offer an alternative to carving. After all, the concept remains the same: to get the result you want, you simply need to remove material where you don’t want ink to be. So, wouldn’t a deep engraving perform the same function?
I started to do some research. First and foremost, I wanted to see if linoleum was even possible–or safe–to engrave. Turns out, a lot of modern lino blocks these days aren’t actually pure linoleum, but are synthetic, mixed with vinyl. This is a huge “NO!” when it comes to the laser engraver (for safety reasons)! Thankfully, I was able to track down some authentic lino on Dick Blick. The MSDS (Materials Safety Data Sheet) confirmed that it was safe. So all operations were a go!
The Printmaking Design Process
Now that I had my material, it was time to start designing. I decided to draw digitally, and came up with this. Meet “Kevin the ghoulblin.”
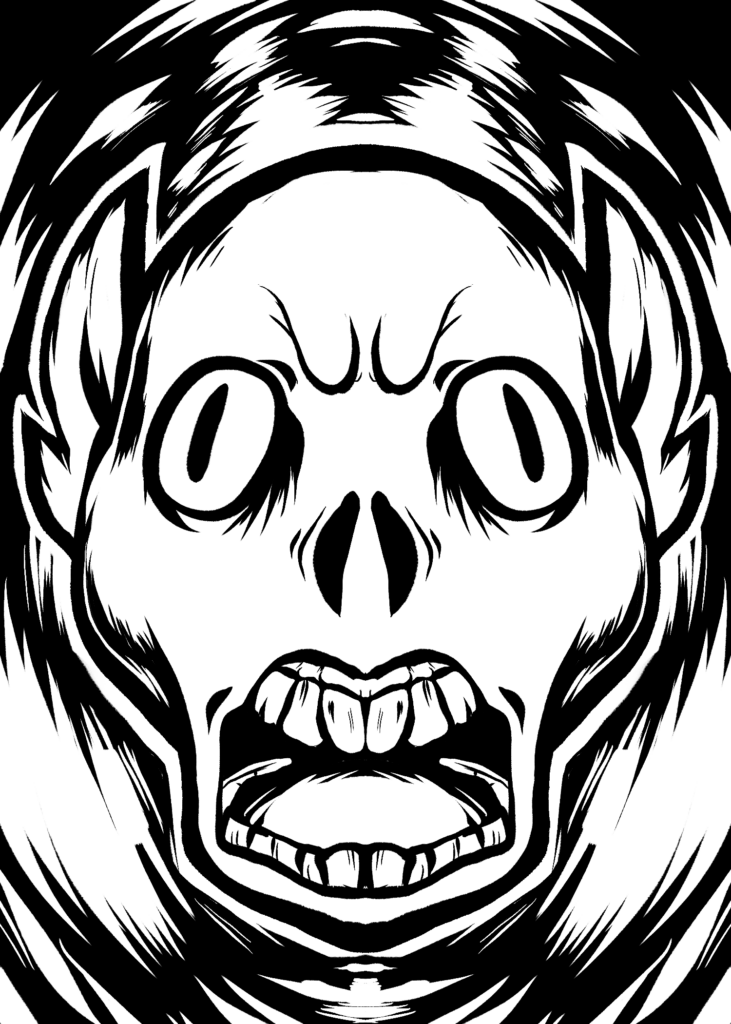
(I must’ve been pretty hungry when I came up with this design)
Block printing presents some unique challenges that require some backwards thinking. So, some things to keep in mind when you are designing a block print: the area that you carve away will be NEGATIVE, and the area that you leave alone will be POSITIVE. The NEGATIVE area will NOT be inked, but the POSITIVE area will. So, for instance, if you carve a circle into the center of your block, and roll black ink onto your block, you will get a print that is entirely black EXCEPT for the circle you carved. Also, remember that your print will be flipped, or “mirrored,” so what you see on the block is a backwards image of what you’ll end up with.
Accounting for all of this is made easier if you’re going digital – you can just draw like normal, and then invert and flip your image. My design specifically is symmetrical, so I didn’t have to bother with flipping it, but I did make sure to invert my drawing so it would appear as I intended it to.
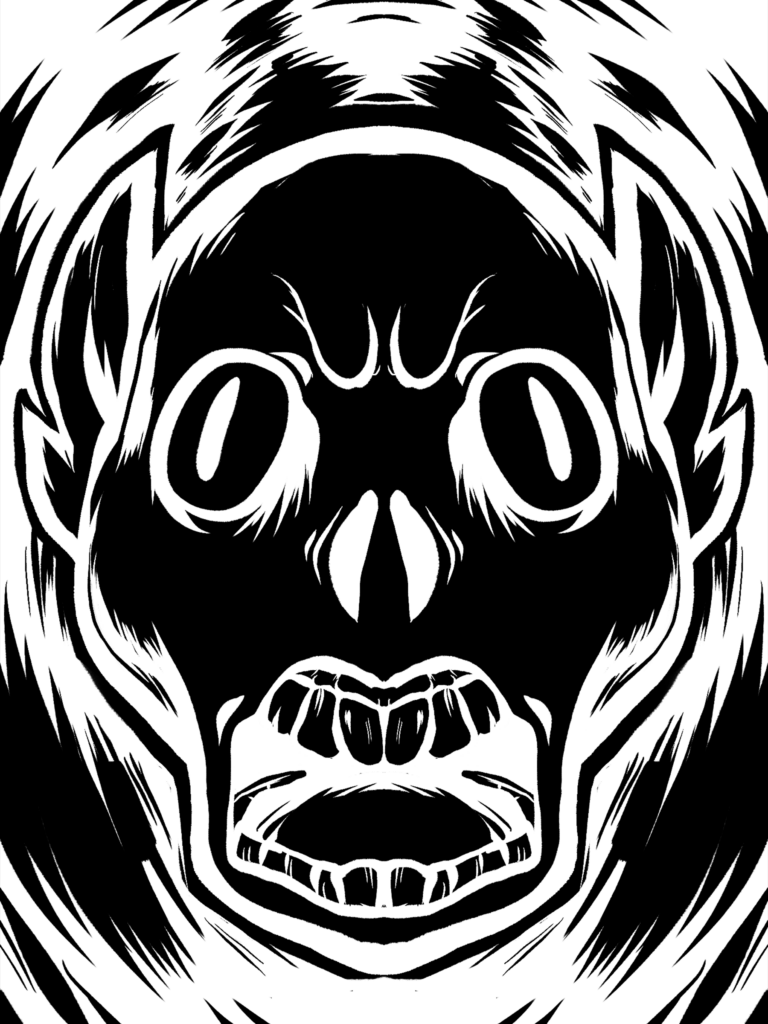
(It might look strange right now, but it will make sense later!)
Printmaking and Laser Engraving Mash-up
I engraved it onto the linoleum (Speed: 110 Power: 30), and it took about 45 minutes.
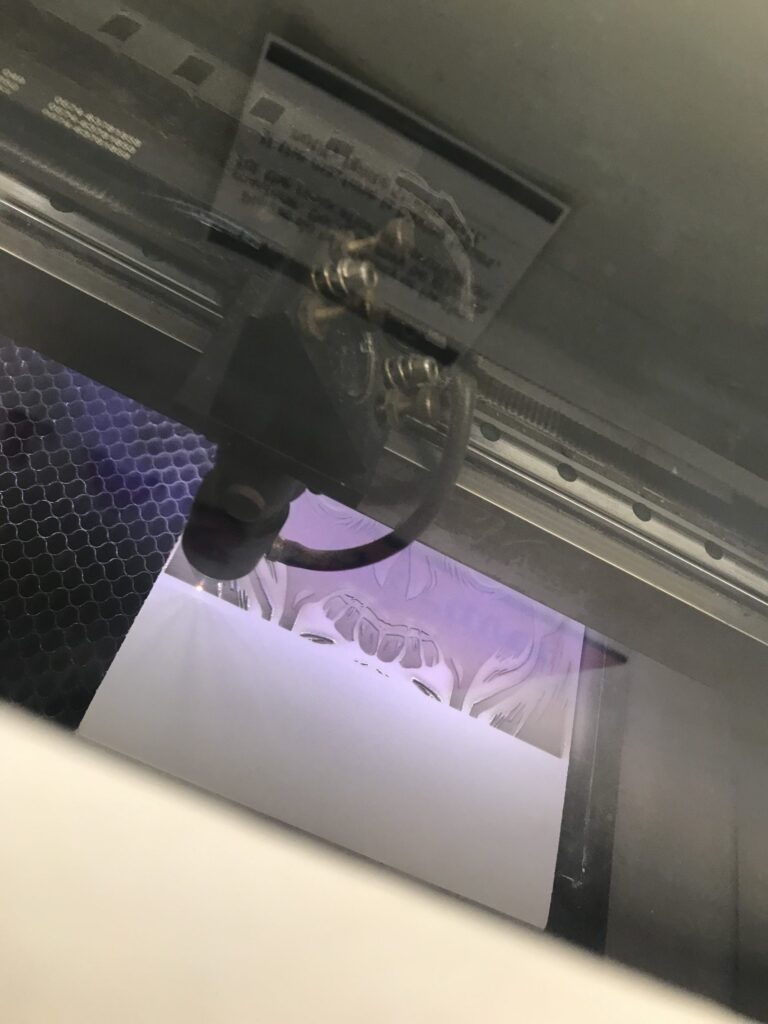
The laser engraver hard at work.
It looked like this when I was done.
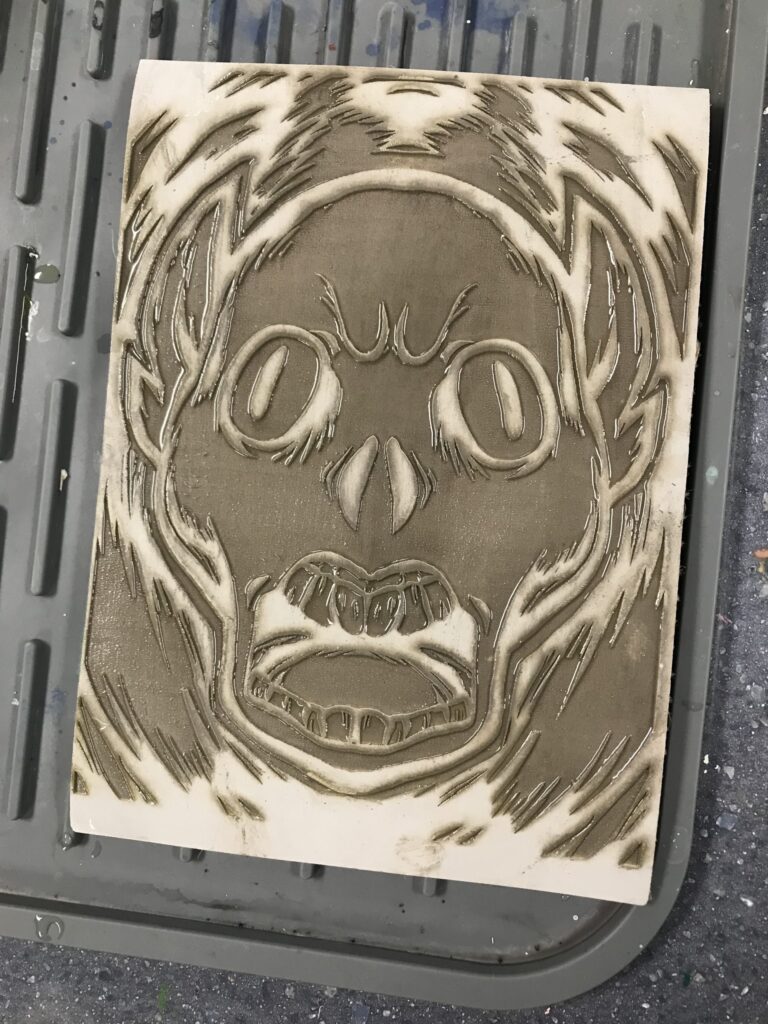
I was a little concerned at first that my engraving wasn’t going to be deep enough, but my fears were put to rest as soon as I started printing.
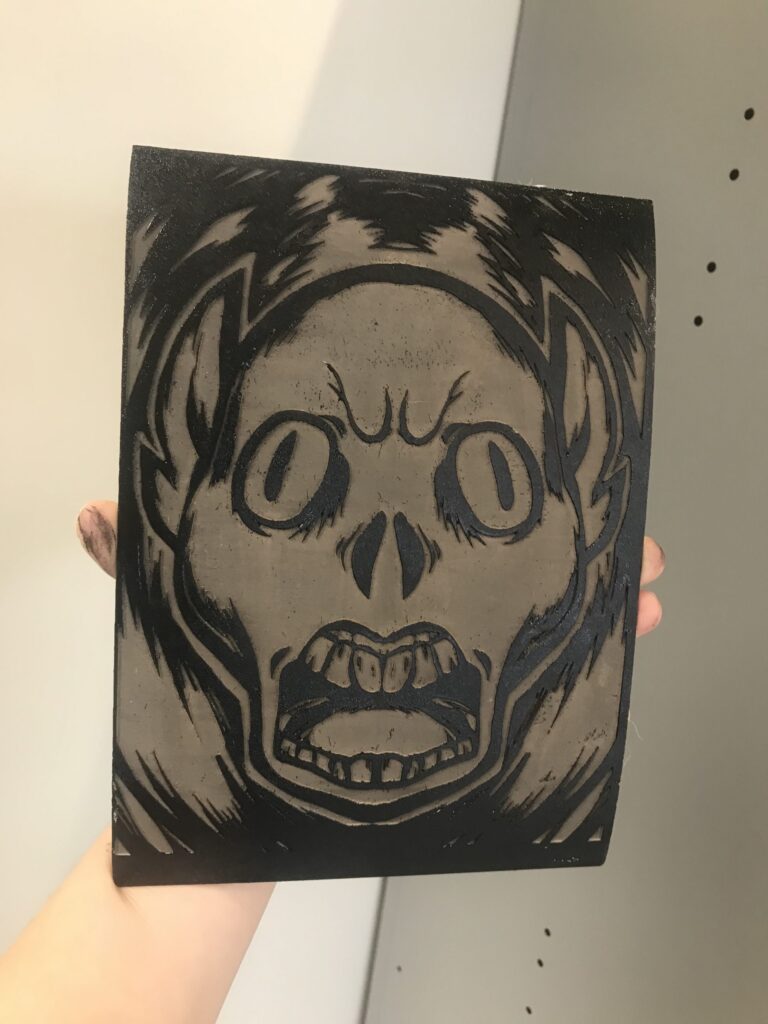
This is my block all inked up and ready to go.
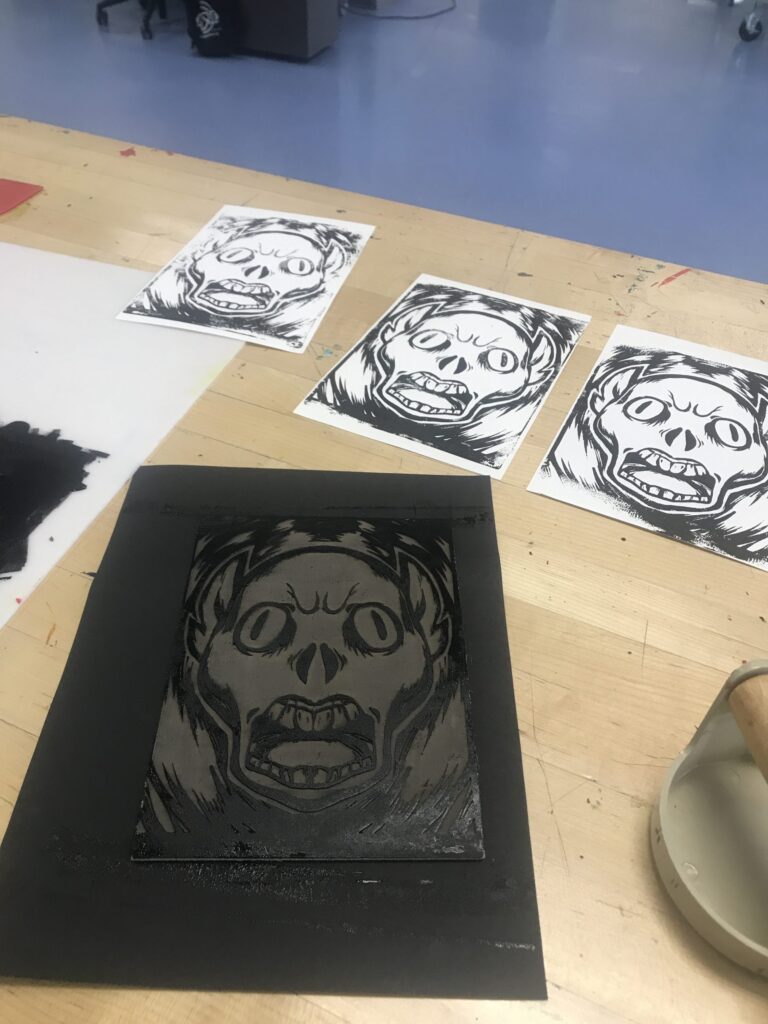
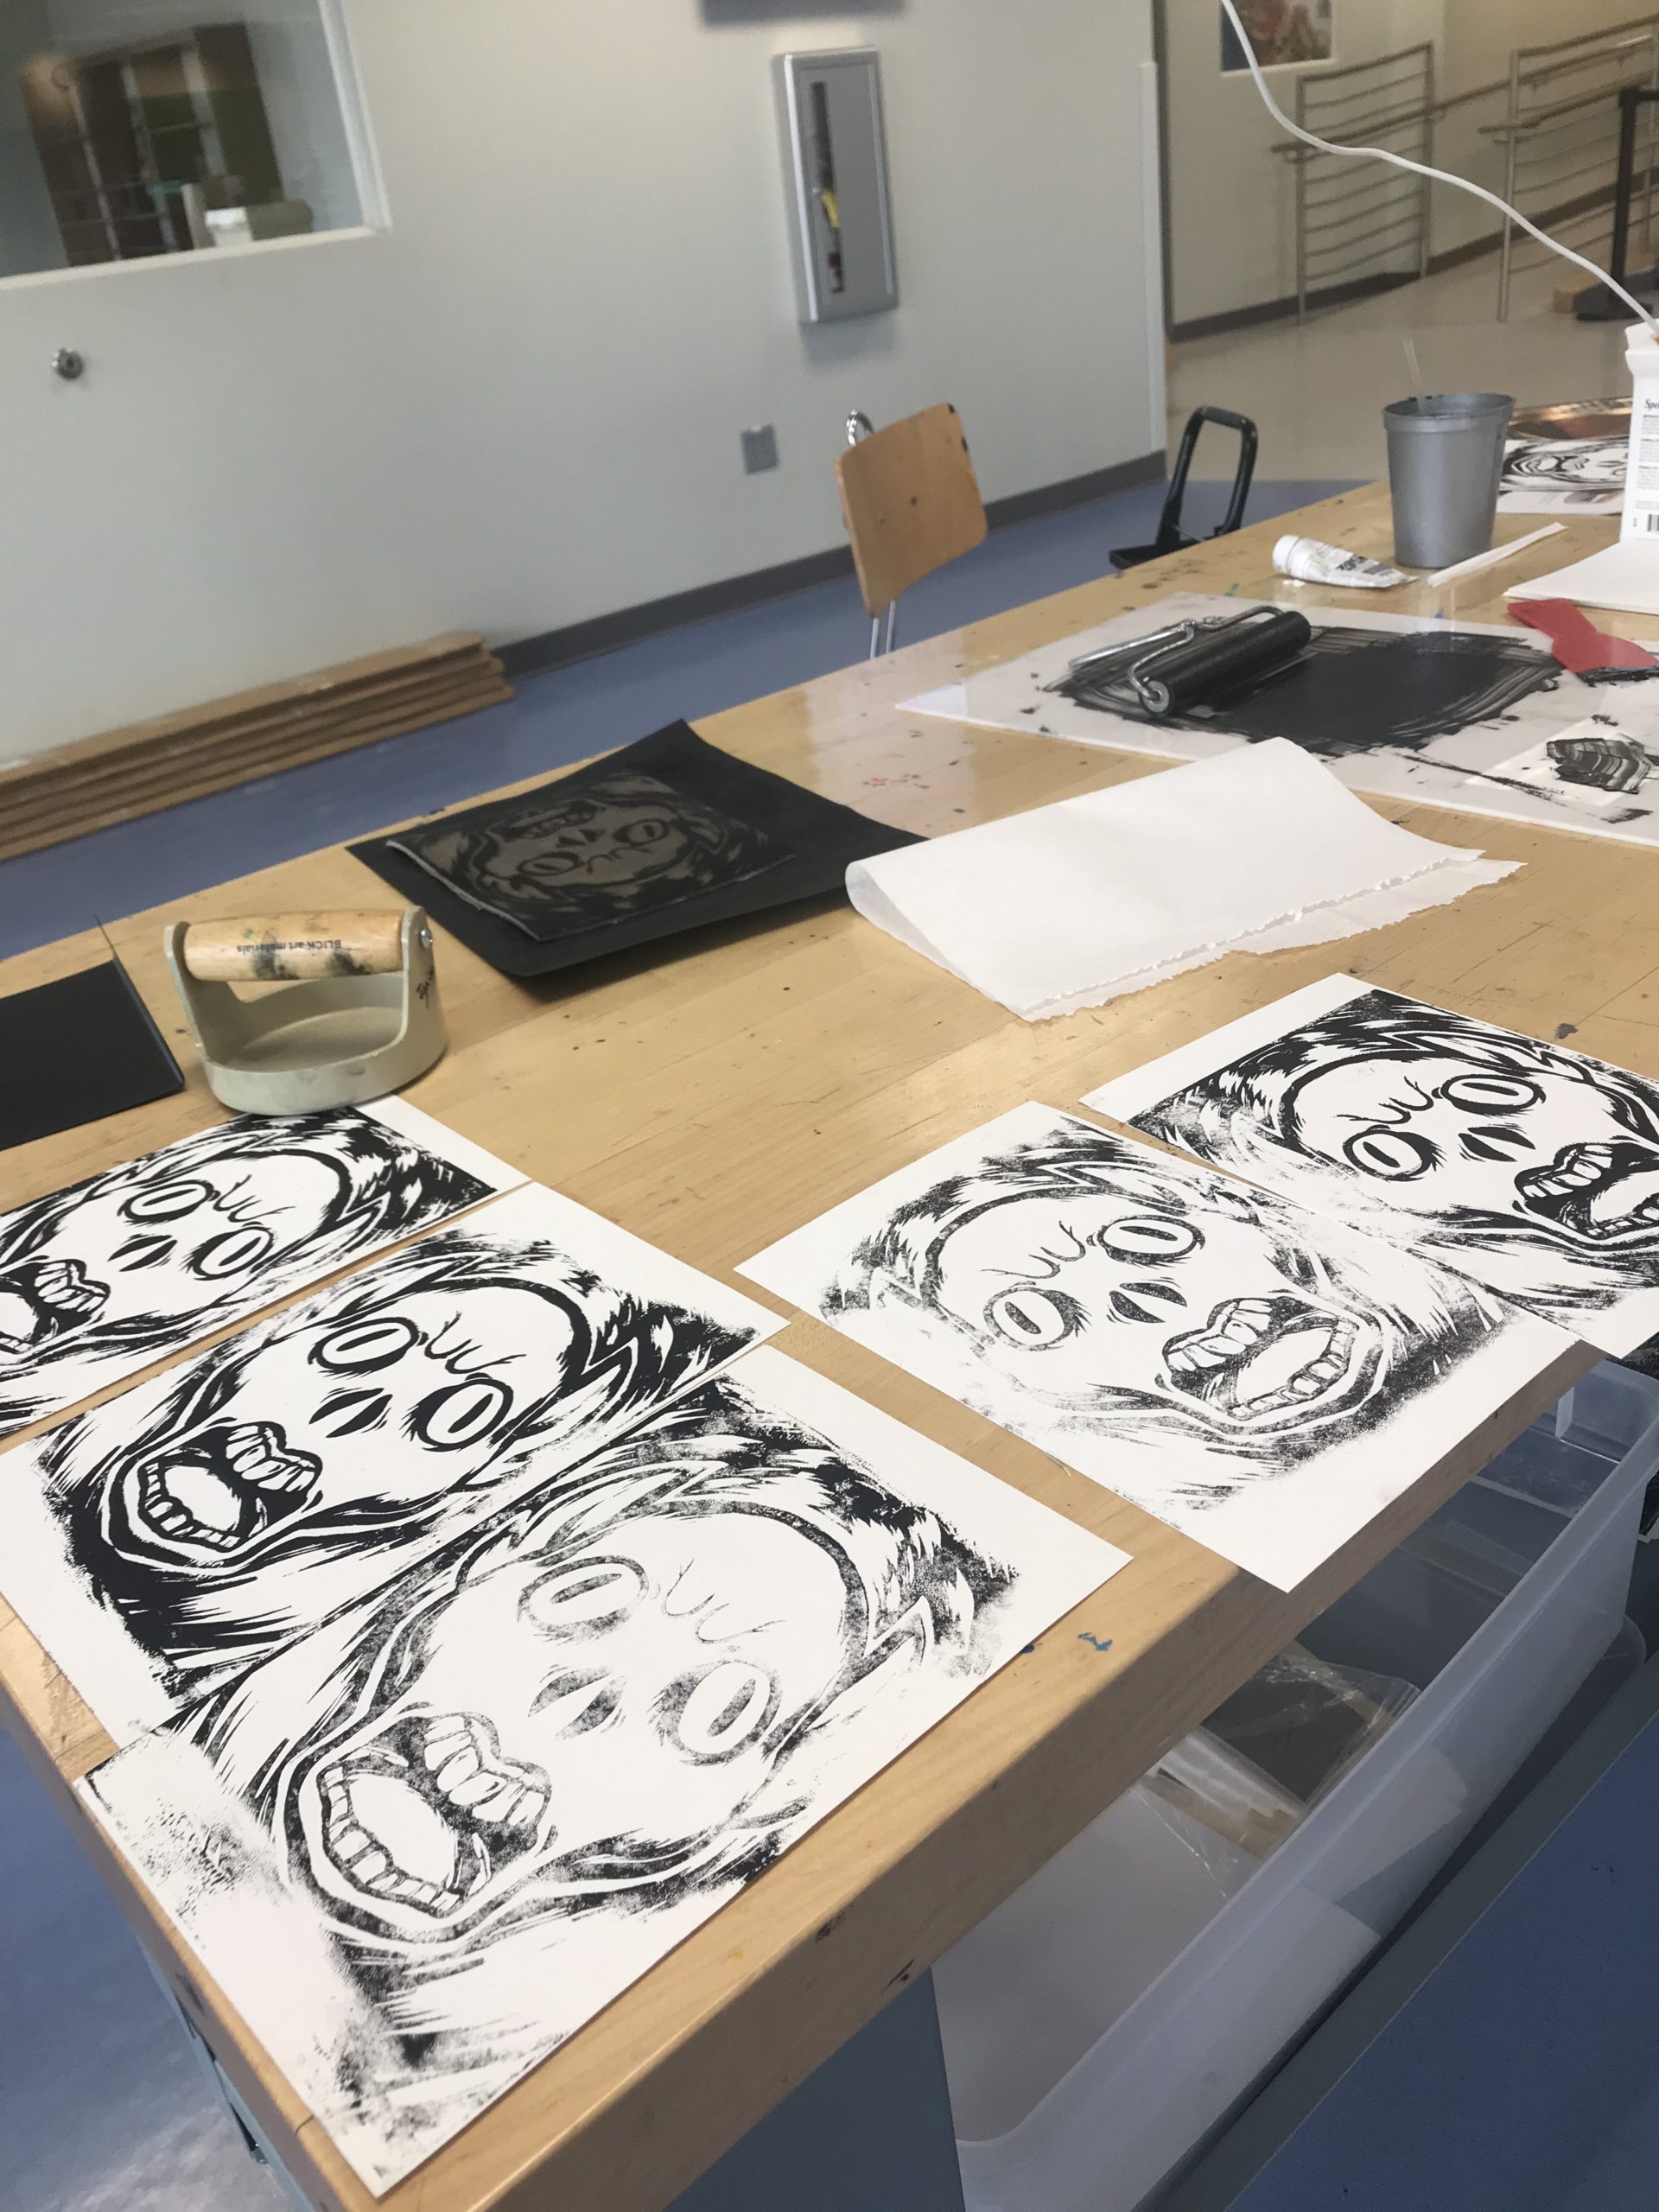
The printmaking process unfolds.
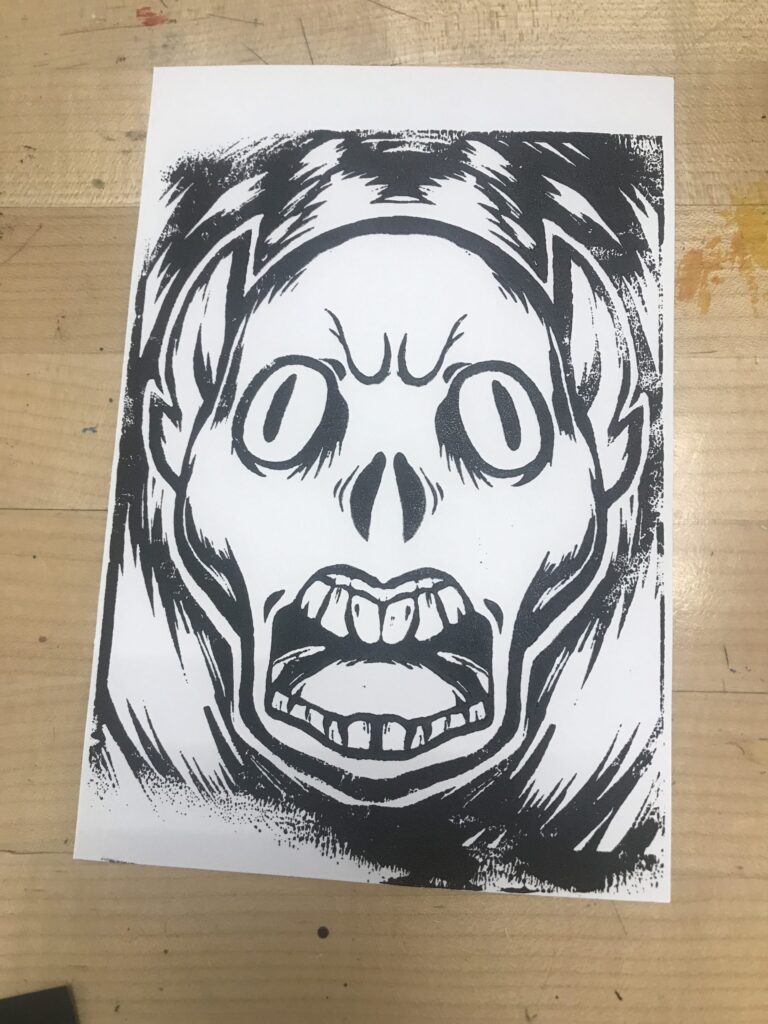
A finished print.
Notes for next time: for my very first lino block print ever, I’m very happy with how these came out. They didn’t turn out exactly as I had hoped–some of them were a little too dry, some of them had too much ink, and almost all of them had an uneven coverage. But, honestly, lots of people agree that this kind of thing–the little imperfections and textures–are all part of the charm of printmaking in the first place.
Personally, unless I really want that hand-carved aesthetic, I think I’ll be using this method from now on if I want to block print again. Moving forward, I would love to improve my technique, and maybe even try it on wood! Show us what you’re making in our Ignite Community Discussion Group on Facebook. Happy making!

