

by Kate H.
Introducing a new piece of equipment available at Ignite Studio: stop in to use our iPad and accompanying Apple Pencil, only available in-studio! The iPad is loaded with the premium app Procreate which allows users to create their own designs and illustrations using a range of tools. This blog will go over the basics of using Procreate for beginners – follow along to learn how to make your own digital creations.
Getting Started in Procreate
Once you’ve checked out the iPad, you’ll need to find and open the Procreate app on the Home page. After opening the app you will need to make a new canvas to begin drawing. To do this, tap the “+” in the top right hand corner.
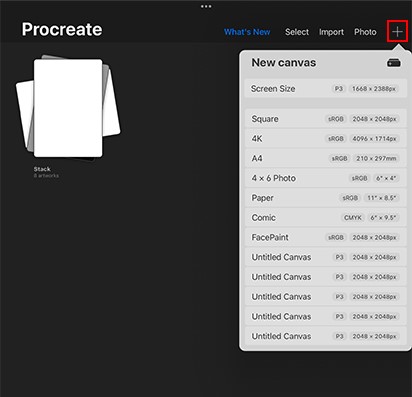
Next you will be given a range of canvas sizes to choose from. I usually use the standard “Screen Size” option for my canvas. However, depending on your project, you may wish to choose one of the other canvases.
Intro to Tools
After creating a canvas you will notice ten different icons representing functions of the app. Starting from left to right you have:
Gallery (Home)

This button acts as a “Home” button when you tap on it and will take you away from your canvas to see all of your saved creations in a gallery.
Wrench Icon (Actions)

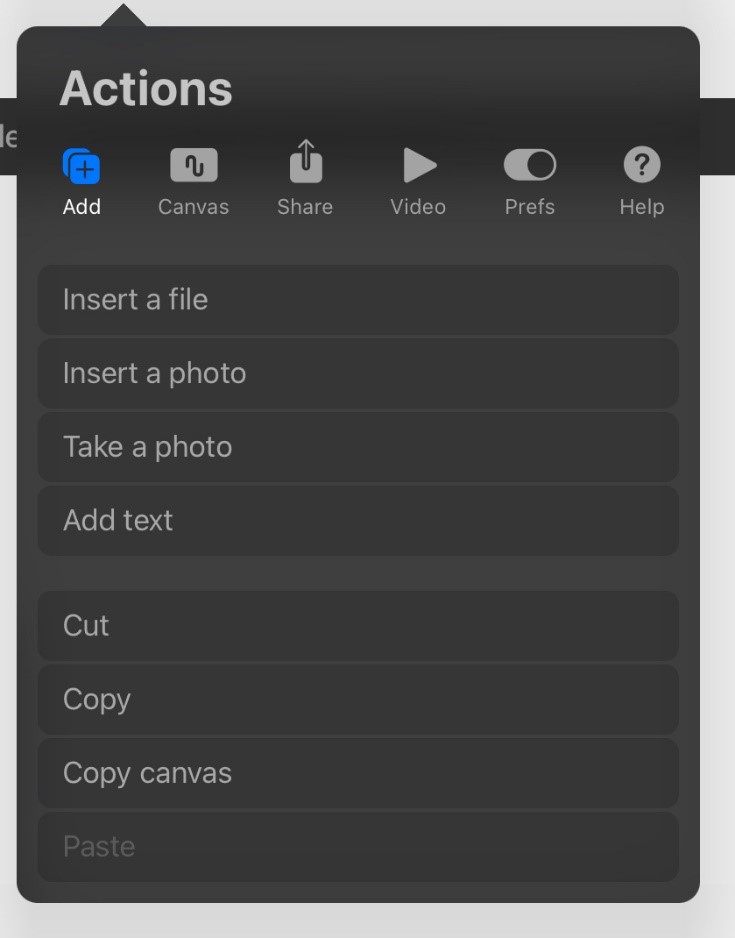
The Actions pane has different settings depending on the tab you’re in. There are options for inserting things onto your canvas and also for sharing your work. Additionally, you have the option of starting a time-lapse of the progress you make as you draw and create under “Video”, and the “Canvas” tab is where you can change the dimensions of your canvas.
Magic Wand Icon (Adjustments)


On the Adjustments pane you have the ability to transform your artwork with a range of special effect options.
Ribbon Icon (Automatic Selection)


The Automatic Selection tool gives you the ability to select parts of your artwork and move them freely or transform them, like making certain parts larger or smaller. The Freehand tool can be used to manually trace around your artwork to pick which parts you would like to change. Rectangle and Ellipse are both pre-programmed shapes that you can use to select an area in their respective shapes.
Mouse Arrow Icon (Transform)

 The Transform pane will give you options to edit all of the contents in your current layer. You can flip, rotate, or scale your project. There are other options for advanced users as well.
Paintbrush Icon (Brush Library)

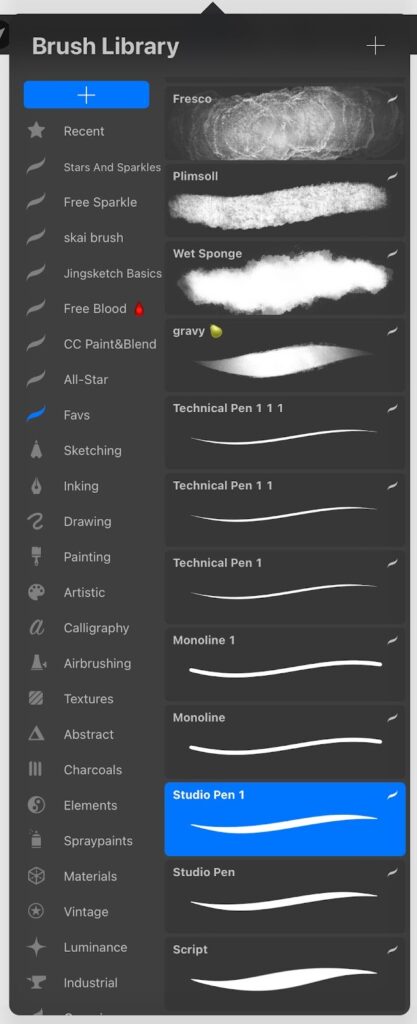
In the Brush Library you will find a multitude of different options for tools to create marks in the canvas that have already been preprogrammed into the app. You can choose brushes that mimic real-life media like watercolors or ink, or choose a simple basic brush to draw with. If you want to expand your options beyond what is already available in the app, there are places online where you can find various other brushes available to download for free, such as Procreate Folio or Gumroad.
- Brush Size and Opacity
The sliders on the left side of the screen are to change the size and opacity of your brush. The top slider is for adjusting the size and the bottom for opacity. The center button is your eyedropper tool which can pick up a color that’s on your canvas already. Use this to match your brushstroke color to marks you have already made on your canvas. If you hold the button down, it zooms in so you can get a precise pick.
![]()
- Stabilization and Streamline
In the brush studio, click on the second option titled “Stabilization”. You will see a slider under Streamline and Stabilization labeled “amount”. Moving these sliders to the left and right will help keep your linework straight and not shaky. Streamline focuses on small minor lines, while stabilization focuses on stabilizing bigger sweeping motions.
Pointing Finger Icon (Smudge)

You can use the smudge tool to smooth out your lines or blend colors together.
Eraser Icon (Erase)

The eraser tool is pretty self-explanatory. It gives you the ability to erase anything you don’t want there.
Overlapping Squares Icon (Layers)

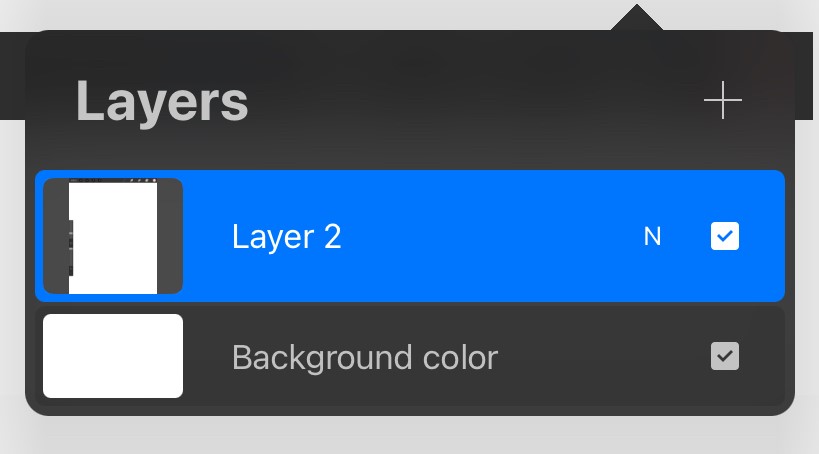
The layers in Procreate give you the ability to change and transform elements without affecting the work you have already done. Procreate has an in-depth tutorial on layers that you can find on their website here. Tip: If you are looking to trace an image in Procreate, I recommend using this tutorial which gives a good overview, but never trace someone else’s artwork. This is helpful method for getting the gesture of a shape correct from a photo instead of drawing freehand.
Color Icon (Colors)

Click on the circle on the far right of the toolbar to choose the color of the marks you’re making in the canvas. Procreate gives five different interfaces to help you select a color: Color Disc, Classic, Harmony, Value, and Palettes.
In conclusion, you can see that Procreate to make digital art is easy once you have a grasp on the basics. I hope this post helps introduce you to our brand new piece of equipment! Post your digital creations that you make in the Studio on our Ignite Community Discussion Board on Facebook. Happy making!
