By Alyssa Dyar
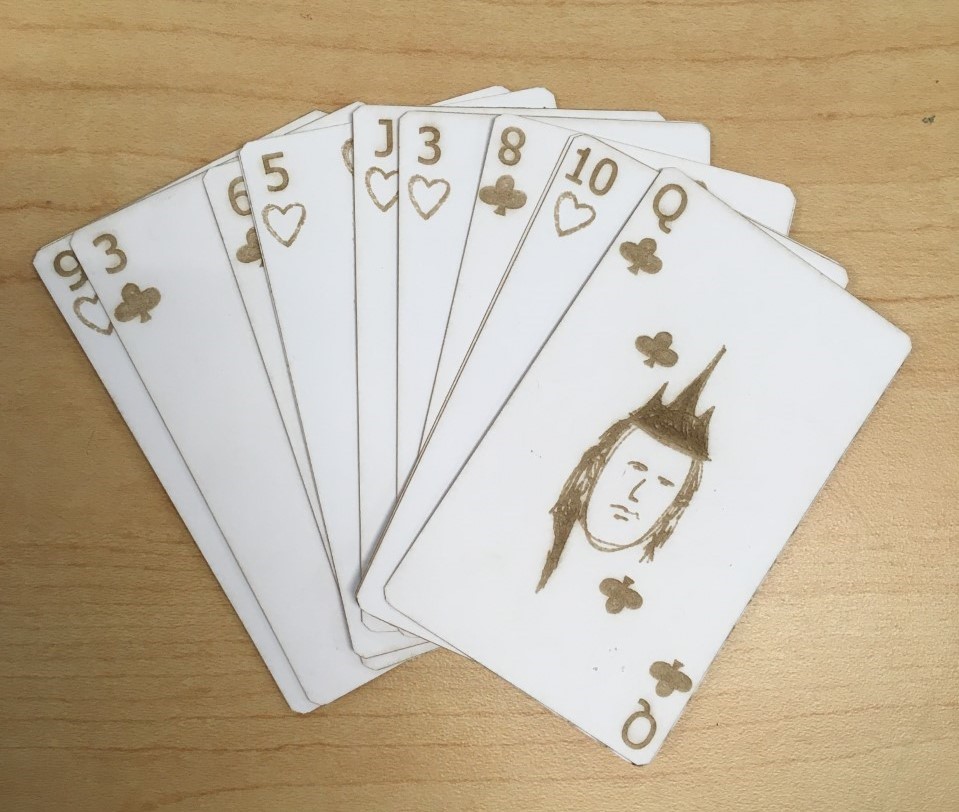
Did you know you can make laser engraved playing cards in Ignite Studio? Imagine play a game of poker with a deck of cards that you made! Designing your own deck of playing cards is a fun way to get to know some of the software and hardware in Ignite’s Fab Lab. I chose to use the laser engraver as the main piece of equipment for this project.
Designing the Playing Cards
To begin, I used Autodesk Sketchbook and a stylus to draw the suit symbols and face cards. This software is available on the laptops in Ignite. I then saved these images as JPEGs to insert into RDWorks–the software used for the laser engraver.
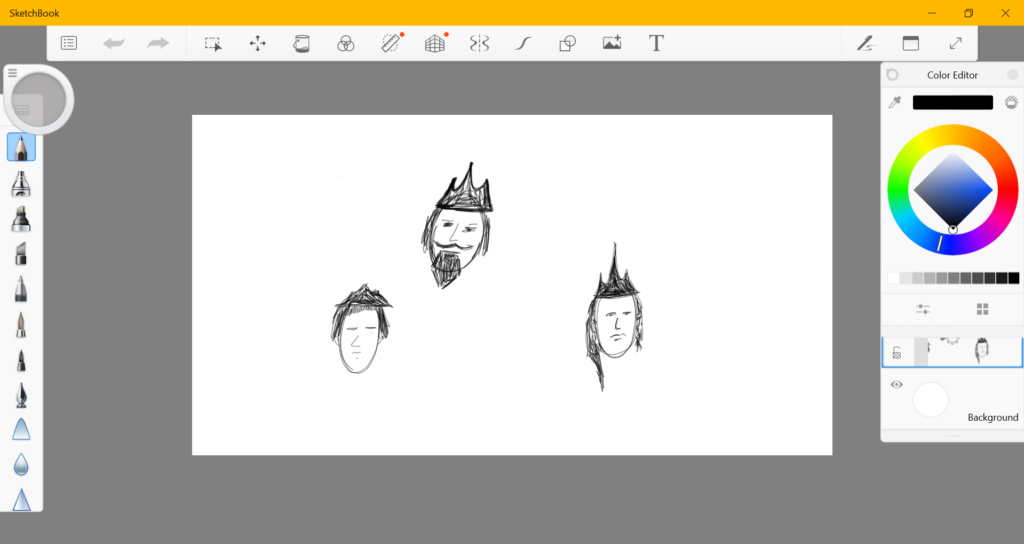
Drawing the faces for the face cards in Sketchbook
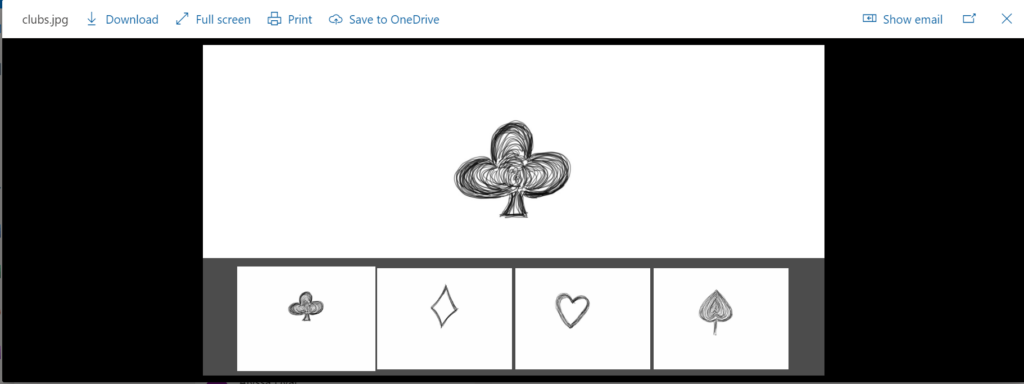
Saving the drawn suits as JPEG files. Make sure to crop your images so they fit cleanly on the individual cards.
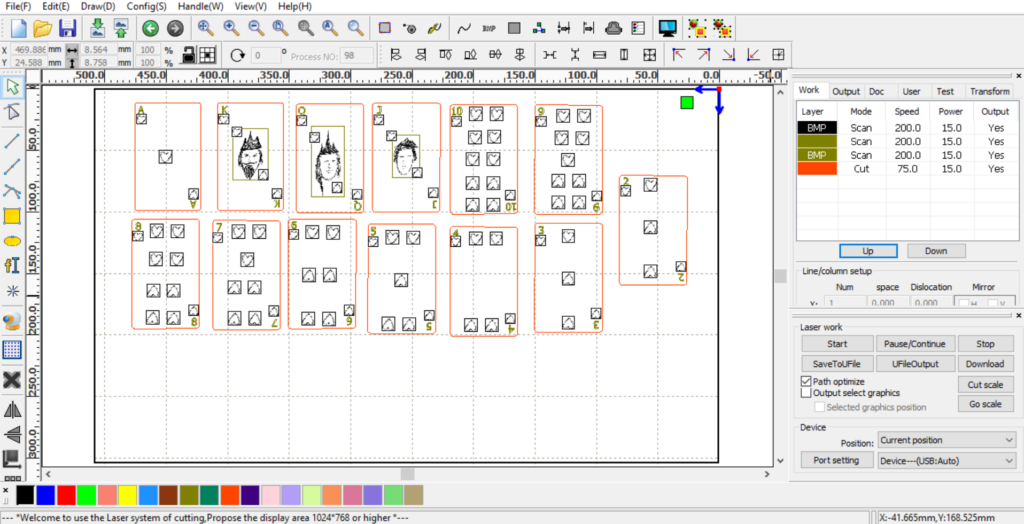
Use the template for the playing cards that we designed in RDworks. These are a bit smaller (3.5 in x 2.25 inches) than the standard playing card. You can make them bigger (or smaller for tiny cards!) if you would like. Download the template here.
Laser Engraving the Playing Cards
Using cardstock, scan the images at a speed of 200 and power at 15 and cut them out with a speed of 75 and a power of 15. Cut out a blank backing for each card to make them sturdier.
Use 2 layers of Super Smooth 65 lb cardstock and glued the backing to the lasered card with PVA glue, a strong bond paper glue. Board Game Geek recommends that one linen cardstock layer with one layer of linen paper (24lb) is the best combination of paper to use to get closest to factory card standards. Acrylic spray adhesive is also recommended although the cards I made shuffled well and played fine without any coating.
I also tried coating the cards with white crayon wax and it worked very nicely. Simply color the cards with white crayons and voila!
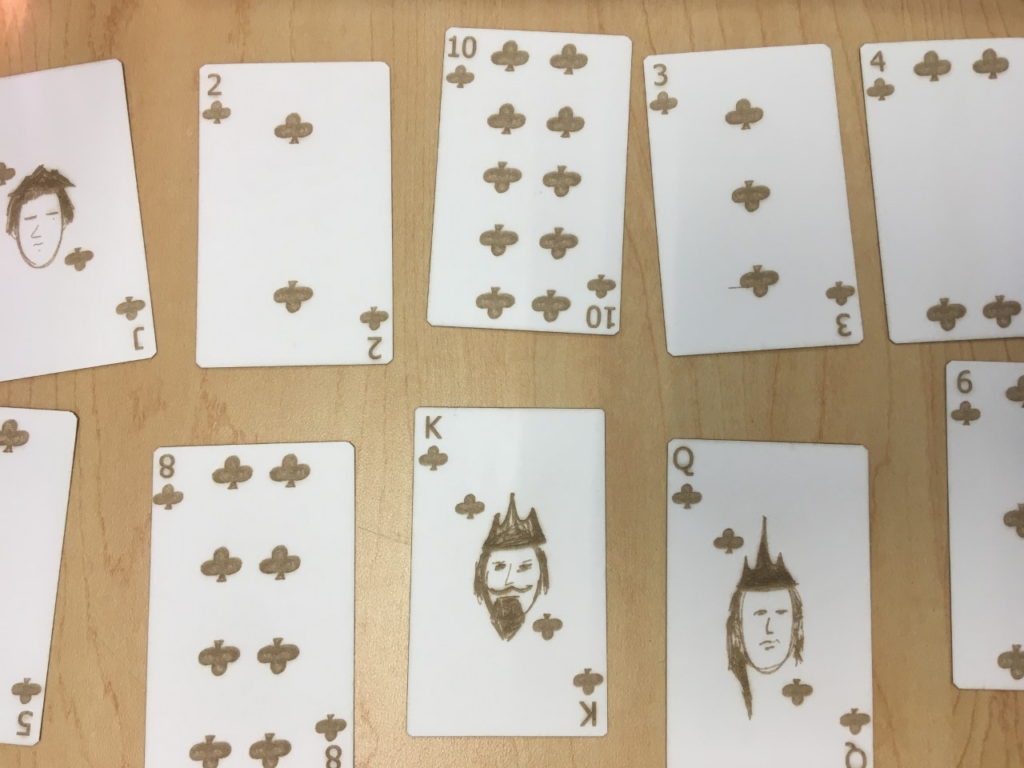
Making playing cards and other table top game pieces is easy and fun when you use Ignite’s laser engraver. Be sure to share your laser engraver projects with us on the Ignite Community Discussion Board. Happy Making!

