by Corey D.
New Embroidery Frames in the Maker Lab
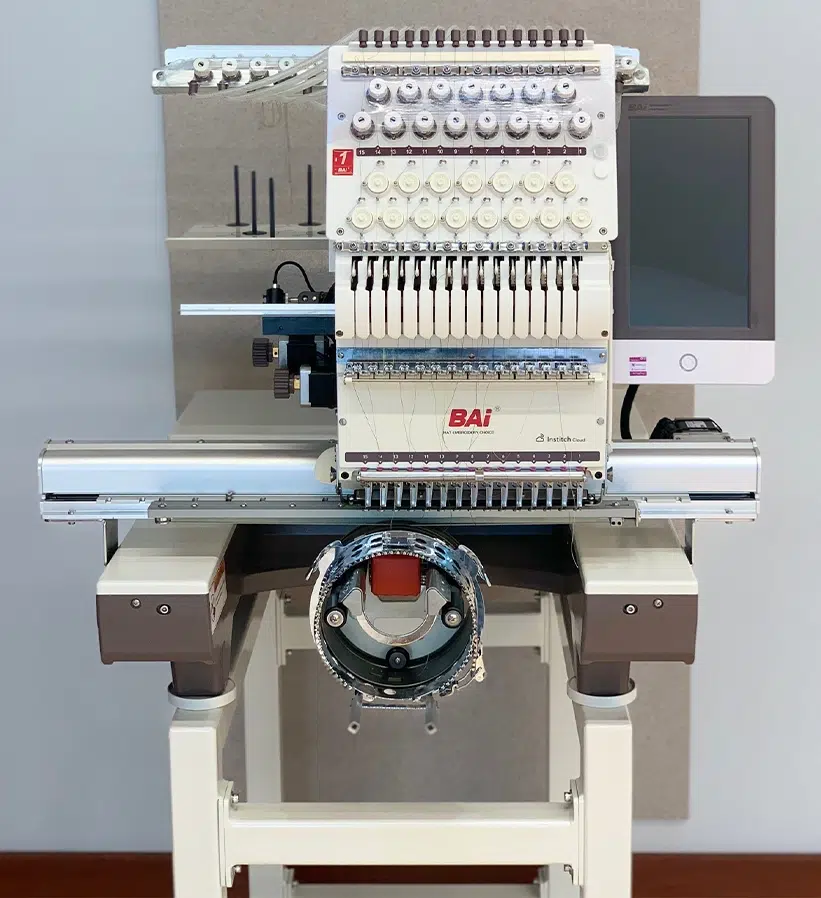
Hello Ignite Makers! The Bai Mirror embroidery machine has without a doubt been our most popular machine in the Lab! It’s been thrilling to see all the different kinds of designs that makers have been able to create. Embroiderers will know that some projects are easier to hoop than others, and it can sometimes be tough to get that exact right spot of the fabric into the frame. Based on your feedback, we’ve added two brand new embroidery frames to our repertoire that may be just what you need for your next embroidery project!

Pocket Frame for Sides of Hats
Many who have used the Mirror for embroidering hats have wondered how to get their designs onto the sides of a hat. This is a perfect way to personalize hats with names or jersey numbers, logos, or artistic embellishments. The traditional hat hoop is meant for just the front or back of hats, and so we’ve picked up a brand-new frame for those side-hat projects: the Pocket frame!
The Pocket frame will be immediately recognizable if you are familiar with loading a hat onto our machine with our front-hat frame. The area of the Pocket frame is 80mmW x 45mmH.
How to Use the Pocket Frame
Instead of hooping the hat with a bar, the Pocket frame clamps down on the side of the hat. Open the clamp and place your stabilizer onto the frame.

Pull back the sweatband of the hat and place the hat onto the frame. You’ll need to take care to be level and center wherever you’d like your design to land on the hat. Once you have the placement you need, close the clamp until you hear the click.

Then run the frame configuration. Just like the front-hat frame, take care not to run the frame configuration while the hat is loaded onto the machine. Once the frame configuration is done, secure the hat onto the machine. The Pocket frame has three latches, just like the front-hat frame. Ensure each of these latches is engaged by listening for the click.

From here it’s the embroidery machine as you know it! Depending on the fabric loaded into the frame, you’ll likely want to rotate the design 180° in the Mirror software. Run the trace functions once you’ve loaded up your design to ensure the presser feet will not collide with the metal frame. Select your color queue. Then you’re ready to embroider!


Unload the Pocket frame by disengaging the latches. And it’s all finished! In addition to the sides of hats, the Pocket frame is a great option for pockets or bags, anything that may not fit comfortably in the flat hoops. Additionally, we have another new frame that will be perfect for those applications as well!

Shoe Frame for Shoes, Canvas Bags, and Pockets
Canvas tote bags are another popular project on the embroidery machine. However, depending on the size of the bag, the side clips of the flat hoops may make it difficult and awkward to hoop. Further, if there is a front pocket, it may be impossible to hoop with the flat frames without deconstructing and reconstructing the bag or creating an applique. Enter the new Shoe Frame!

The maximum dimensions for the Shoe Frame are 180mmW x 115mmH. Instead of a closed hoop, this frame secures the fabric with clamps. The construction of this frame allows for additional versatility for loading different project types onto the Mirror. This was originally designed for adding embroidery elements to thin canvas shoes, but can also be used for cuffs, canvas bags, or pockets. If you’ve had an embroidery project that didn’t quite fit into the flat hoops, the Shoe frame may be exactly what you’re looking for.
How to Use the Shoe Frame
Once the Lab Attendant has loaded the Shoe frame onto the machine, use a hex wrench to move the clamps side-to-side to best fit your project. The screws on the clamp can be adjusted to accommodate the thickness or thinness of the fabric to be embroidered. Place your sheet(s) of stabilizer between the clips, then load your fabric to be embroidered. Close down the levers to clamp down on the fabric. Just like the flat hoops, you’re looking for the fabric to be tightly held but with a bit of bounce.


Because the clamps can be freely adjusted, you MUST run an outline trace before running your embroidery program to ensure the needle and the presser foot will not run into the clamps. Further, the trace will ensure that there is enough space within your object for the bobbin during the embroidery. After you’ve confirmed that your design is safe to embroider, you’re ready to run the program!


Versatility and Convenience with Embroidery
The Pocket frame and Shoe frame will add versatility and convenience for all manner of new embroidery projects on the Mirror. We are so excited to see what all the makers can do with our new frames to customize their hats, shoes, bags, pockets, or sleeves! As always, reservations can be made for the Mirror embroidery machine here. And if you are brand new to machine embroidery, the learning course for certification can be found here.
Happy embroidering, and happy making!