
Did you go to summer camp in the eighties or nineties? Or maybe attend last month’s Crafty Teens session? If so, then you may be familiar with Ignite’s newest kit: Bead Buddies! These beaded critters are fun and easy to make, and are great a great addition to any backpack or set of keys!
Introducing Ignite’s Bead Buddy Kit
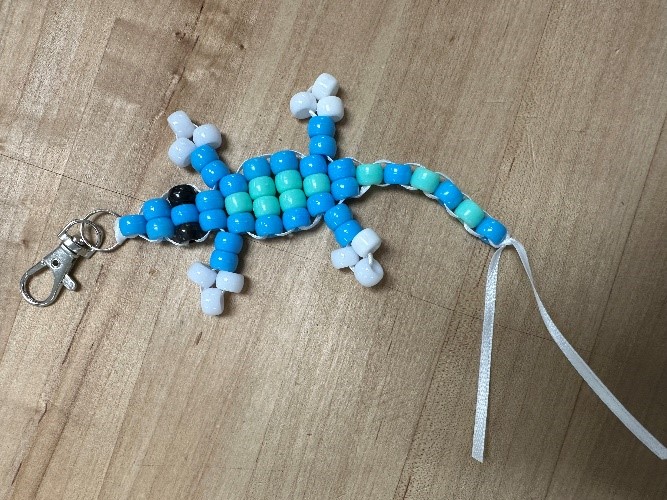
Our kit has a whole book full of patterns to check out, but today I’m just going to show you how to make the most iconic one, the lizard! I almost guarantee you’ve seen one of these guys before, and now you can make one of your own!
What you’ll need:
- 1 Keychain
- Assorted Pony Beads
- Around 3ft of thin ribbon or string
- Scissors
- Pattern (find at the bottom of the blog)

Feel free to use whatever colors you’d like. Once you’ve gathered your supplies and picked out your beads, you’re ready to start!
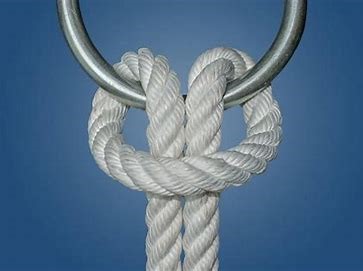
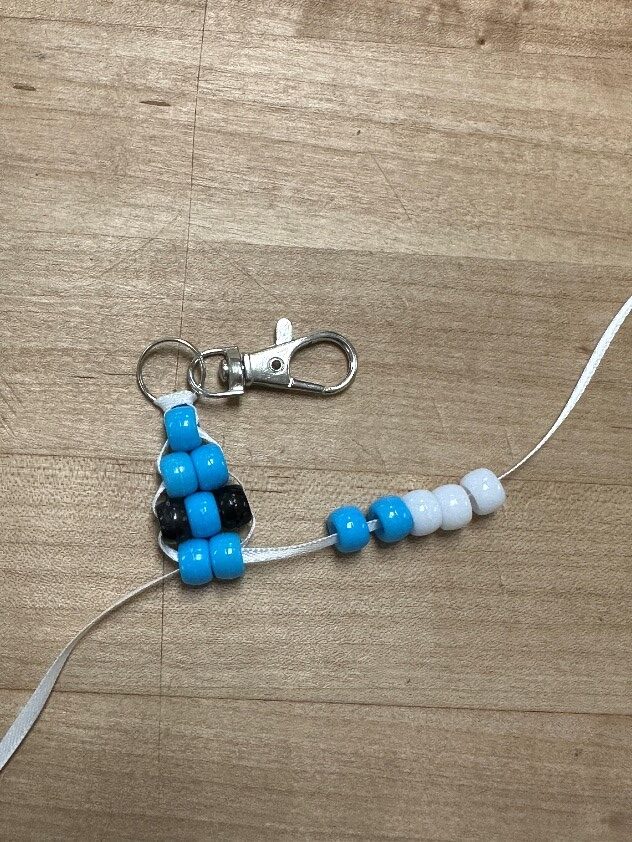
First, find the center of your ribbon and tie it to your keychain with a Lark’s head knot (pictured below).
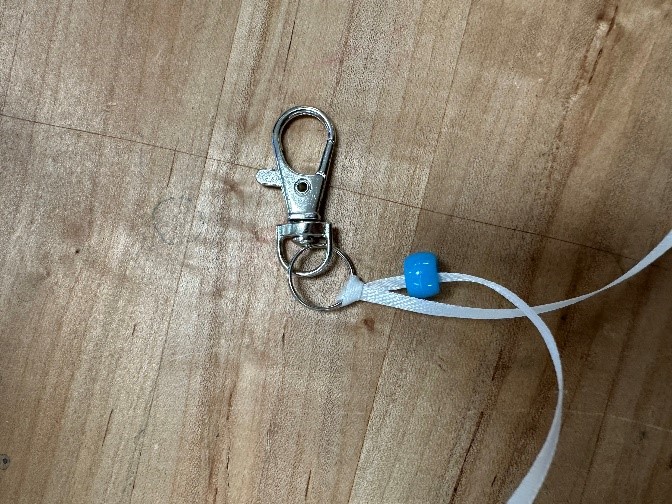
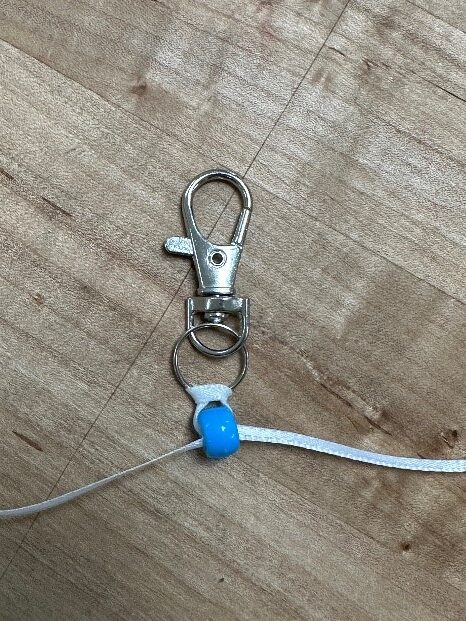
To start your first row, string one bead onto the right cord, and slide it to the center. Then, weave the left chord, from left to right, through the beads. Pull the string
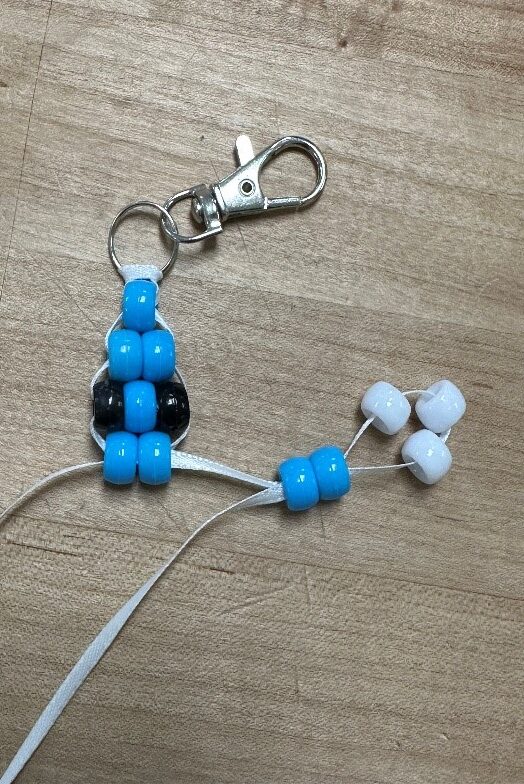
Do the same thing with the next row, but with two beads.
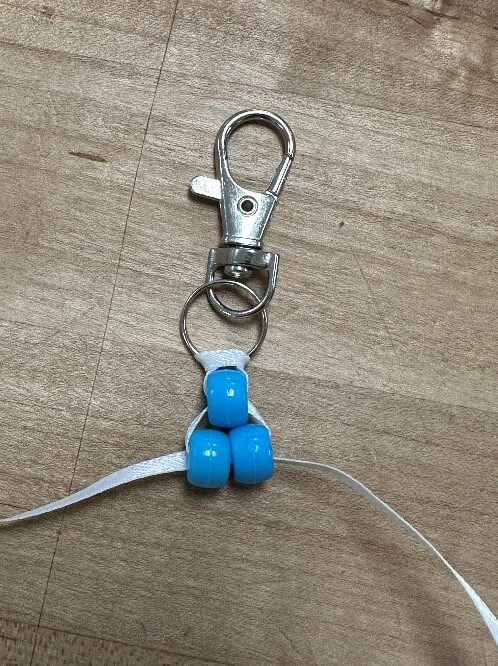
Continue on, doing the same thing, but with the amount of beads shown in each row on the pattern.
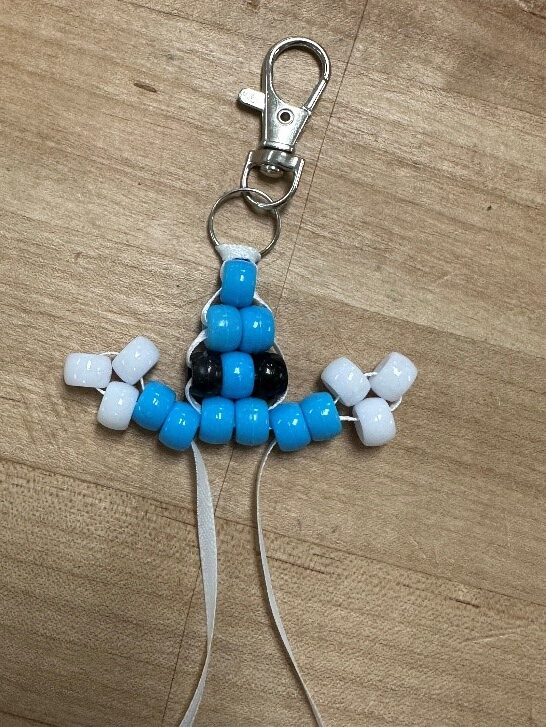
When you get to the arms, string all beads for each appendage on one cord. Then, weave the string back through, but only through the first two beads.
Do not weave back through the three beads that make up the foot. The result should look like this.
Do this for both legs, then bring the strings back together for the next row.
Continue on, and repeat the same process for the back legs.

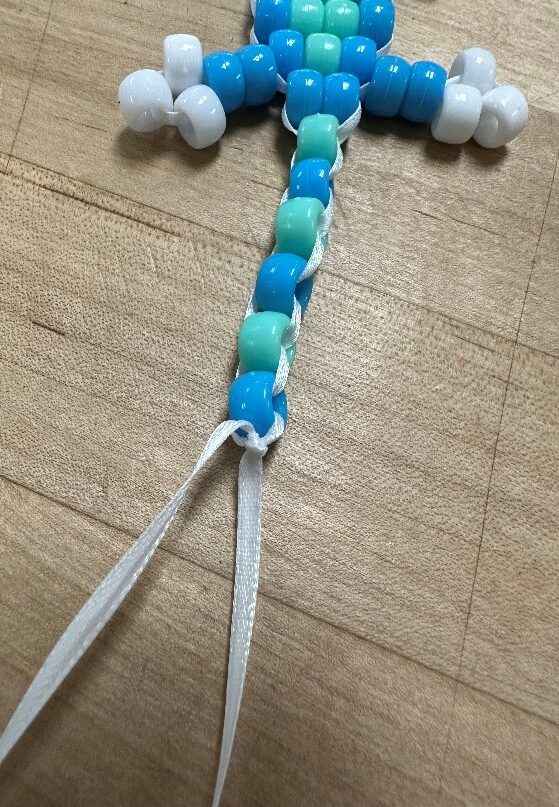
After beading is complete, tie the ribbon in a double knot to secure the beads. Cut the ribbon to desired length, and voila! Your lizard is complete!
The great thing about Bead Buddies is that once you learn how to make one, as long as you have a pattern, you can make anything! The technique is pretty similar all around.
Lizard Pattern
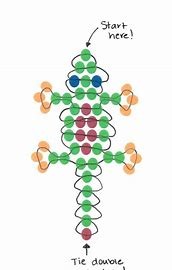
For more patterns, check out this site full of different animals you can make.
