by Tyler Elks
Adobe is a big name in the creative field. They offer programs and apps that help people create high quality content. One of the more recent releases from Adobe, as a part of the creative suite, is Adobe’s Creative Cloud Express. Read on for an Intro to Adobe Creative Cloud Express.
Adobe Creative Cloud Express–shortened to Adobe Express–is a web and mobile app that combines many tools of the creative cloud applications such as Illustrator, Photoshop, and Indesign. The purpose of this app is to make it easier for people to create quality multimedia content for just about any form of media. It even has templates that you can build directly from!
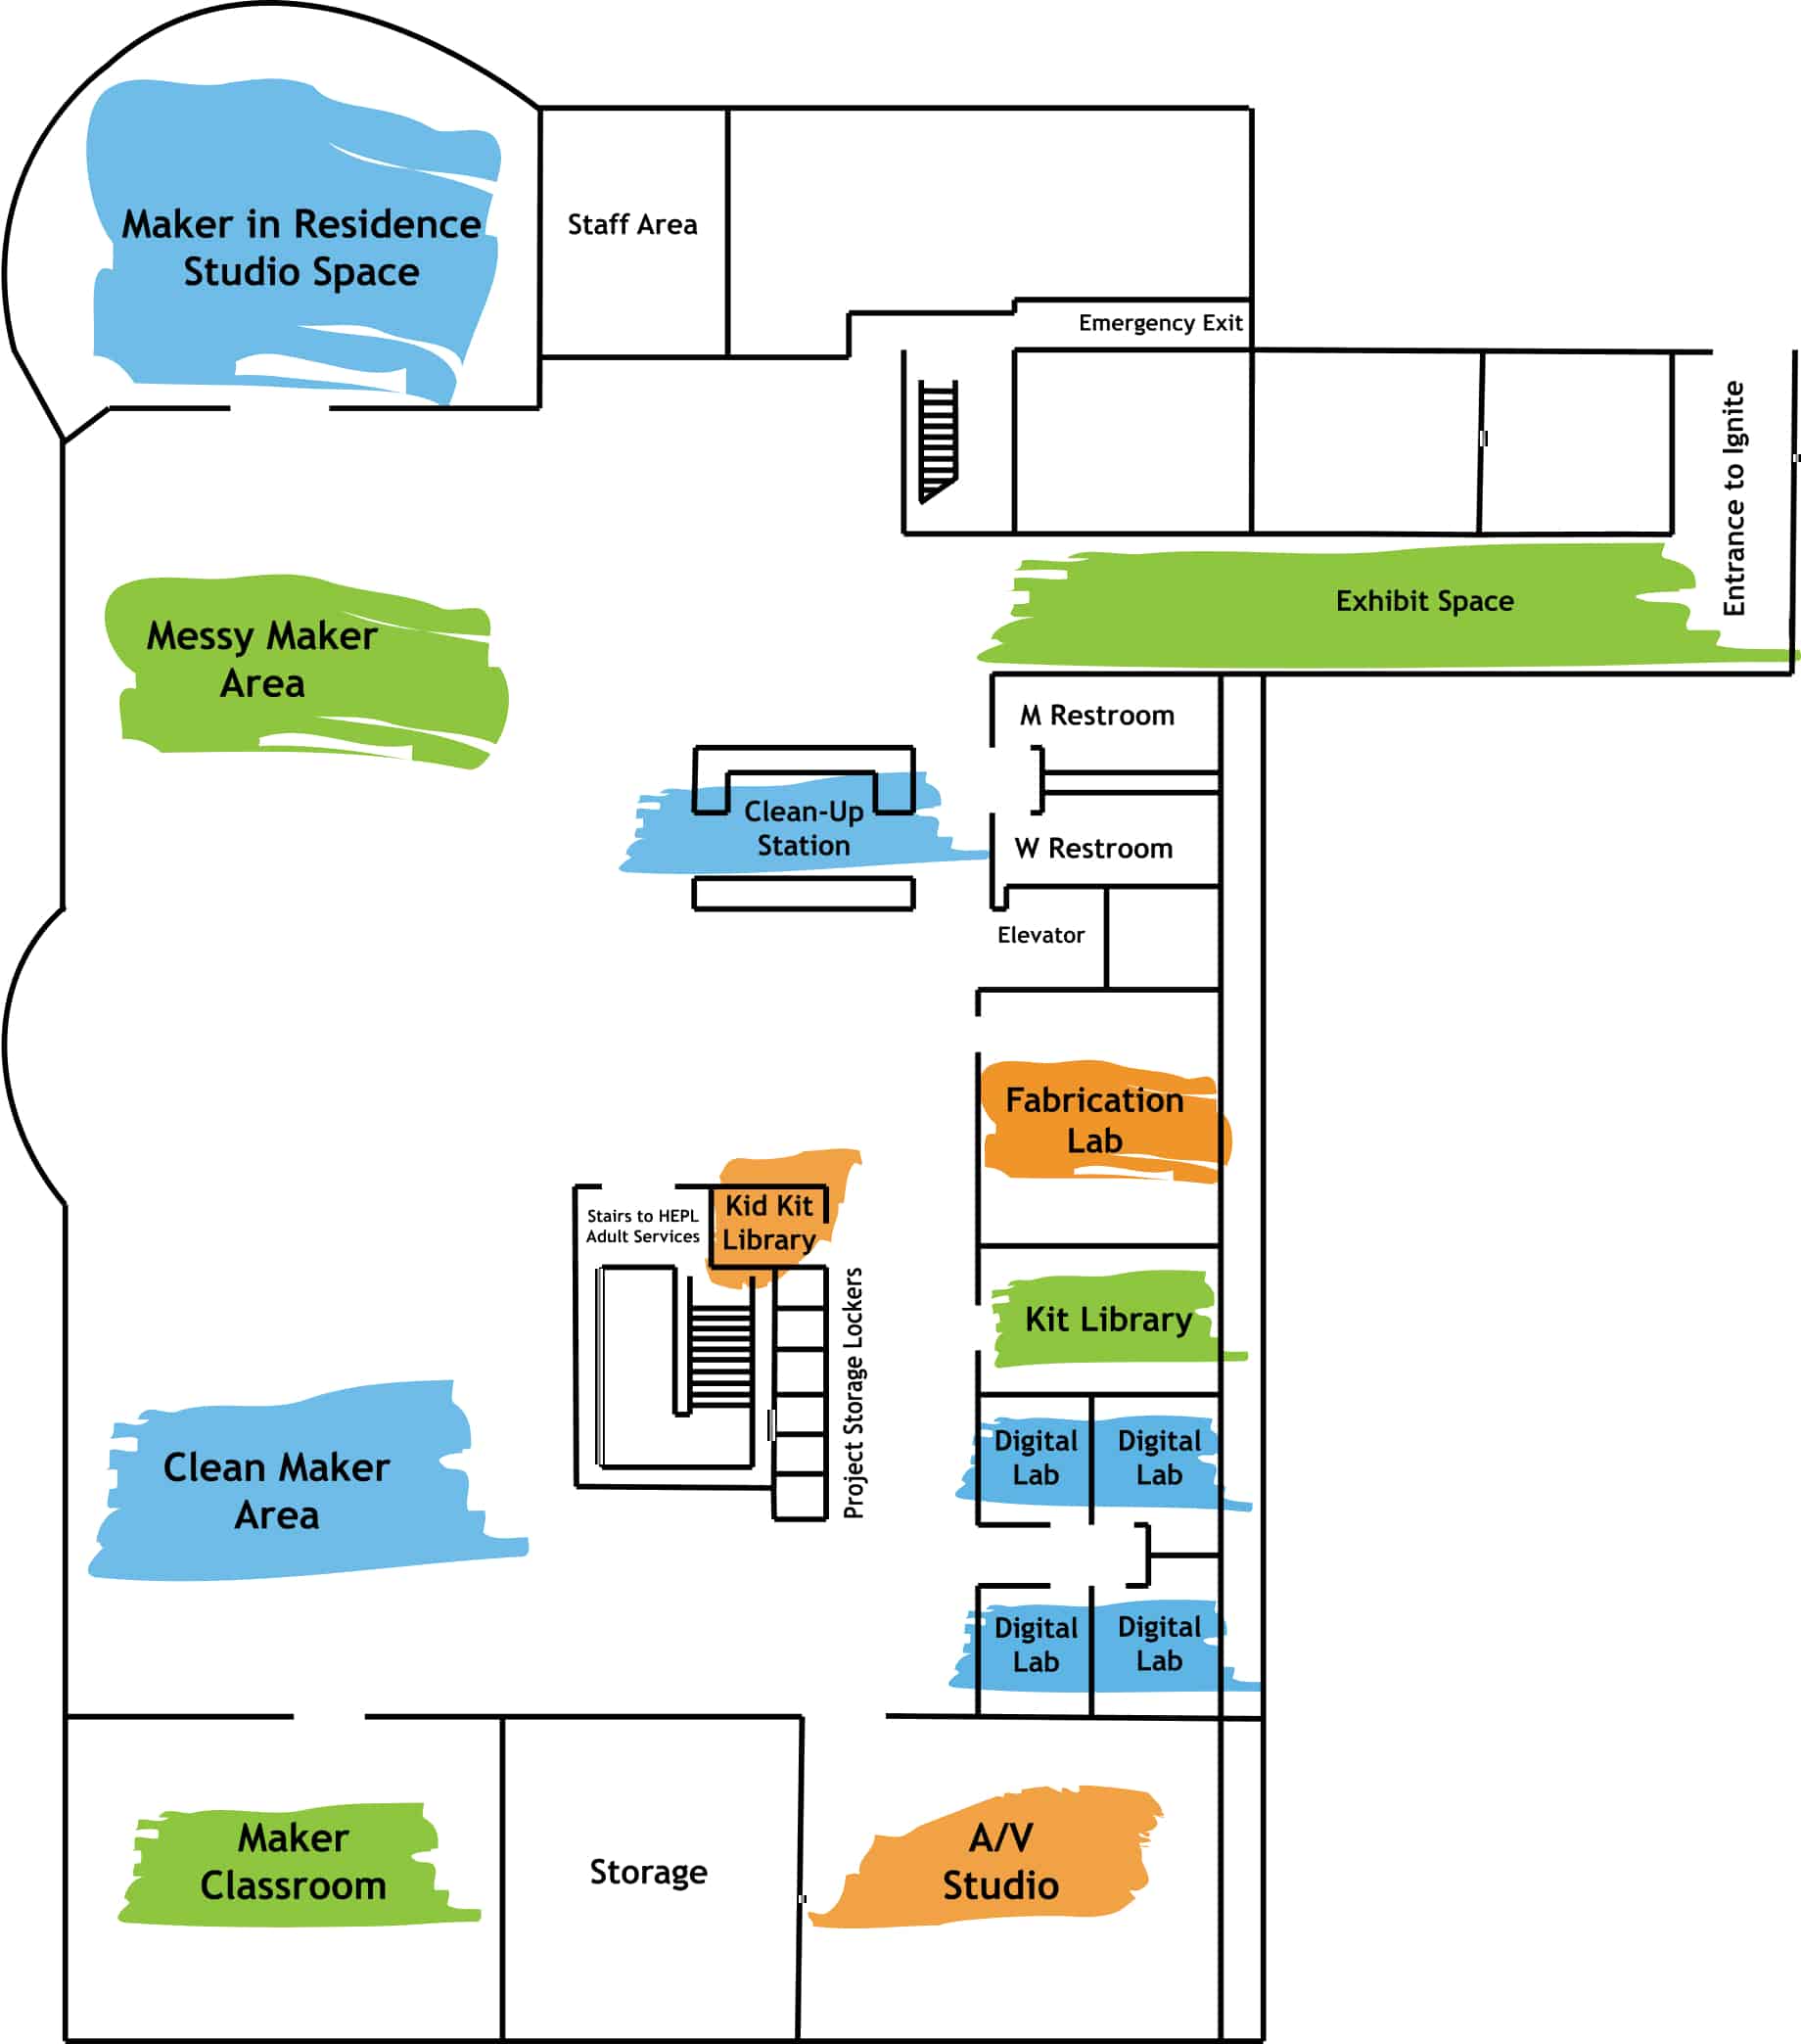
Ignite Studio offers full access to Adobe Creative Cloud. Just ask for one of our Digital Media Labs. I’ve used it to create infographics, cover art for articles, logo design, and even making party invitations!
In this post I’m going to give you a very simple, step-by-step guide on how to create an invitation using Adobe’s Creative Cloud Express. You can start from a template if you would like. I will be starting from scratch so that I can show you just how customizable and user friendly Express is.
Intro to Adobe Creative Cloud Express
First, you’ll want to have an Ignite staff member sign you into the Adobe account available for free in our studio. Open the Adobe Express app to get started.
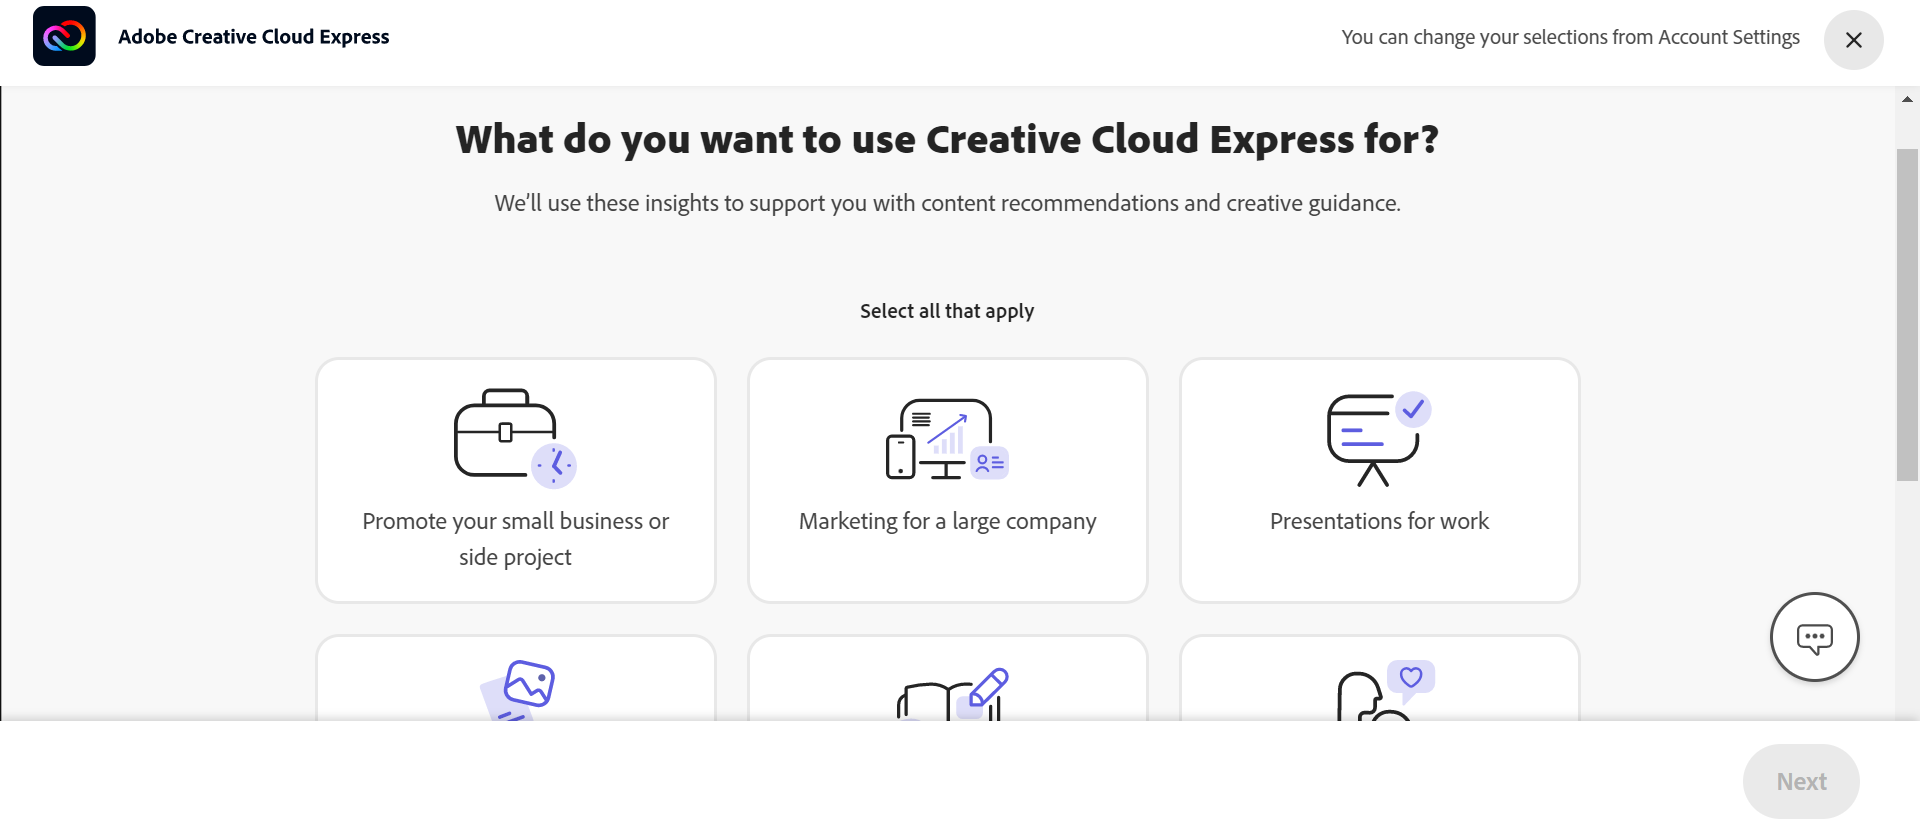
You’ll be prompted by Adobe to answer a few questions, asking about what you’re using the app for and your experiences with creative apps. These help Adobe figure out how much guidance you may need with the app. Answer these to move on.
Then you’ll want to choose a size for your invitation, for this one I’ve chosen the “Flyer” option. Once the project has been created, go ahead and give it a name. Express automatically saves each time you make a change to your project.
On the left is a sidebar filled with different icons. Hovering your mouse over these icons will tell you what they do.
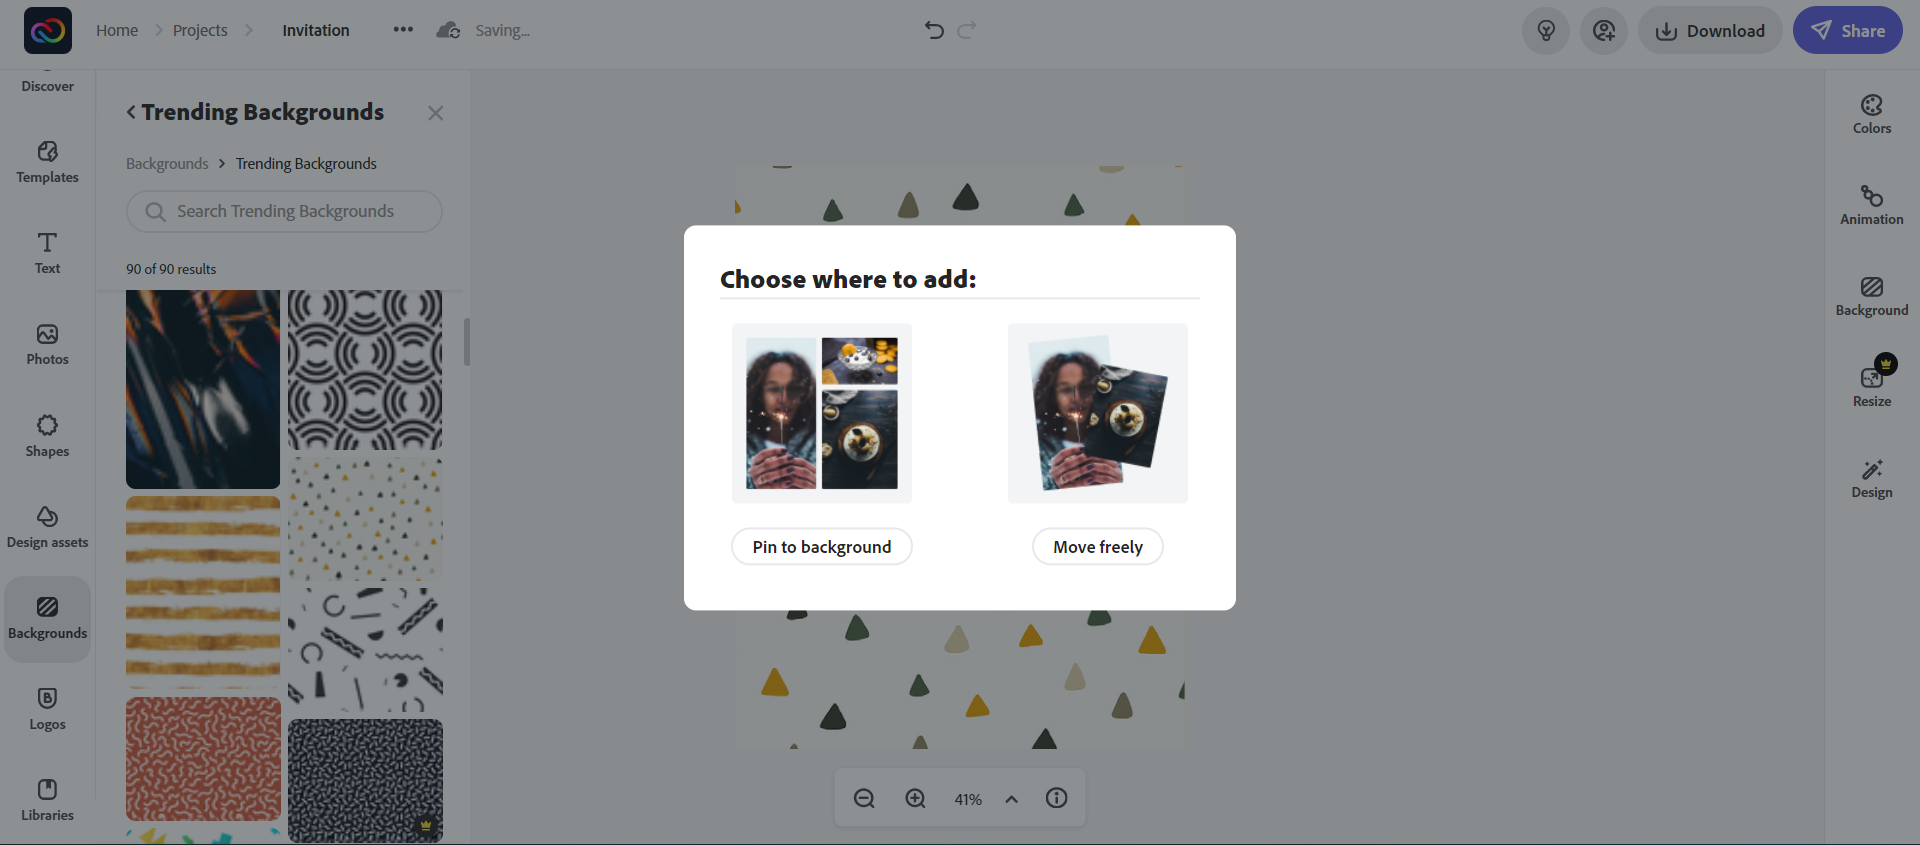
Let’s start with choosing a background. Head over to the sidebar and find the “backgrounds” icon. Click it to browse the different backgrounds available, and choose the one you like. You can either choose “pin to background,” meaning it will stay where it’s at.Or you can choose “move freely,” meaning you can resize it and rotate it as needed.
Now we’ll move onto placing all of the text needed on the page. Create a different text box for any text that needs to be a different font. I do this so that I can get a feel for the project. This makes it’s easier for me to decide what kind of design aspects I will want to use later.
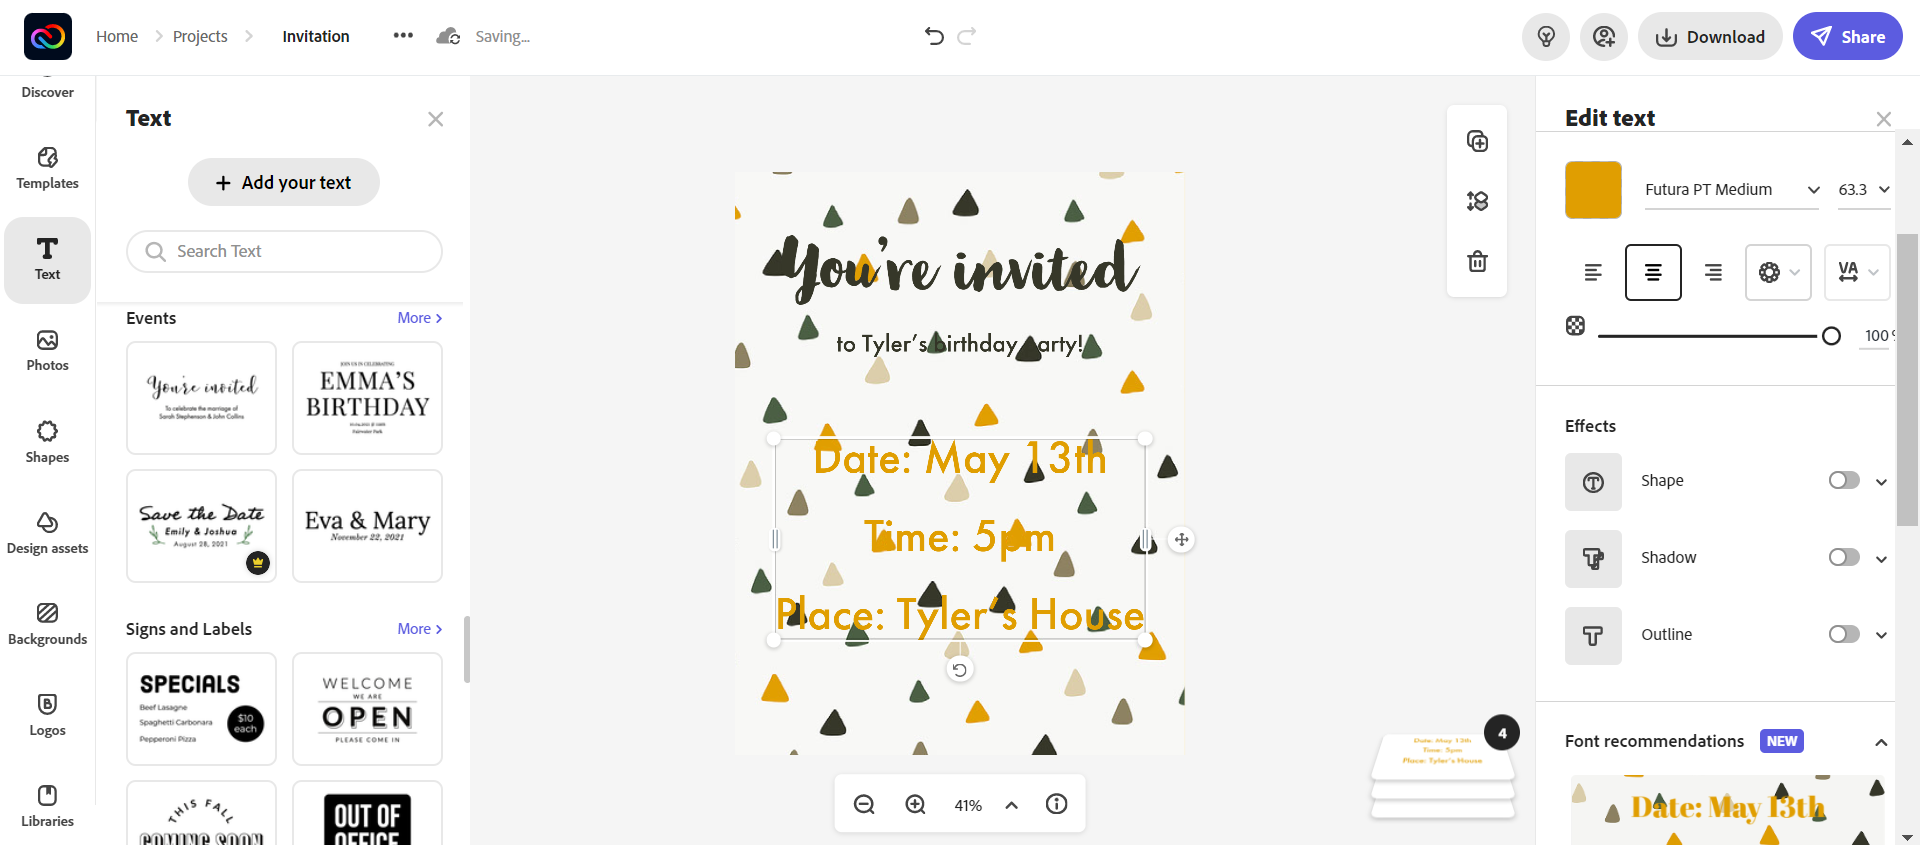
You can choose the fonts as you go like , or you can wait until you have all of the necessary text down before choosing the fonts. Fonts can be changed at any time, so don’t worry about getting it perfect just yet. To change fonts, click the font name next to the color square on the right hand side. There will be a font menu with previews of what the text will look like in different fonts.
Next we’re going to look at the “Shapes” tab. I’m going to add a shape behind the text in order to make it pop out more. Once you’ve chosen your shape it may appear in front of your text.
To move it, go over to the right bottom corner and click what looks like a stack of cards. These are your layers. Once that has expanded, click, hold and drag the layer with the shape on it until it is under the text layer but above the background layer.
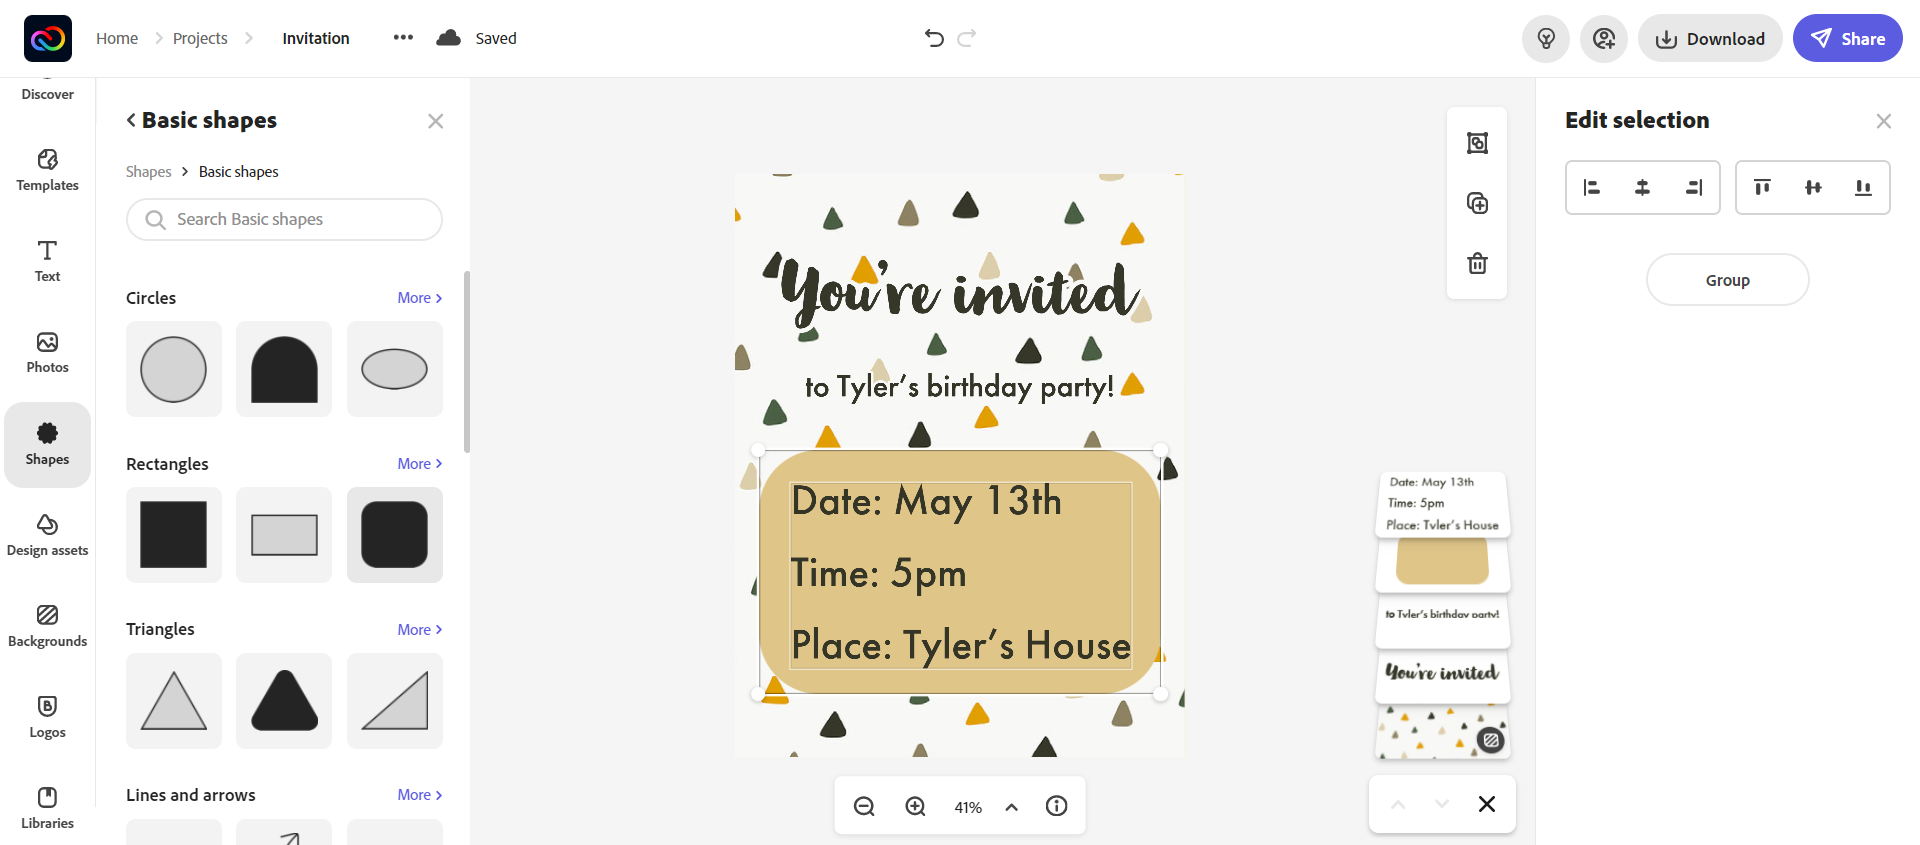
To move multiple assets at once, hold shift as you click each asset. Once you’ve selected the ones that you want you can either go ahead and move them all as one, or you can press “group” if you’d like the assets to stay together. This will make sure the grouped assets move as one from now on. To undo this, just select the grouped assets and press “ungroup.”
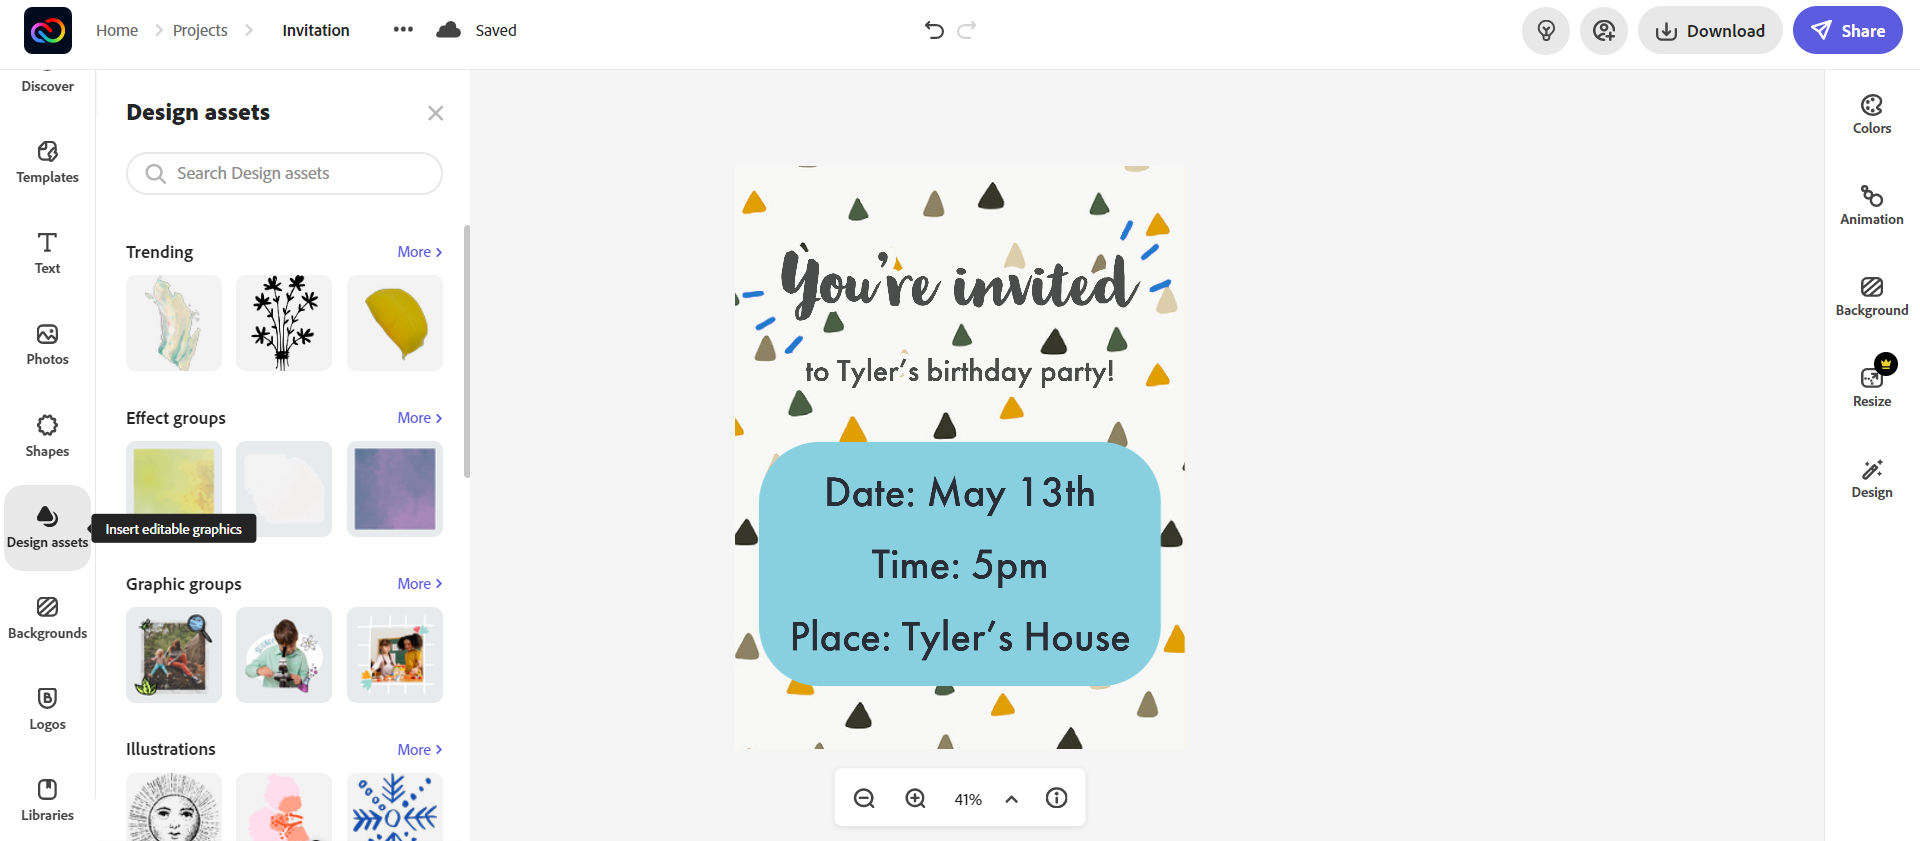
If you’re happy with the invitation you can stop here. However, if you’d like to add a little bit more spice to the project, feel free to click on “Design Assets” and explore the many options. This tab gives you all sorts of fun and interesting things that you can add to your projects. You can add things to the background like the effect groups, which can add something similar to a filter to your project. Maybe you’d like to make it look more organic so you’d like to add doodles or illustrations from the illustration groups. There is so much you can explore here.
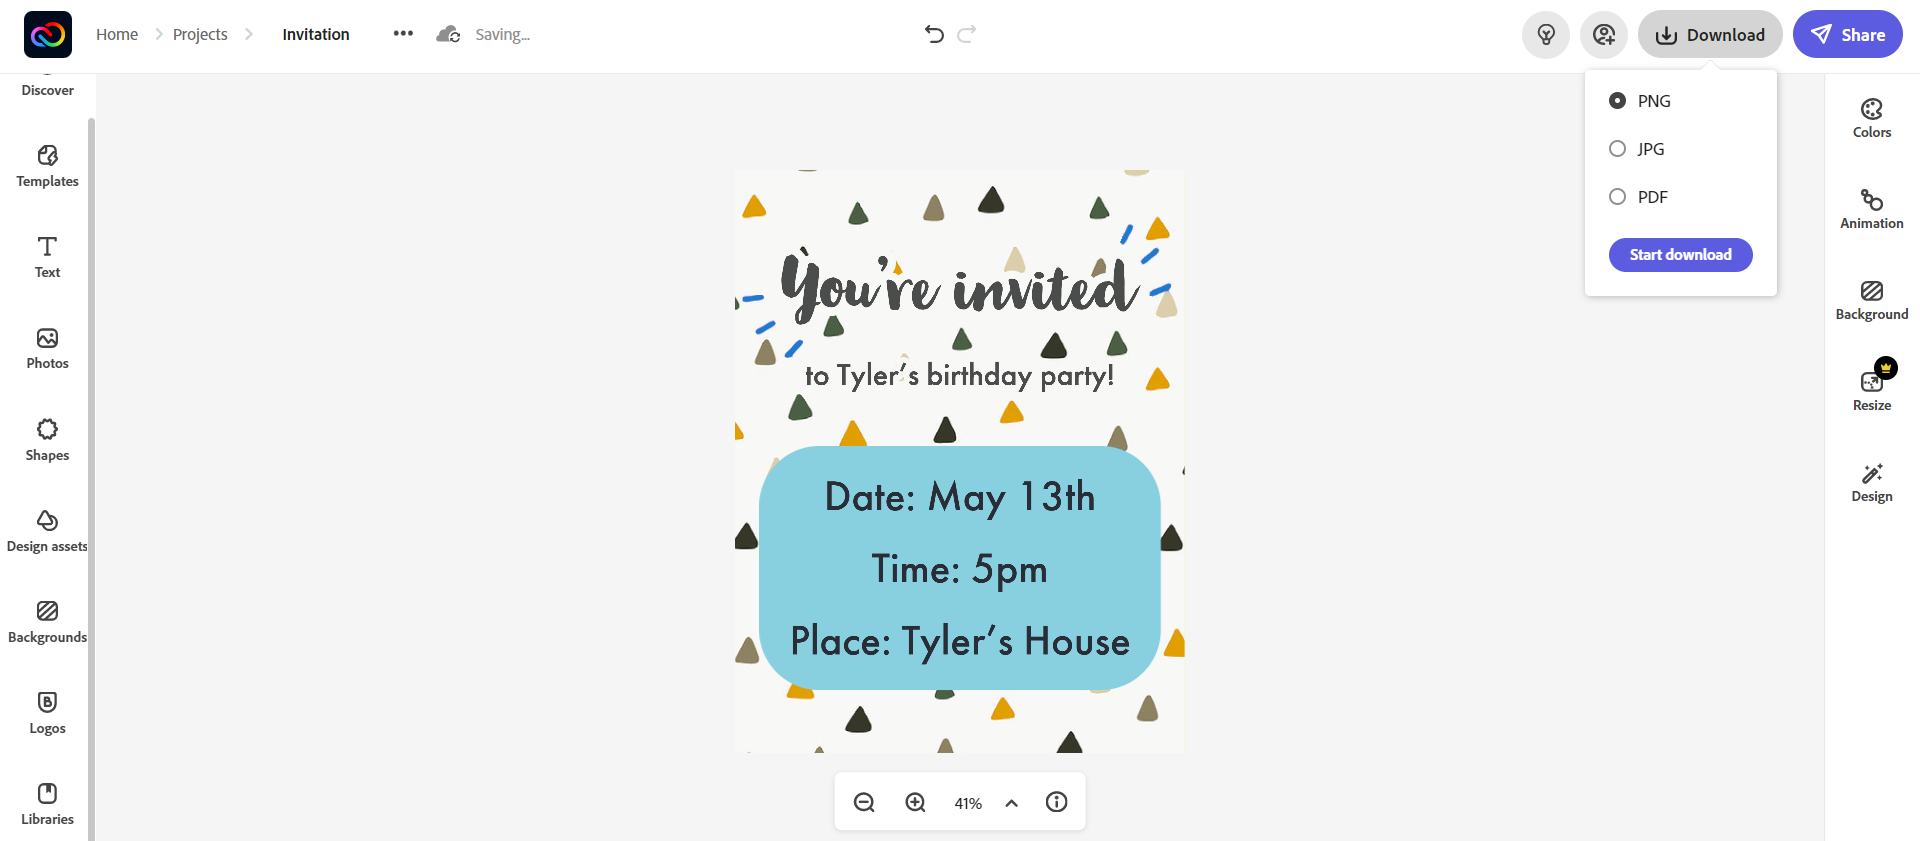
Once you’re satisfied it’s time to export it! Since Express saves as you go along, you don’t need to export your project until you’re finished. Go to the upper righthand corner and click “Download.” This will give you a few options so you can choose whichever format works best for your project. Personally I chose the PNG format for this project.
There you go! You’ve created something cool on Creative Cloud Express.
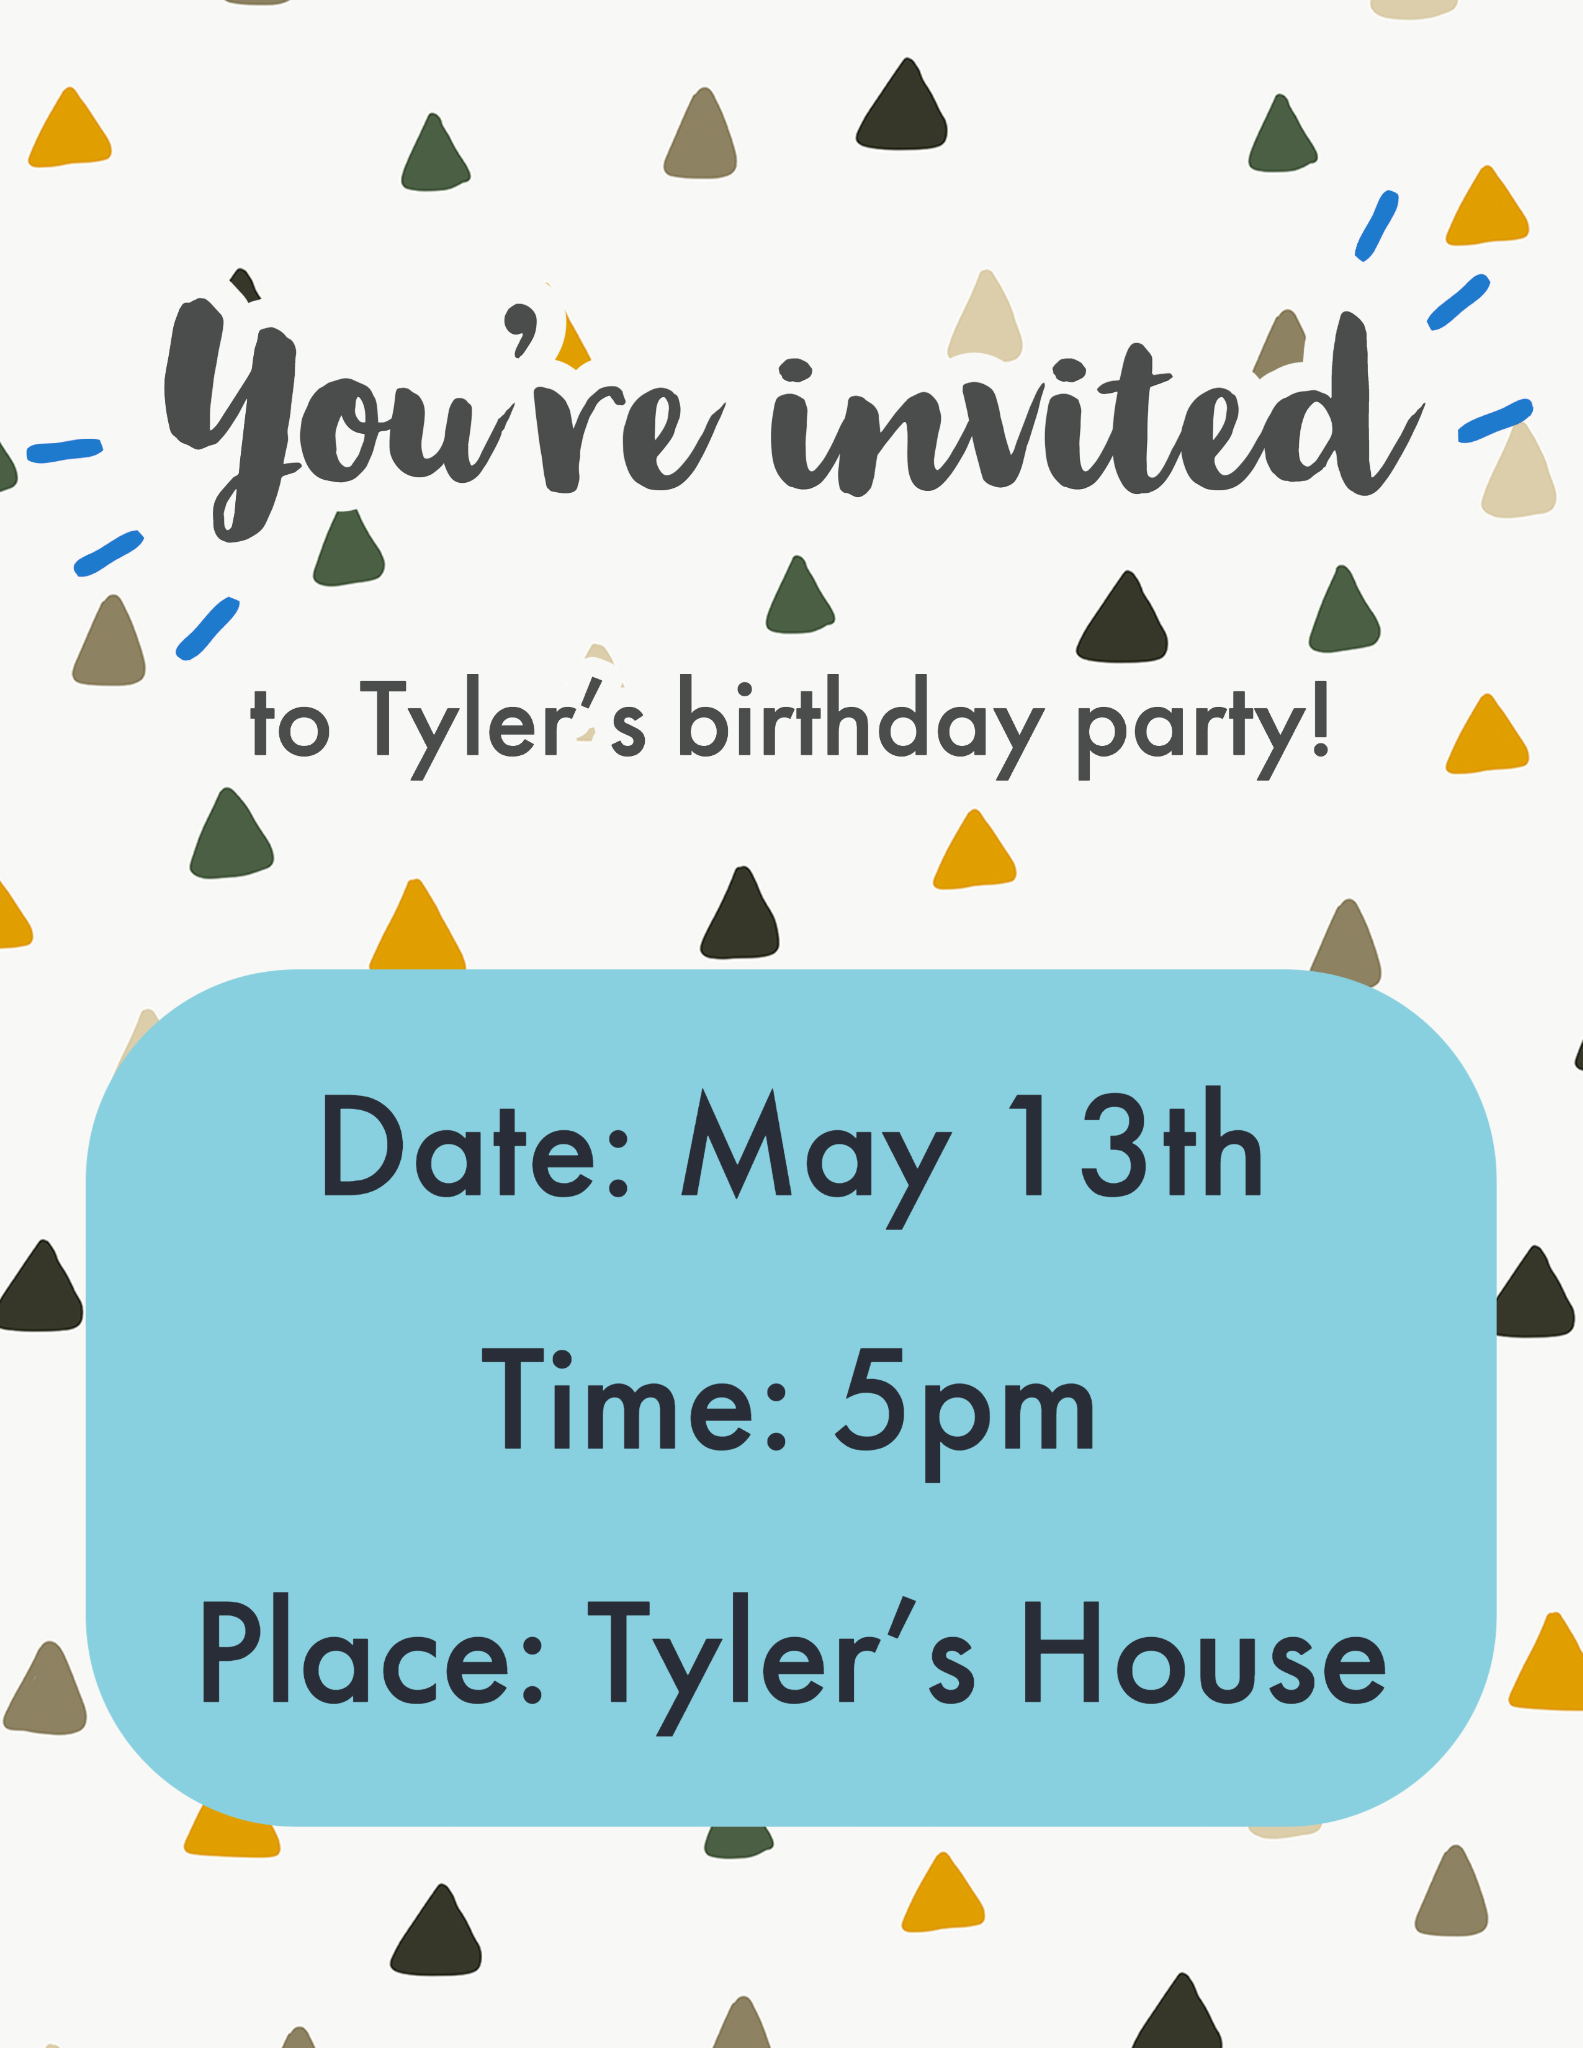
I hope you enjoyed learning how to do it and I’m excited for you to explore the app more. Happy making!

