

by Kenzye P.
Now that it’s getting colder outside, it’s time to break out the long sleeves! Do you have an old graphic tee that doesn’t fit quite right but you also don’t want to get rid of it? Do you have an old flannel looking for a fresh life? In this blog, I’m going to share a fun way that you can upcycle these items using a pair of scissors and a serger to make something brand new and perfect for winter.
Prepare Your Materials

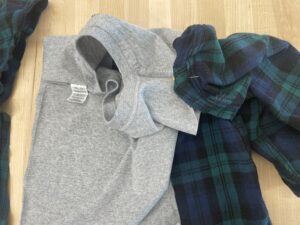
Find a graphic tee that fits snugly and a flannel that’s a bit oversized. I’m using an Ignite branded shirt that fits comfortably and a flannel that’s been laying around my studio waiting for its moment.
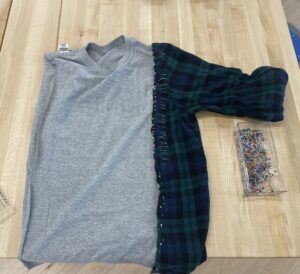
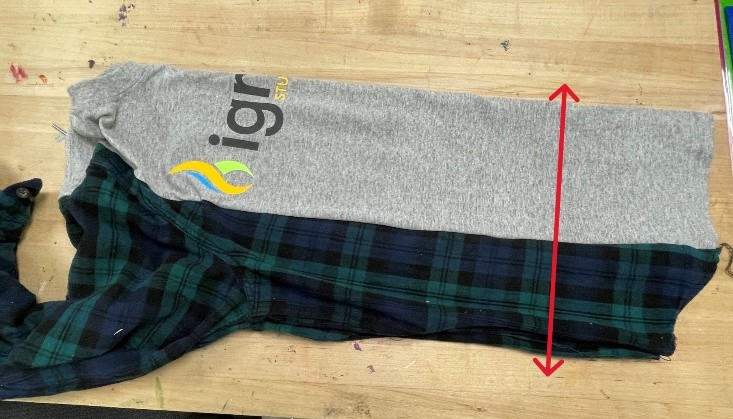
To make this project, we’ll utilize the sleeves of the flannel and the body of the t-shirt. First, we will need some measurements. Measure your bust using a tape measure and the guide below.

Use the bust measurement to determine how much of the body of the shirt you need to keep. We want the flat measurement of our finished shirt to be at least half of the bust measurement. For example, if my bust measures 48”, I need my finished shirt to be at least 24” across. I cut the body of my t-shirt to be 20” across so that my flannel sleeves only has to account for 2” on each side.


Next, we’ll cut the flannel. As stated in the previous step, the flannel for my shirt only must account for two inches on the left and two inches on the right to make the full 24″ I need for the flat measurement. So, I measured two inches from the shoulder seam on the flannel for my cuts.

Pinning the T-Shirts
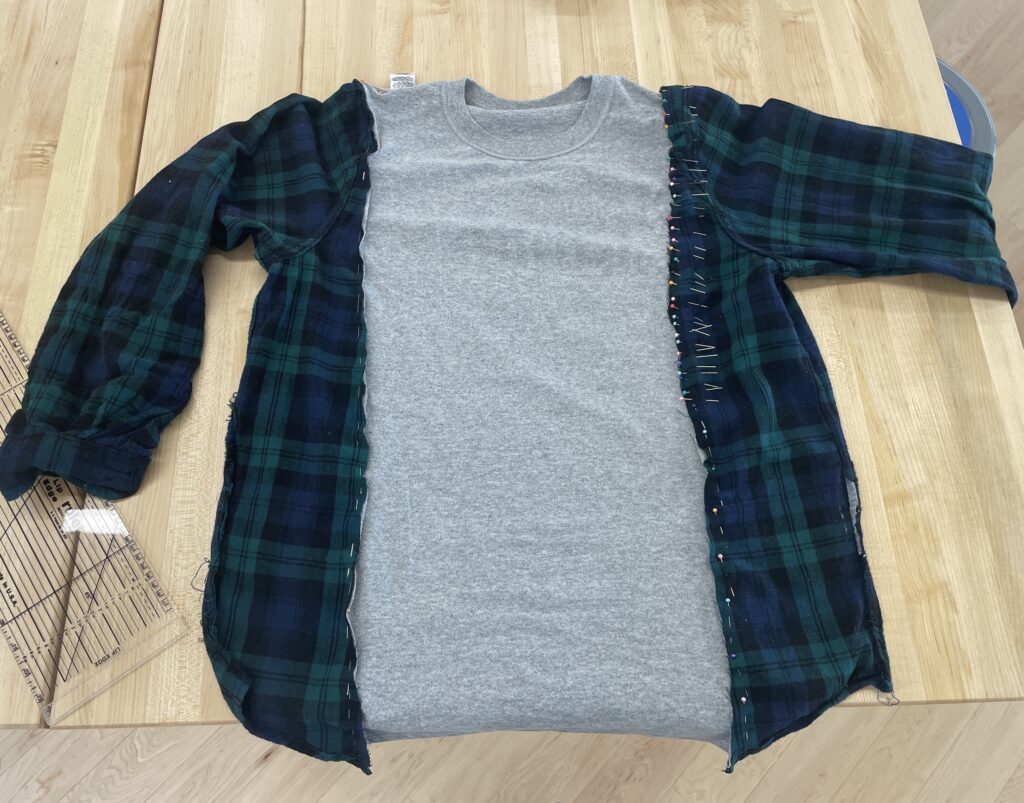
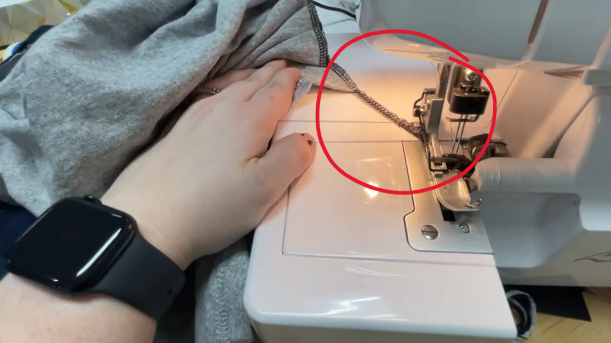
Now, we need to line up each side of the shirt and pin them together to prepare for sewing. Turn each piece inside out and lay them flat on a table. Line up the natural shoulder peaks (circled in red in the image below) on both the sleeve and the body and pin them together.
Continue pinning the arm to the body by working your way from the top down the front of the garment. Then, turn the garment around and pin from the top down the back of the garment. The pinned sleeve should look something like the picture below.
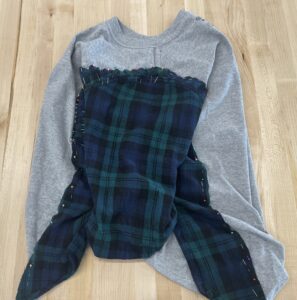
Repeat process for the other sleeve.
Stitching Time!
We’re using a serger to piece our garment together. A serger is a machine that uses one kind of stitch and four threads to bind objects together in a way that minimizes fraying and builds a stronger garment.
We want to make one long stitch all the way around the flannel piece to ensure a strong seam. To do this, place the bottom of the backside of the shirt under the presser foot and then lower the presser foot. Begin stitching, making sure to remove pins along the way.
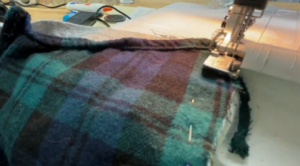

When you reach the end, keep pressing the pedal of the machine to create about 4” of chain on the end of the garment. This excess chain is another way to ensure strong seams.
When finished, remove the garment from the machine and snip the threads.
Repeat for the other sleeve.
Trimming
The final step is to even out the bottom hem. I prefer a raw hem for a more grunge look, so I’m going to do a straight cut across the bottom of my garment to allow the flannel to fray. If you want a different look, you could use the serger to finish this bottom hem after trimming.

That’s it! Now you have a brand-new shirt ready for winter and made with just a few things probably already laying around your closet. Bring your next upcycling project into Ignite Studio to make use of our sergers, sewing kits, and large cutting table! Be sure to post your creations to the Ignite Community Discussion Board. Happy Making!!
