

by Ashabul Alam
If you’ve wanted to make 3D prints that are too big for Ignite’s 3D printer, don’t fret! Printing your design in multiple parts and connecting them afterward is a great way to do so. Connecting your 3D printed parts can be done in various ways, like using super glue, epoxy, or a soldering iron. However, these methods can leave your 3D object fragile, easily breakable, and messy to clean. If you want to use a method that combines two 3D printed parts which creates a strong and lasting connection, plastic welding is a great way to do that. If you haven’t already, check out Ignite’s 3D printers and fantastic 3D print designs you can make from Thingiverse. Read on for a quick guide on how to plastic weld 3D prints.
How to Plastic Weld 3D Prints
3D Printed Parts
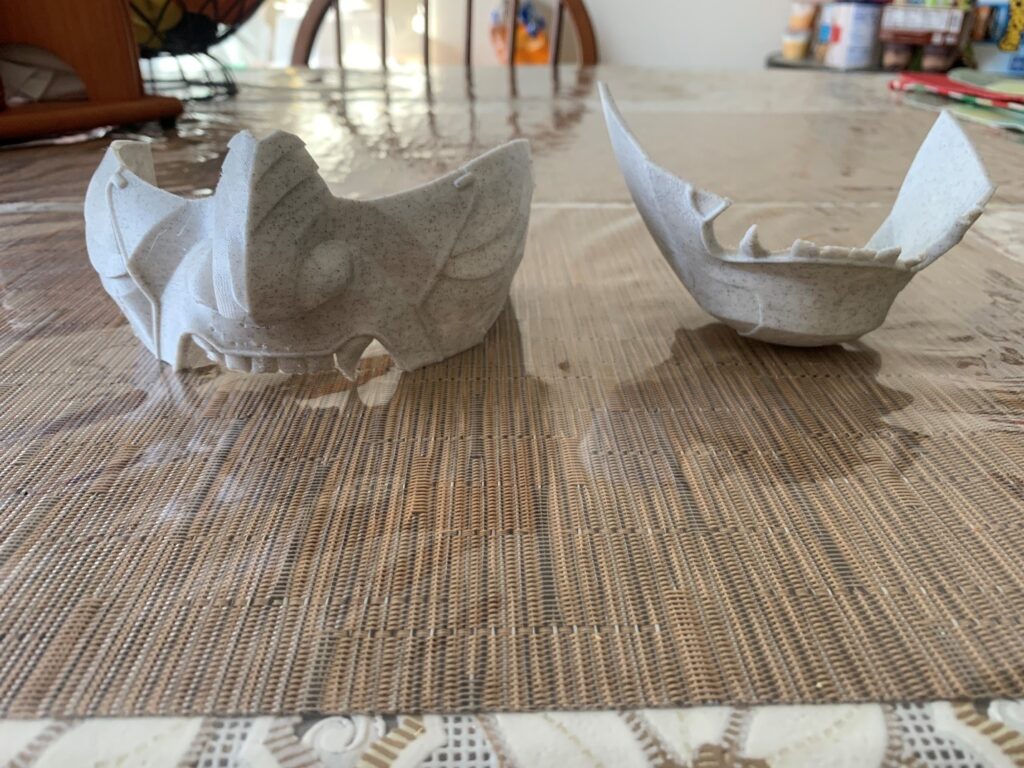
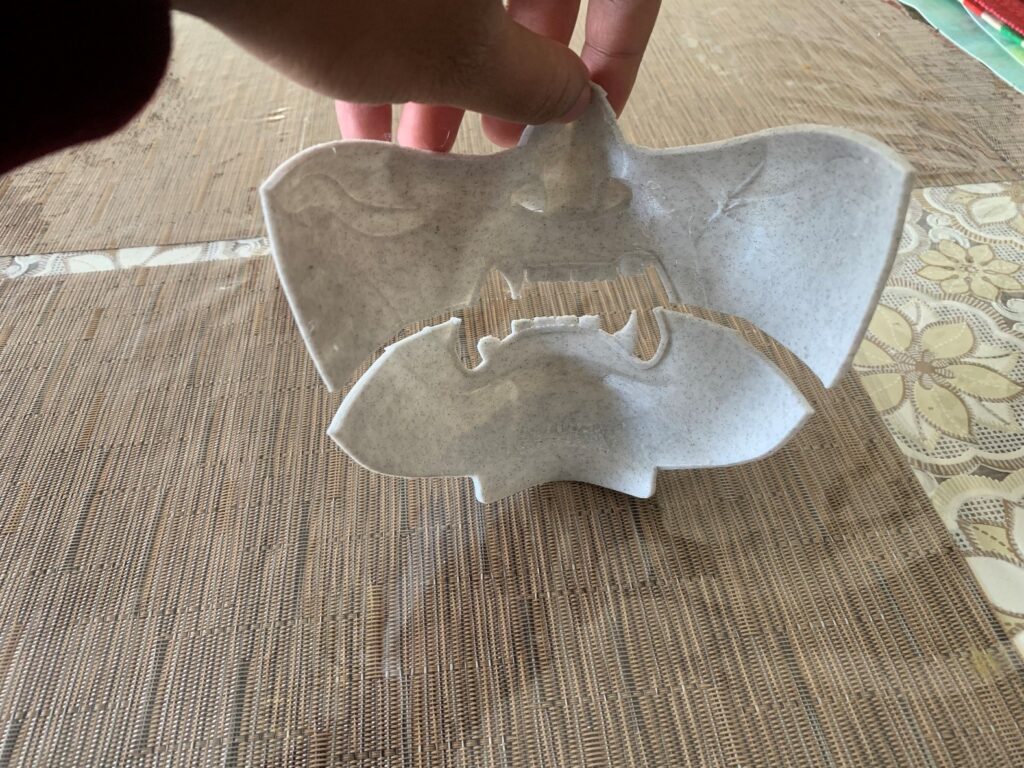
First, to ensure your 3D prints combine correctly you’ll want to make sure that your parts line up well. For example, I’ll be connecting two 3D printed samurai mask parts as shown below. Having well-defined edges and corners to your parts will make it easier for you to weld both parts together.
Plastic Welder Kit
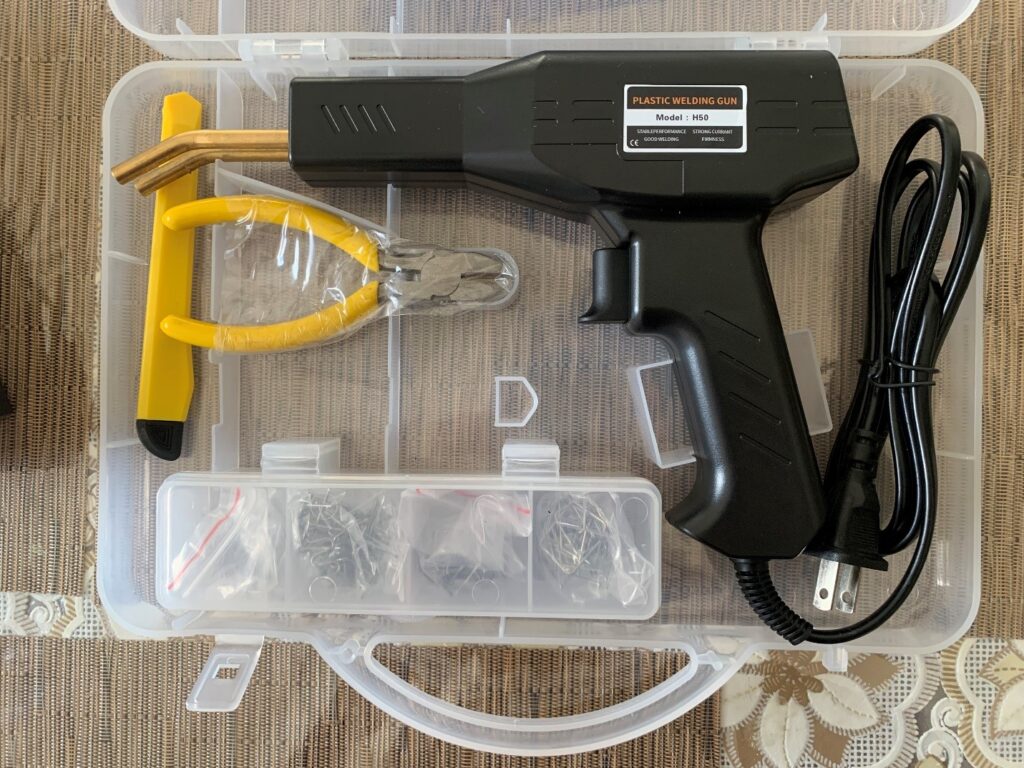
Next, you’ll need a plastic welder with staples that you can press into the parts to create a strong connection. You’ll also want a clipper to cut off the ends of the staples once you’ve finished plastic welding.
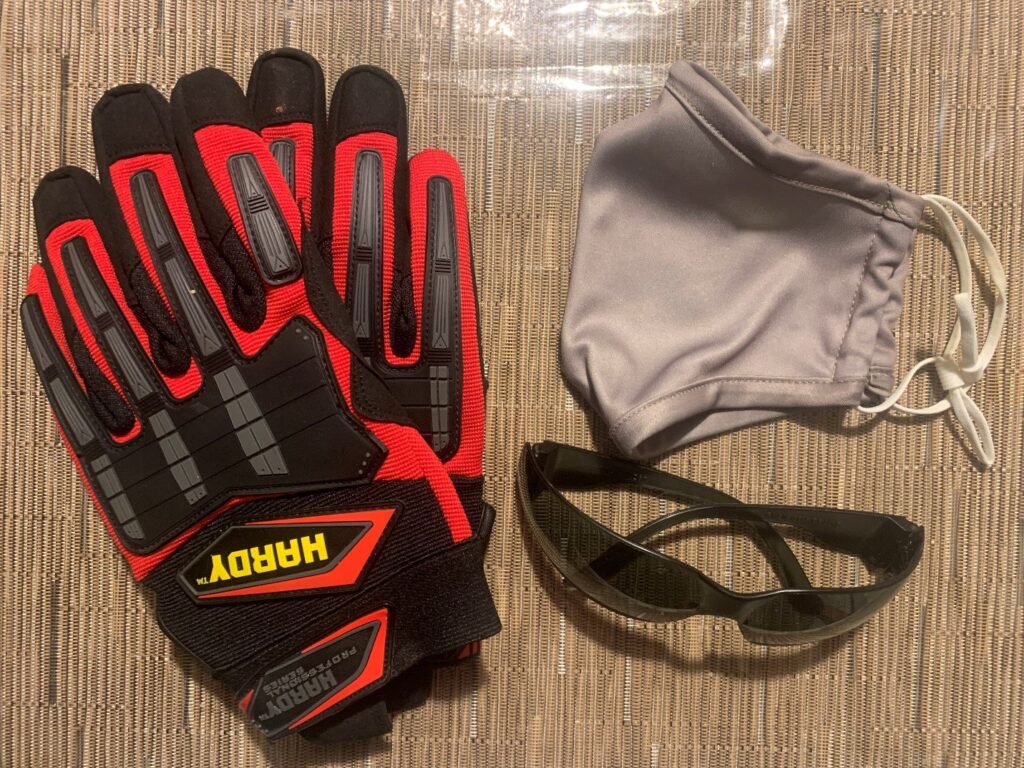
Safety Gear
Then, make sure to wear safety glasses, gloves, and a mask when you plastic weld. It’s also a good idea to weld your prints in an open space to ensure ventilation of any fumes.
Preparing your 3D prints
Lastly, you’ll want to press your 3D printed parts together so your parts can stay lined up when you fuse them. You can simply use tape as I did below or even use clamps or vises for larger prints to keep the parts in place.

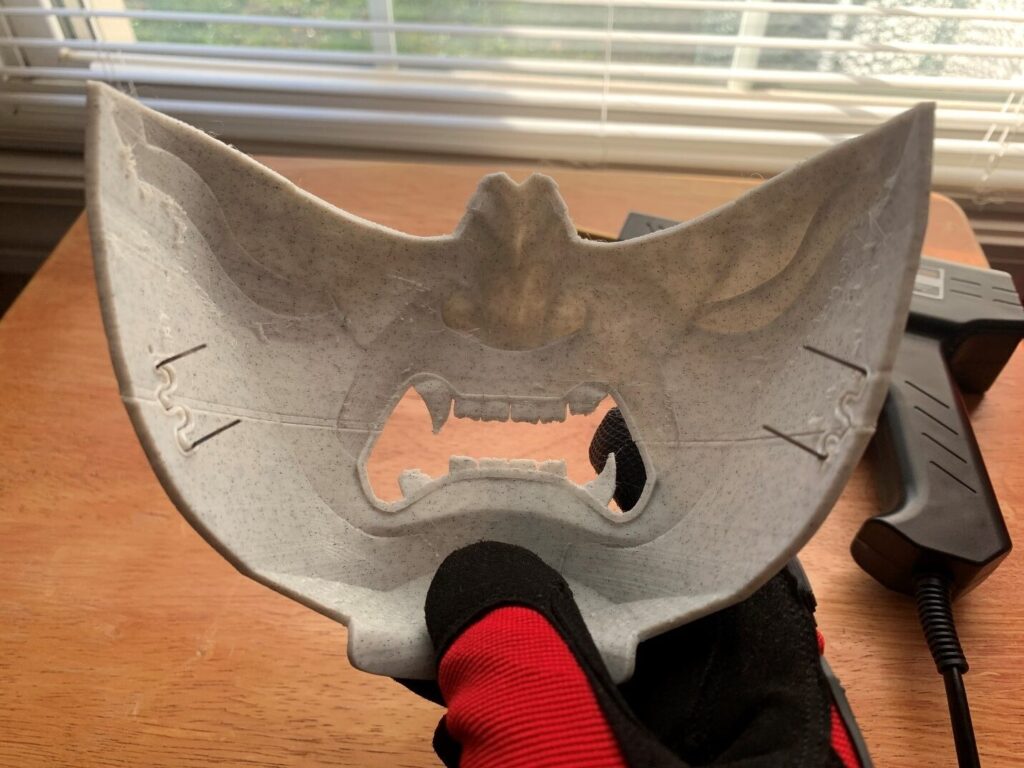
Welding your 3D prints together
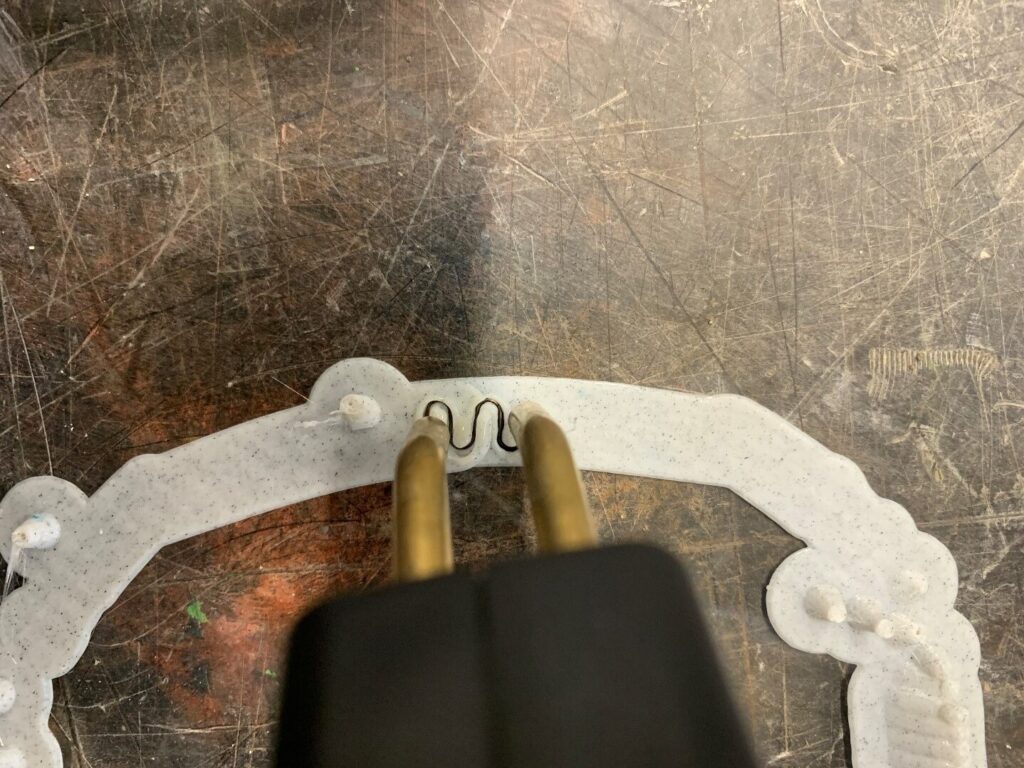
Once you’re finished setting up your prints, you’re ready to move on to the welding process. With the plastic welder, you’ll want to heat up your staple for about 4 to 5 seconds by holding the plastic welder’s trigger. Be sure to have your safety gloves on since the metal will be red hot and up to 700 degrees.
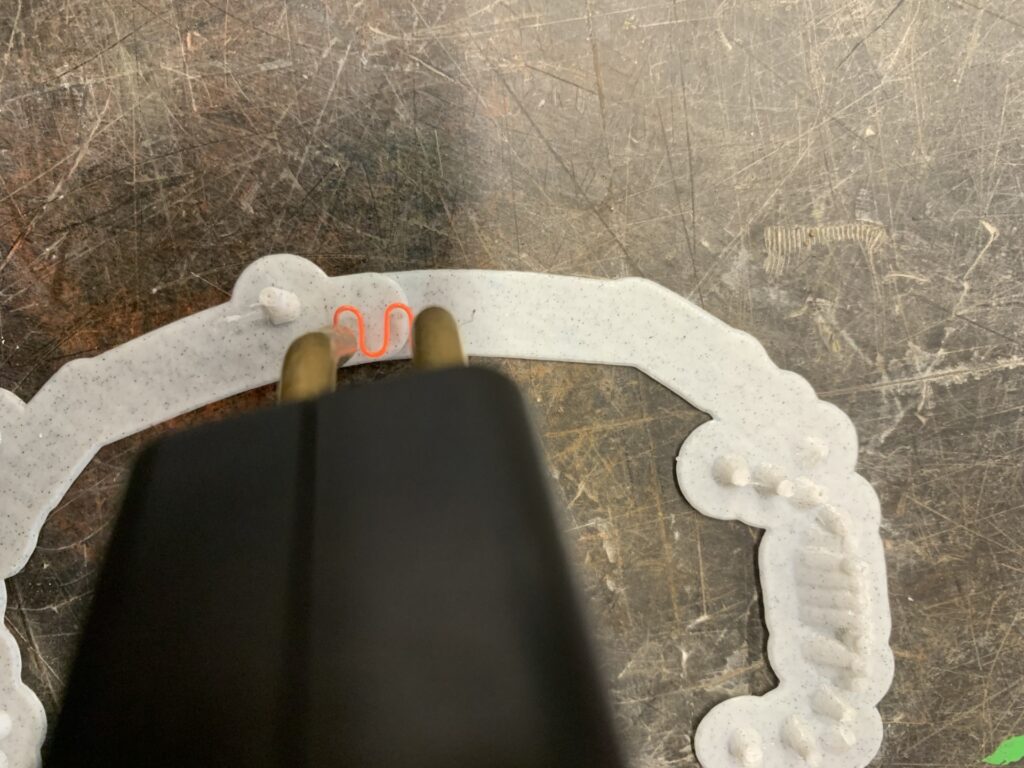
When the staple is heated up, you’re ready to press the staple into both the 3D print parts and fuse them. Here are some helpful tips for the plastic welding process:
- Once your staple is pressed into both of your parts:
- Let go of the plastic welder’s trigger immediately to make sure the staple doesn’t go all the way through the plastic.
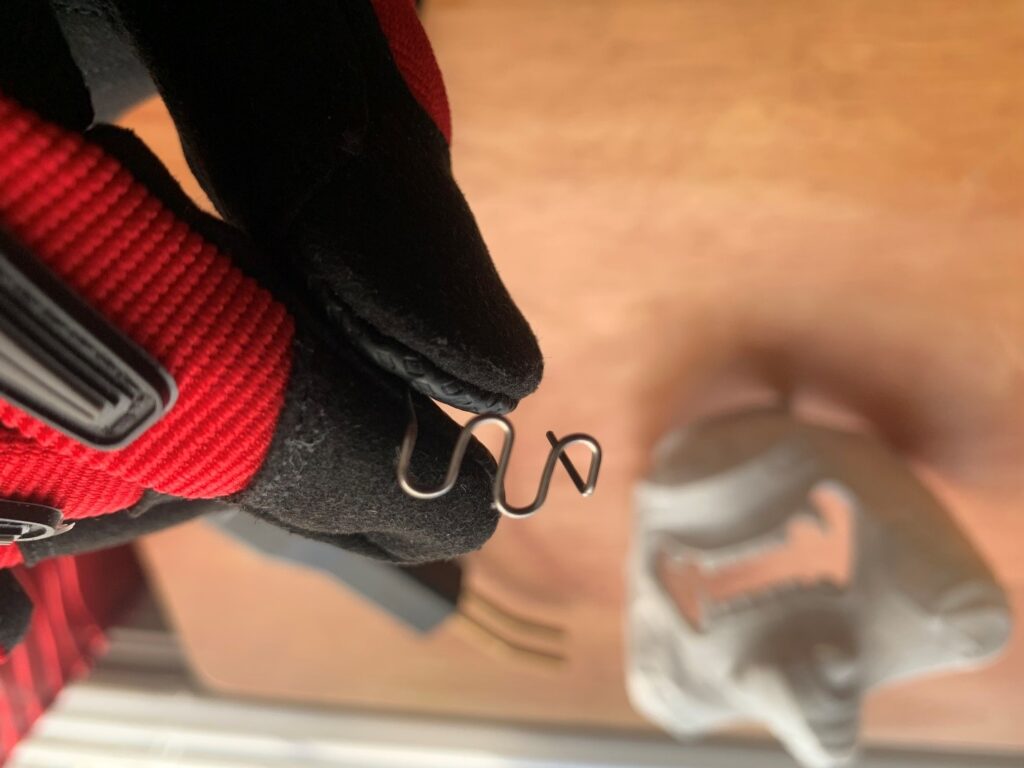
- Slightly twist the staple clockwise (as shown below) to ensure the plastic binds strongly together.
- For thinner 3D prints, you can heat up your plastic welder for 2-3 seconds instead to make sure your staple doesn’t go through your parts.
Lastly, leave the staple to cool for at least 40 to 45 seconds before manipulating your newly fused 3D print. Afterward, you can easily detach the staple from the plastic welder and move on to the final step of your plastic welding project.
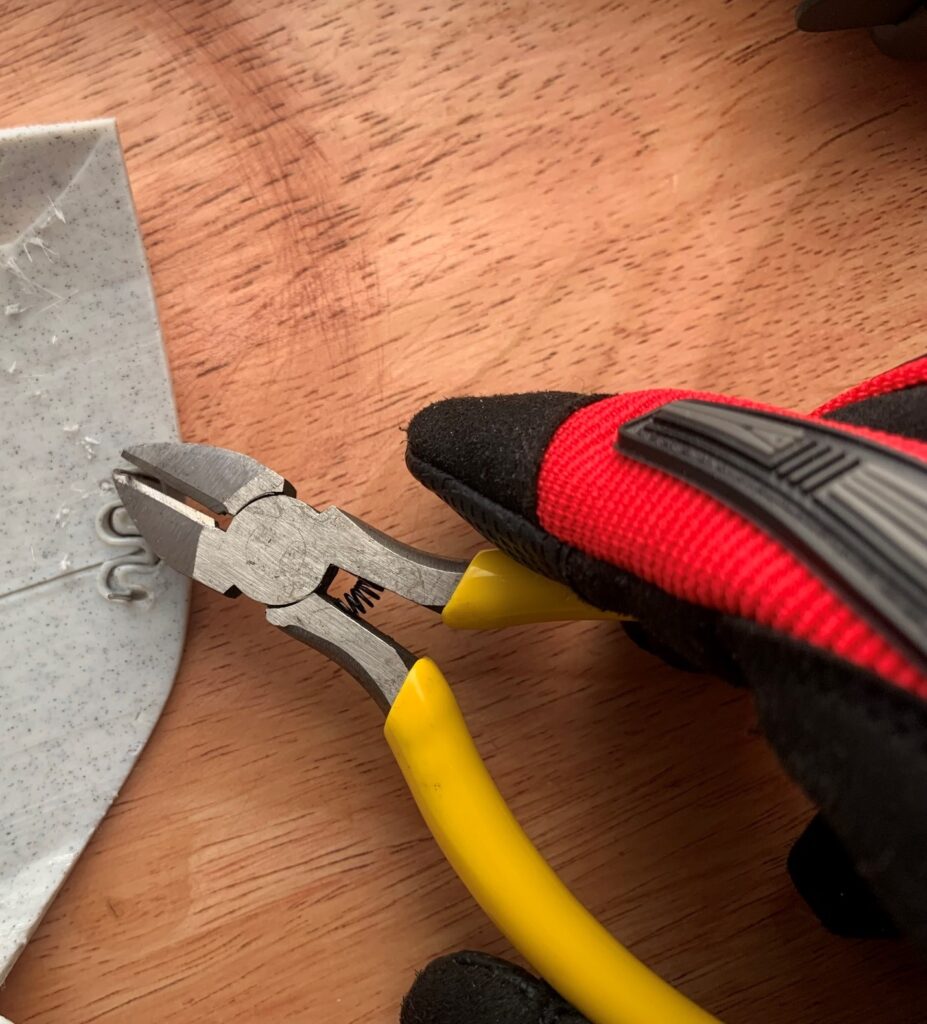
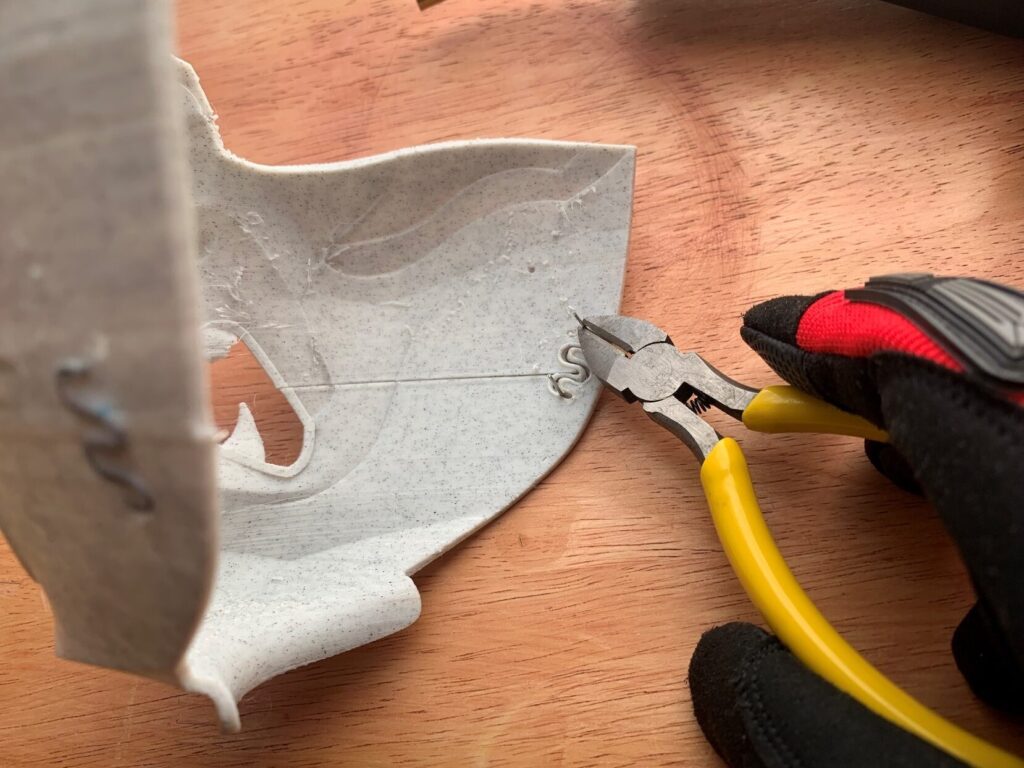
Cleaning Up the Print
All that’s left is to take off the metal pins from the staples. Using a clipper or a nipper, I went ahead and clipped off the pins on my samurai mask. My mask only needed two staples to connect both parts firmly. Feel free to use as many staples as your project needs to ensure your parts are strongly joined together.

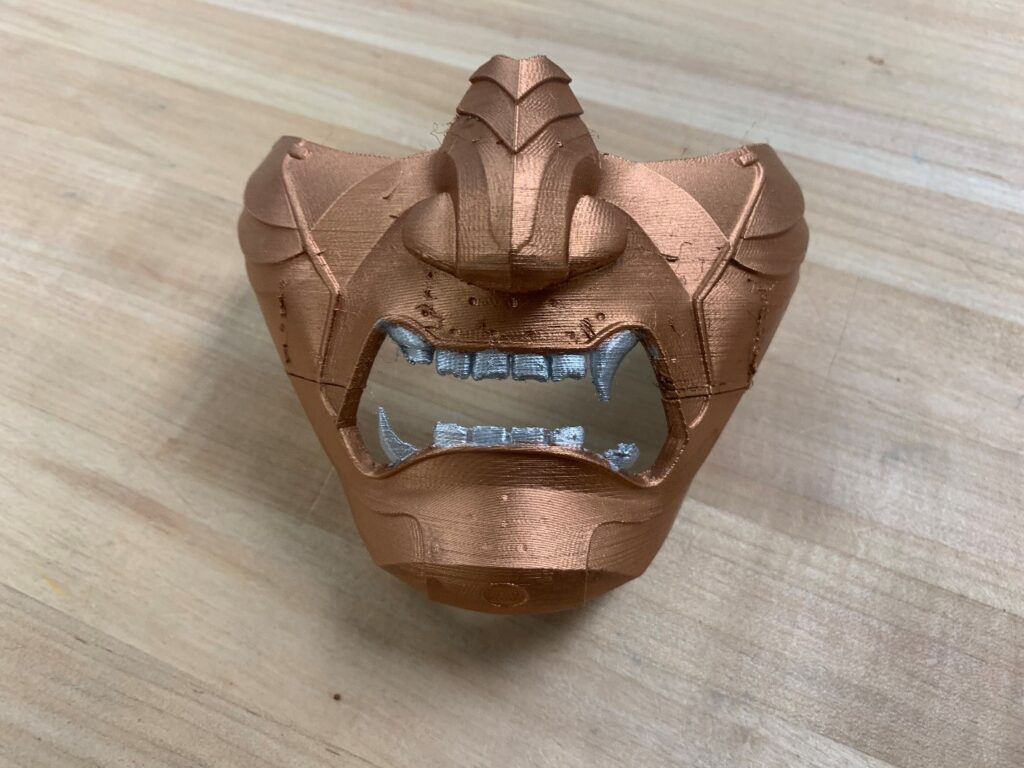
The Reveal
Finally having a completed samurai mask, I was able to spray paint it and add the finishing touches to my mask. Through this experience, I thoroughly enjoyed finding a way to make larger 3D print projects through plastic welding. I hope this serves as an example to not let any 3D printing restraints limit you from making your passion project come to fruition.
I hope this has also inspired you to make complex 3D prints and find creative ways to bring them to life using Ignite’s 3D Printers. If you weld together one of your 3D prints, we’d love to see it by sharing it with us on the Ignite Community Discussion Board!
Happy Making, Happy Printing & Happy Welding!
