

by Jared H.
Making a Custom Font
Have you ever wanted to type using your own handwriting or add symbols you’ve drawn by hand to digital projects? That may be easier to do than you’d expect. Today I will walk you through this surprisingly easy process. The only downside to this method is that others won’t be able to see your font on their computers unless they also have the font installed. Therefore, this is best for creating physical products; for example, printing documents, cutting vinyl, or laser engraving.
Getting Started
There are a few different online sites that allow you to do this, but I will be using Calligraphr for this tutorial. This site offers the chance to create 75-character fonts at no charge. All you need to do is create a free account.
Once you’ve created an account, you will find yourself on a page that will help walk you through the process. Start with step 1 from that page by clicking “Create a Template”.
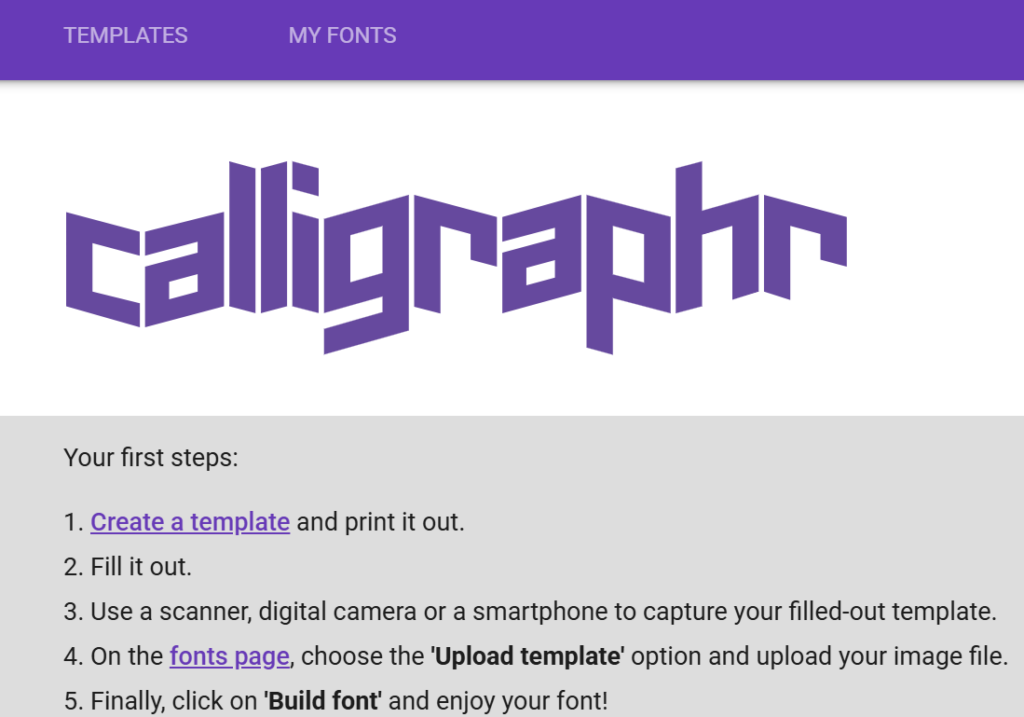
Screenshot of the Calligraphr website’s step-by-step guide.
Create a Template
Before we can start designing our letters & symbols, we’ll need to create a template. After clicking “Create a template” under step 1, you’ll find yourself on a page where you will select which characters you want to be in your font.
The downside of using a free account with Calligraphr is that they only give you the ability to have 75 characters in a single font. Any additional characters you want to add to your template won’t be able to be created through their system.
On the panel to the left you will find groups of suggested characters so that you can quickly add a set of characters to your template. For my font, I’m going to add “Minimal English” found under the “Basics” tab. I’m also going to add “Basic Punctuation” which is found under the “Miscellaneous” tab. Unfortunately, these two sets put me over the 75-character limit. A warning appeared above the selected characters to notify me of the issue. I’m currently at 88 characters, so I need to choose 13 characters that I think I would use the least and eliminate those from the template before I can continue.
(I realized after creating my font, that I forgot to add “Minimal Numbers”. Those may have been more useful to add instead of a few of the punctuation characters.)

Screenshot of the warning popup notifying that there are too many characters for a free template.
To remove a character, simply click on the unwanted character and then click “Delete”.
Download Your Template
After filtering down to the 75-character limit, click “Download Template” in the bar above the characters to continue to the design phase.

Screenshot of the template screen setup screen and where to find “Download Template”
A prompt will appear to edit some settings before downloading the template finishes. The default settings are fine; however, I would suggest turning on “Characters as background” if this is your first time. This will create a light gray shadow of each character. This will help you know where to draw your characters within each box.
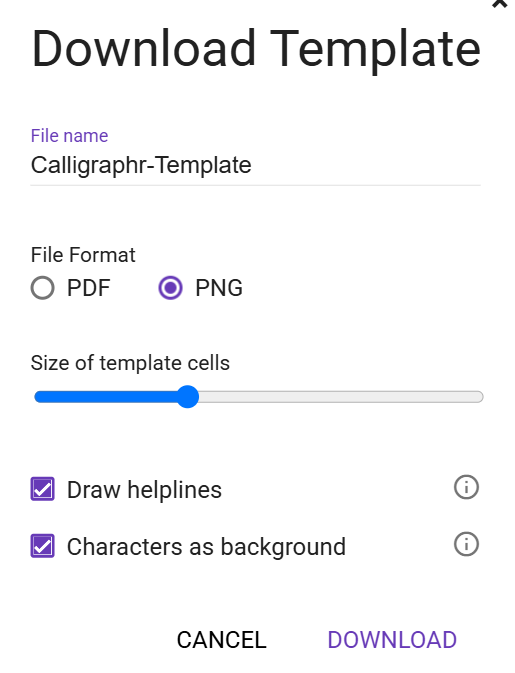
Screenshot of the “Download Template” popup.
After the file downloads it will likely be in a zipped folder. Navigate to the file on your computer. On Windows computers you can right click on it and choose “Extract All…”, and then click “Extract”. You will now have a new folder that you can open to access the files.
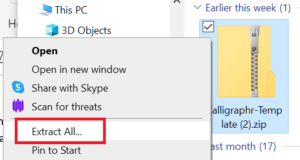
Screenshot of the options menu after right-clicking on the zip folder.
You will likely have more than one page on your template. When printing each of the pages, make sure the registration squares in each corner don’t get removed due to printer cropping.
Drawing the Characters
Now for the fun part! Using a dark drawing utensil, fill out each character box with whatever you’d like. Don’t worry about having to cover up the faint shadow characters. They are light enough they won’t be read during the upload process.
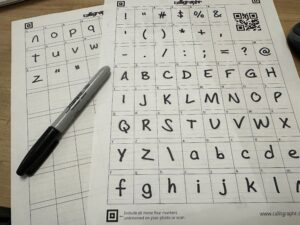
Photograph of the templates after marking each character.
Upload Templates
After filling out your entire template, scan or take a photo of each page. As you can see in the photos below, the photographs don’t need to be perfect. Even with the poor lighting, my uploaded results turned out pretty well.
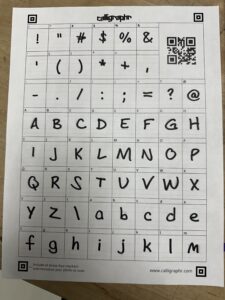
Photographs of the completed templates that will be uploaded in the next step.

Photographs of the completed templates that will be uploaded in the next step.
Return to the Calligraphr website and select “MY FONTS > Upload Template” from the navigation bar at the top of the window.

Screenshot from the Calligraphr website for where to upload a template
You’ll now see the “Upload Template” popup. Click “Choose File” and upload each of your scans or photos of your completed templates. If you took a photo of your template rather than scanning it, it may be a good idea to check “Automatically clean templates”. This will remove any artifacts that may occur due to insufficient lighting. After clicking “Upload Template”, give it a couple minutes to process.
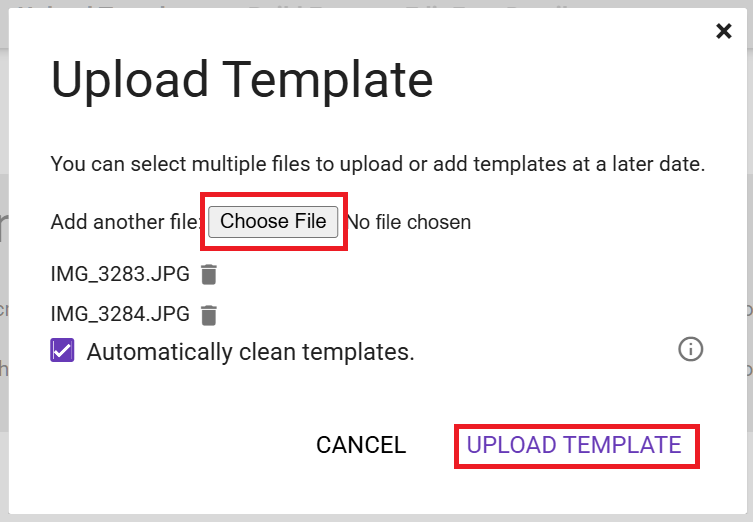
Screenshot from the Calligraphr “Upload Template” popup
If each of your characters look good, continue by clicking “ADD CHARACTERS TO YOUR FONT”
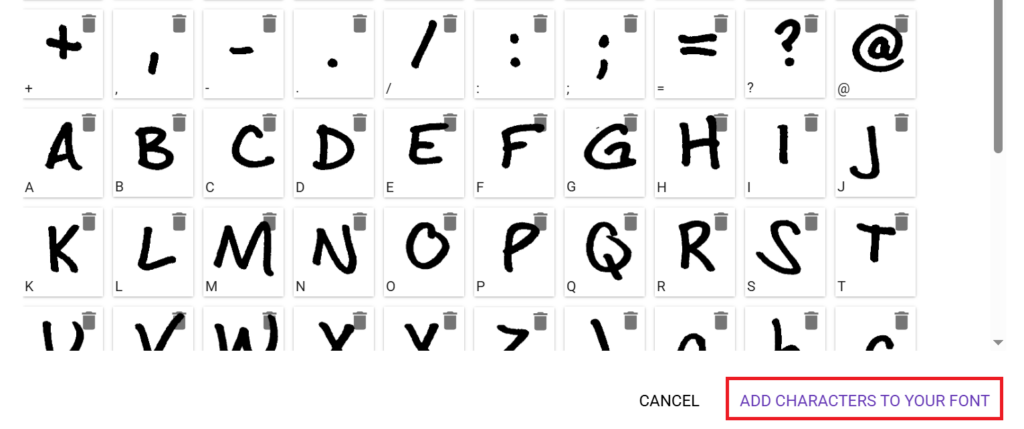
Screenshot from the Calligraphr website after the template has been processed.
(Optional) Fine-Tuning the Characters
From this point, the font can immediately be downloaded for use; however, if you’d like to fine-tune your font, you can click the three dots to the right of “Edit Font Details” and choose “Adjust Baseline”. This will allow you to see each character next to every other character, giving you the opportunity to shift characters up and down, as well as increase or decrease the size for more consistency across the font.
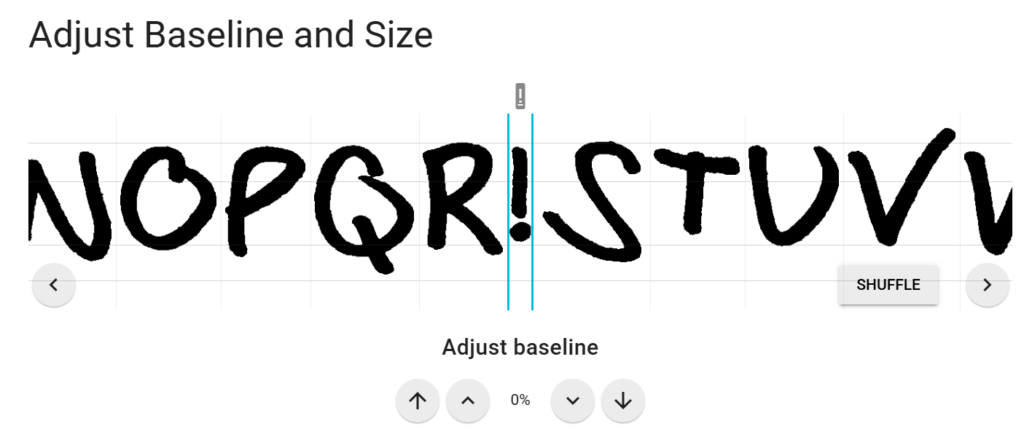
Screenshot from the Calligraphr website’s “Adjust Baseline” settings.
Download and Install the Font
Once you’re ready to download the font, click “Build Font” from the navigation bar. Give your font a name and click “Build”.

Screenshot from the Calligraphr “Build Font” popup.
The screen will then display two different font file formats “TTF” and “OTF”. Both formats generally work well on most devices. Click on either one to download it.
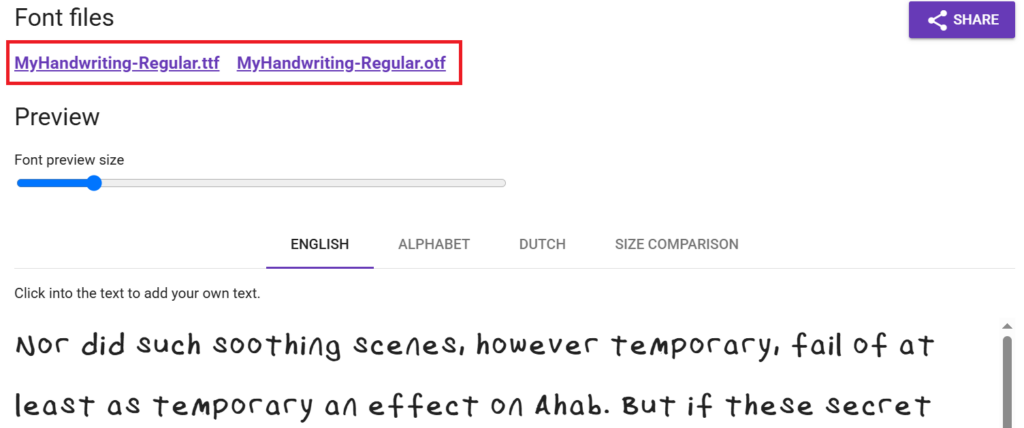
Screenshot from the Calligraphr website for where to download the font.
After the download completes, open the file and click “Install”. After installation, you should be able to find your font within any software on your computer. If you don’t see it, try restarting whatever software you’re trying to find it in.

Screenshot from the opened font file and how to install the font.
I hope this information has sparked some inspiration on ways you may be able to personalize your digital creations using some hand-made fonts. Post your makes featuring custom fonts on the Ignite Community Discussion Board on Facebook. Happy Making!
