

by Donya C.
As the summer comes to a head it’s the perfect time to make fruit themed crafts. Today I made a trinket jar using our kids clay kit here in the Ignite Studio. I made sure to stick to one ball of clay, as that is what is available in a kit. Our rule is one clay ball per person per day. I made a strawberry, but this activity can work with any type of fruit or theme. The only thing that will change is how you paint it. If you’re in Ignite, make sure you are working at the clay table. Follow along to learn how to make a clay fruit jar.
How to Make a Clay Fruit Jar
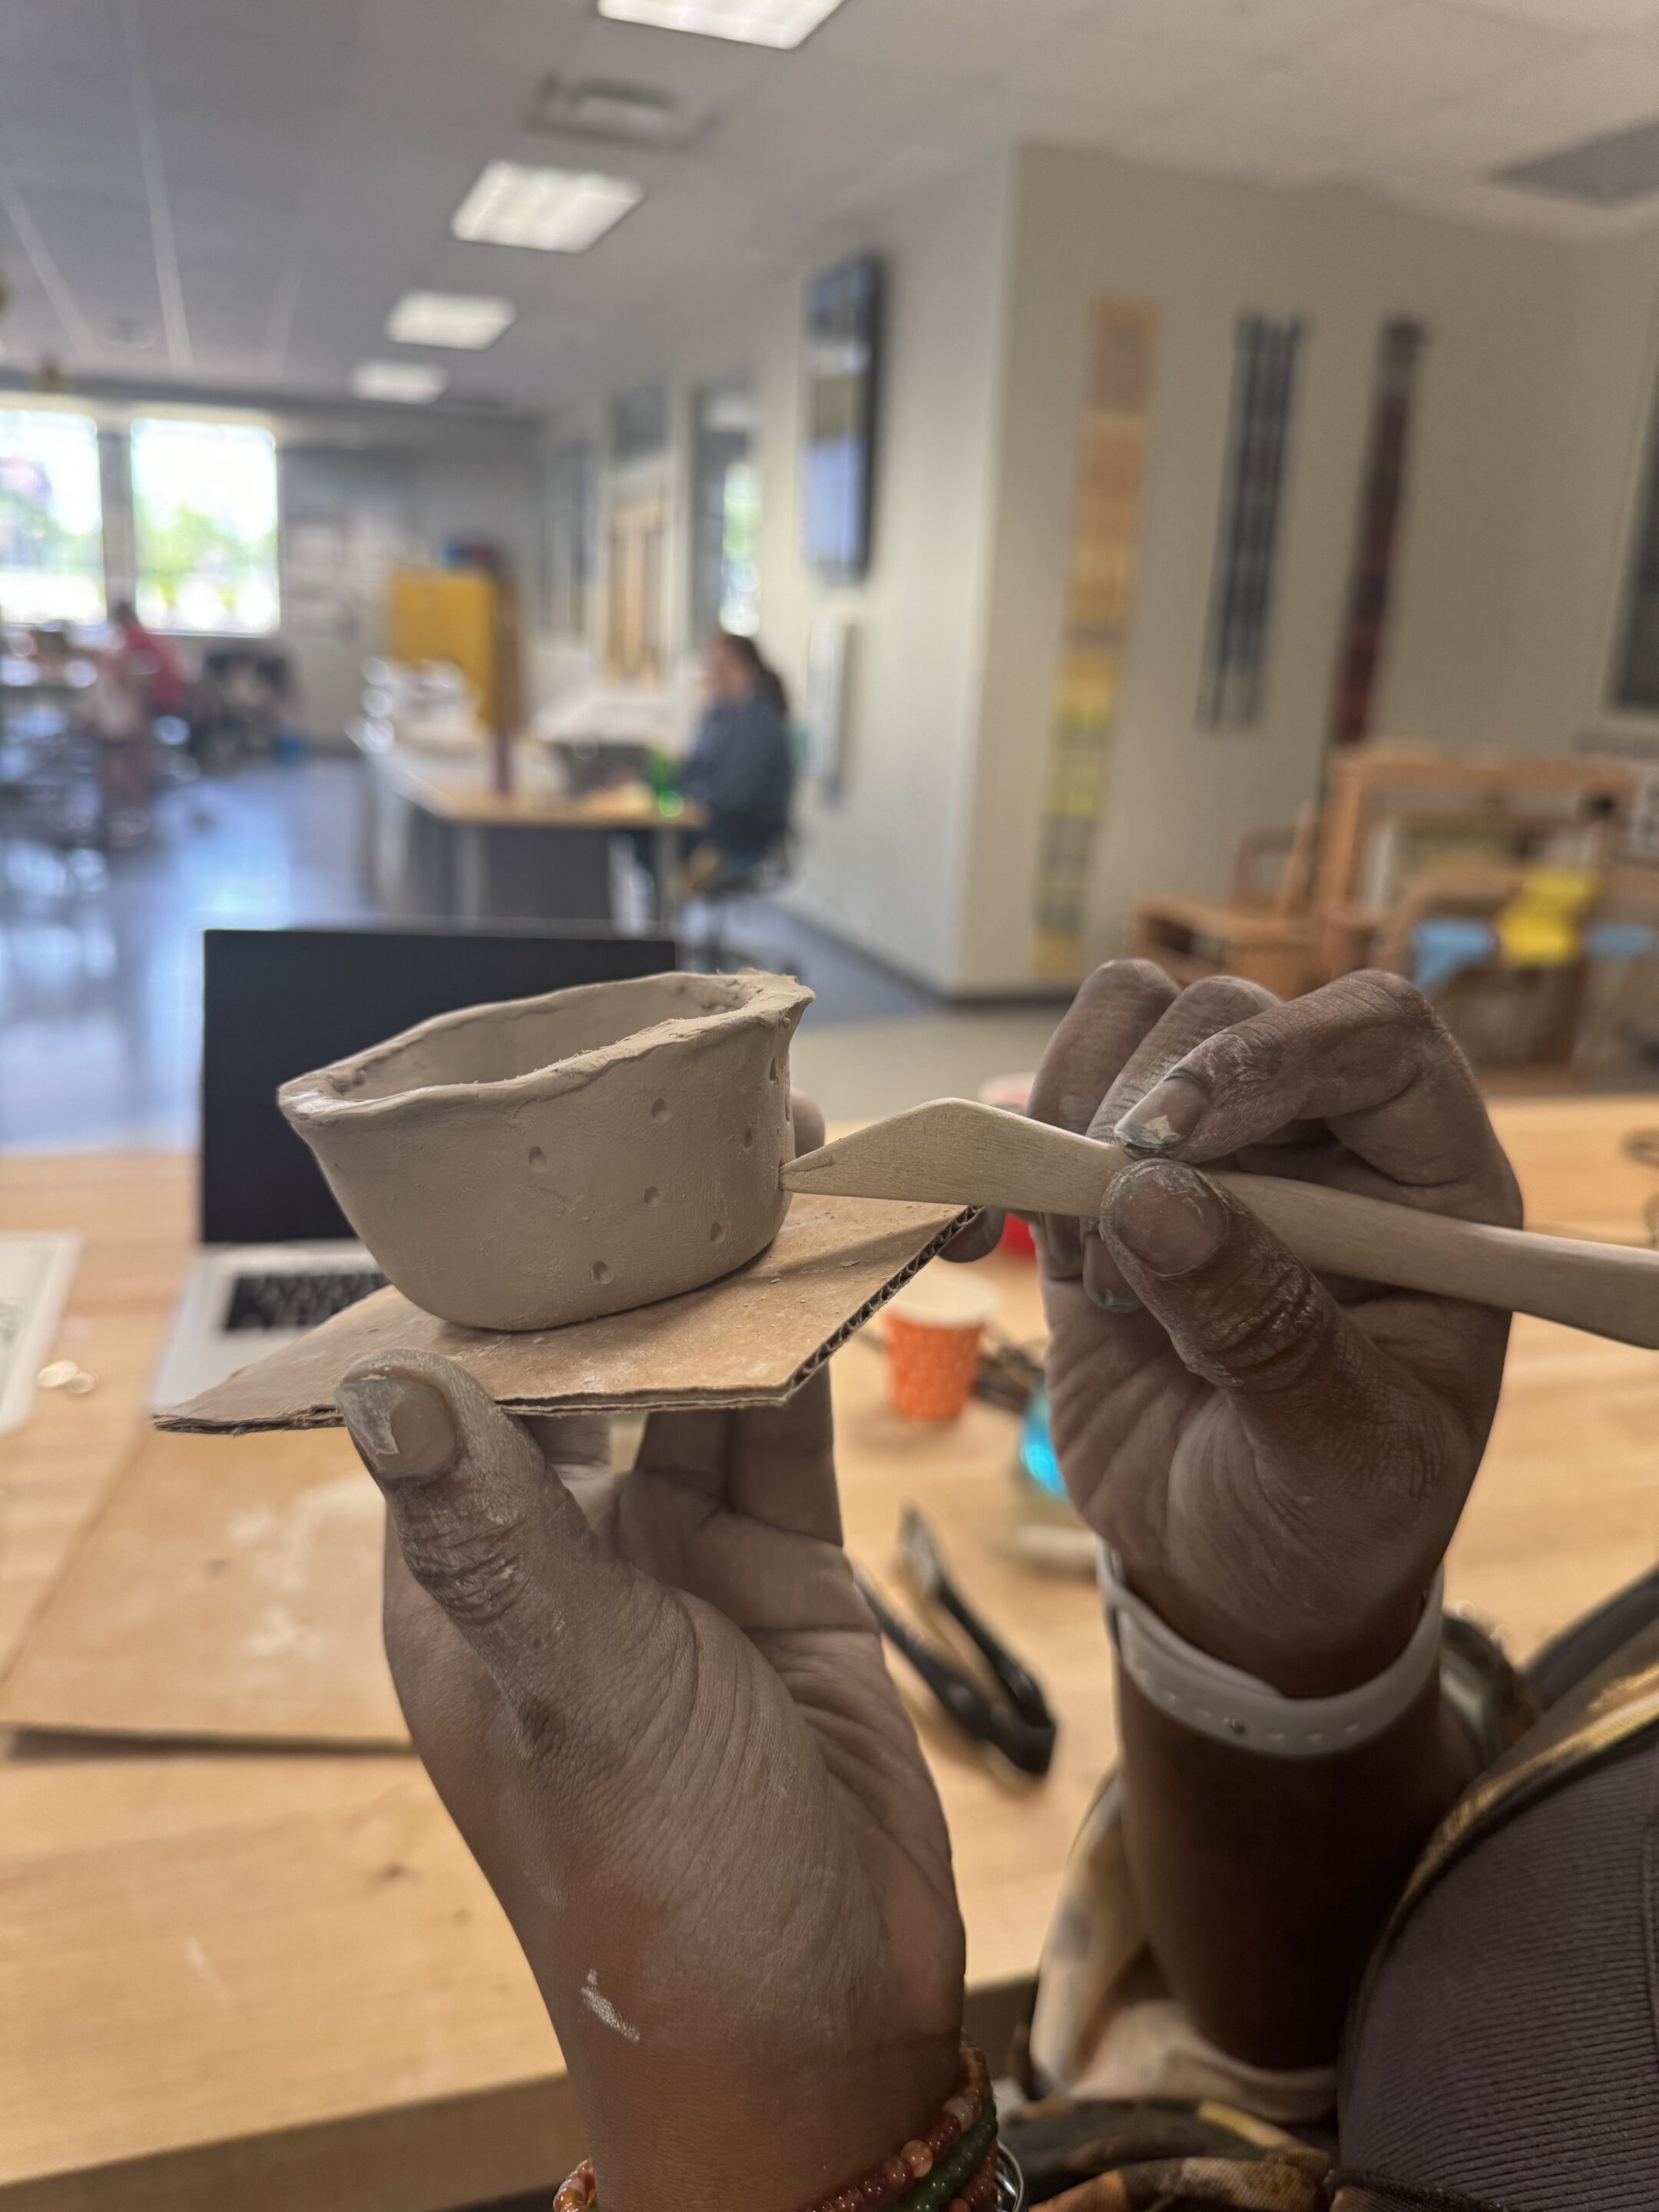
First, we are going to start with one ball of clay, and cut about 1/4 off the top. You’ll reroll the bottom half into a ball. Put your other piece of clay back into the container and close the lid tight. This is important. The airdry clay in the kit will start to harden the longer its exposed to air. Now, use the handle of a rolling pin tool to make the bowl opening. Pull the sides with your fingers to make the wall, and use your fingers to smooth.


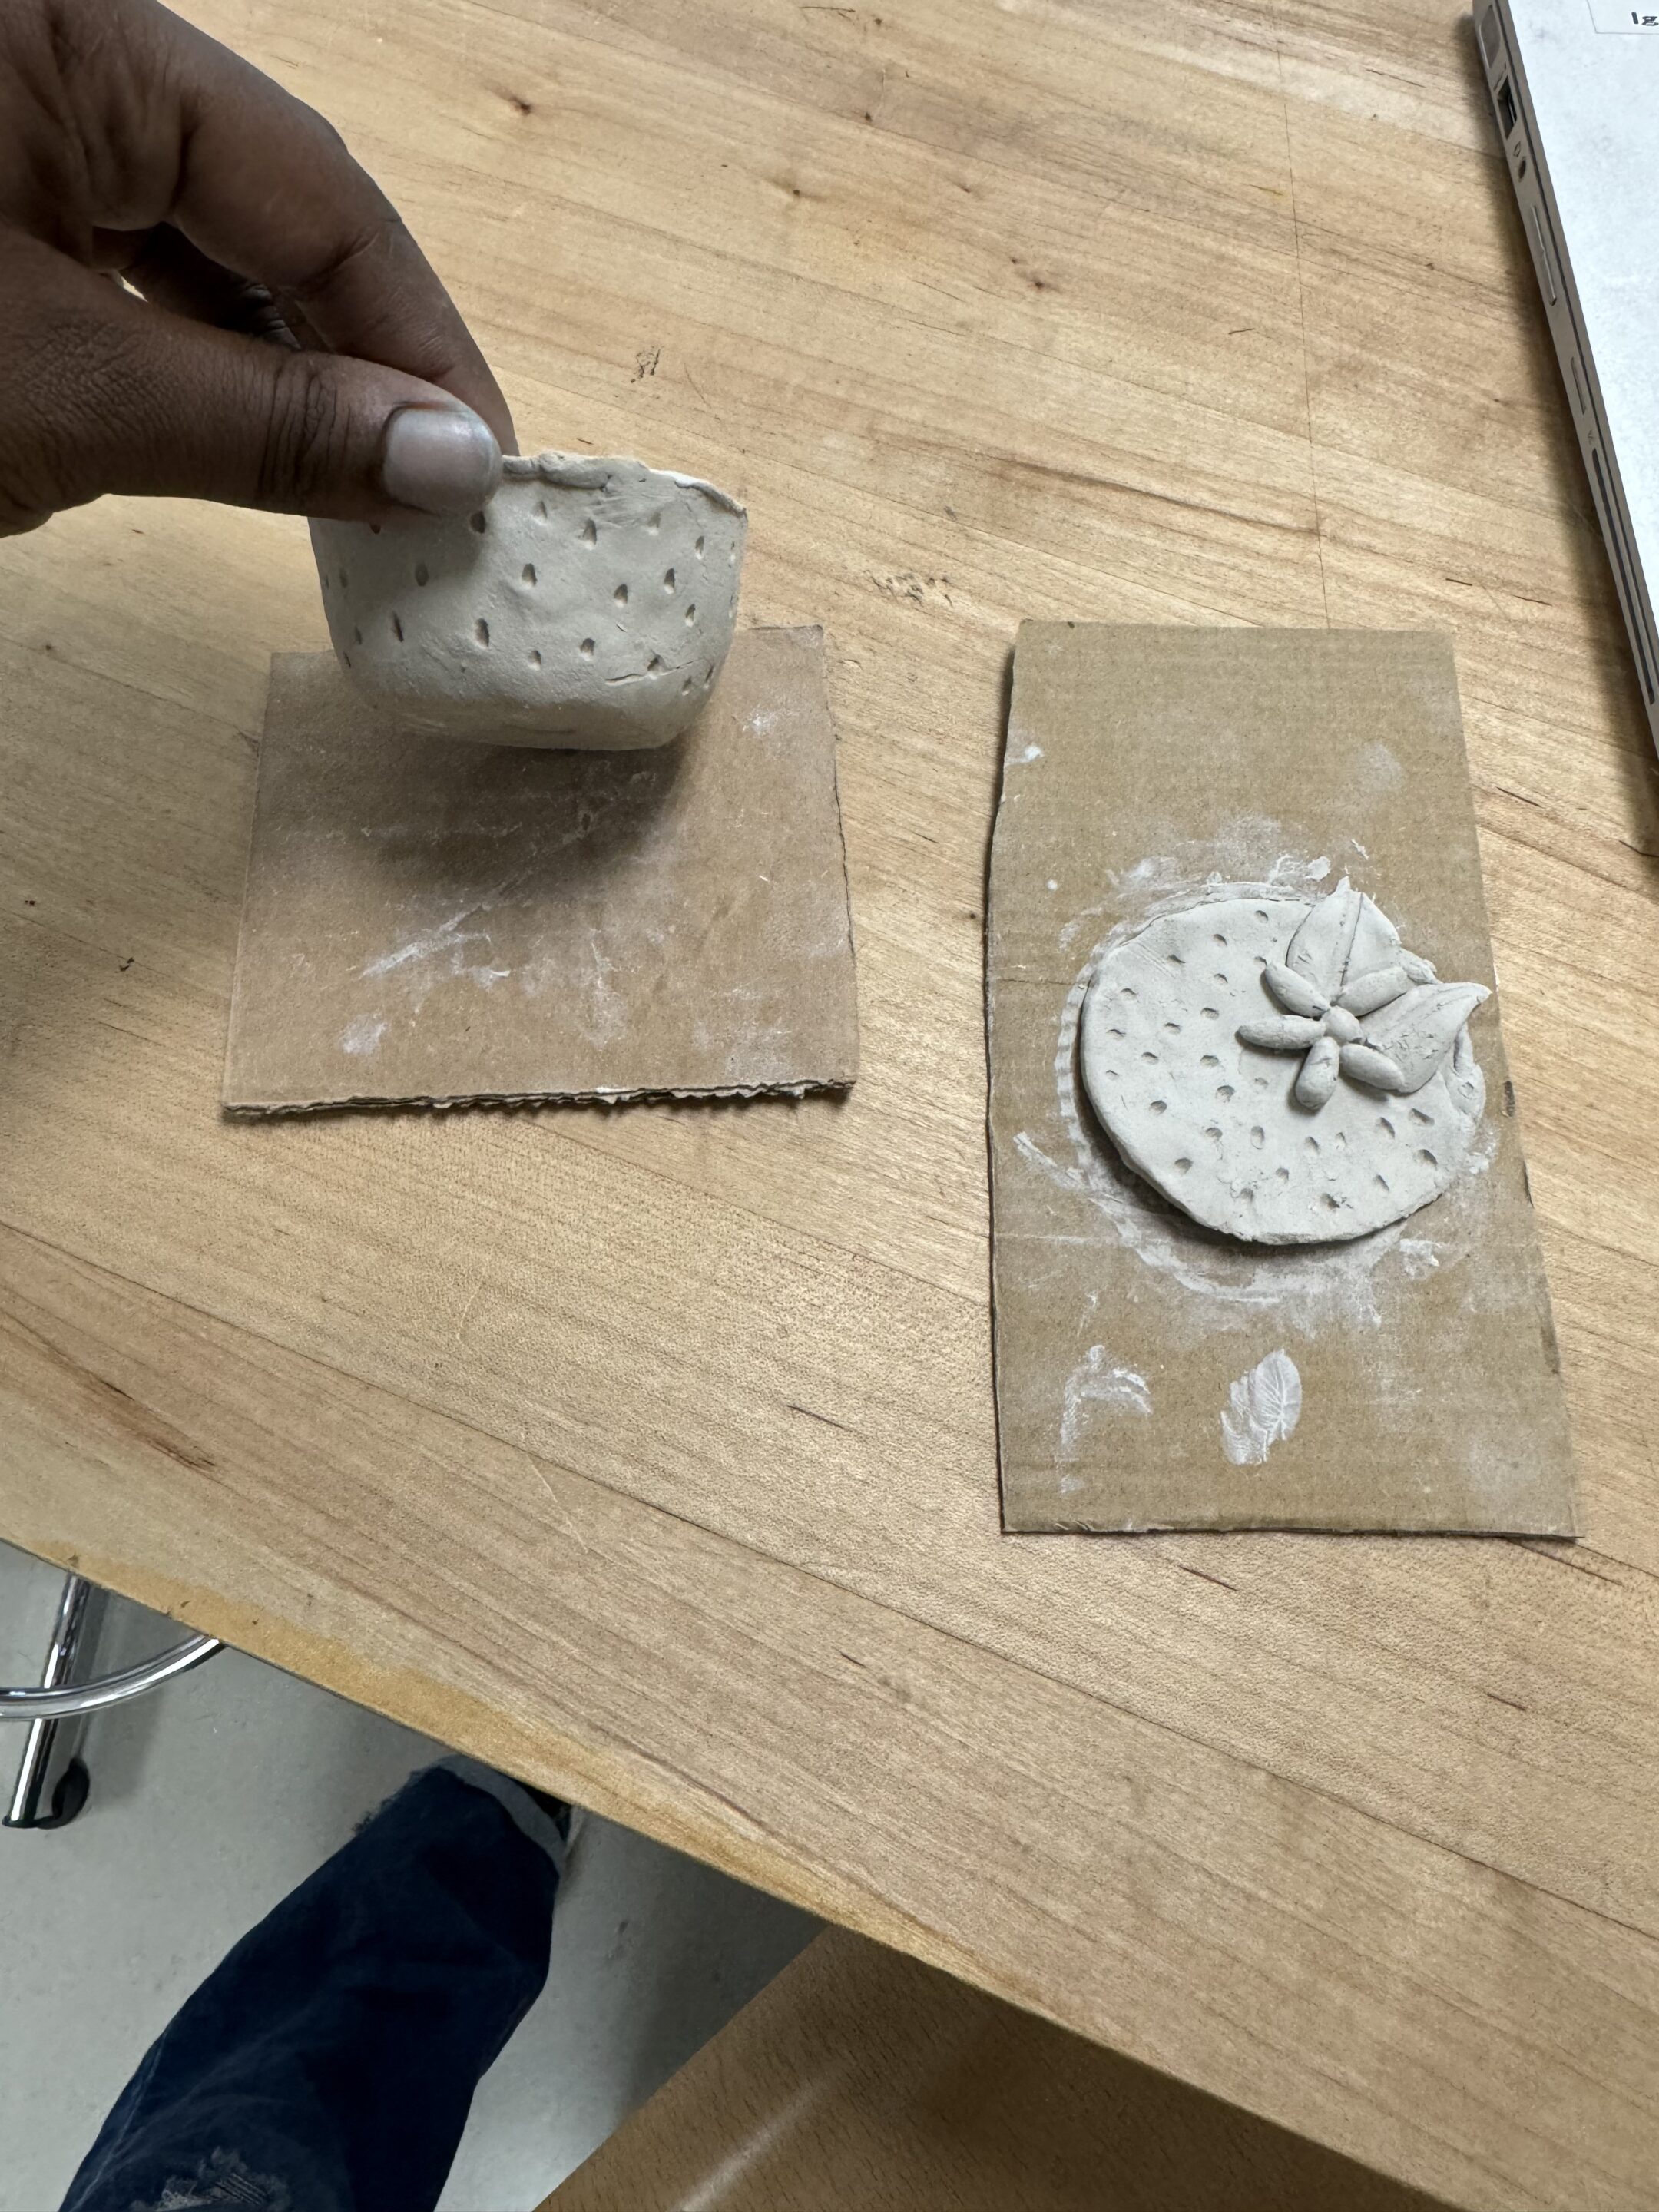
Next, add the seed design on the outside using a tool with an edge. You don’t need to go too deep just enough to make a dent. Set this aside to dry.
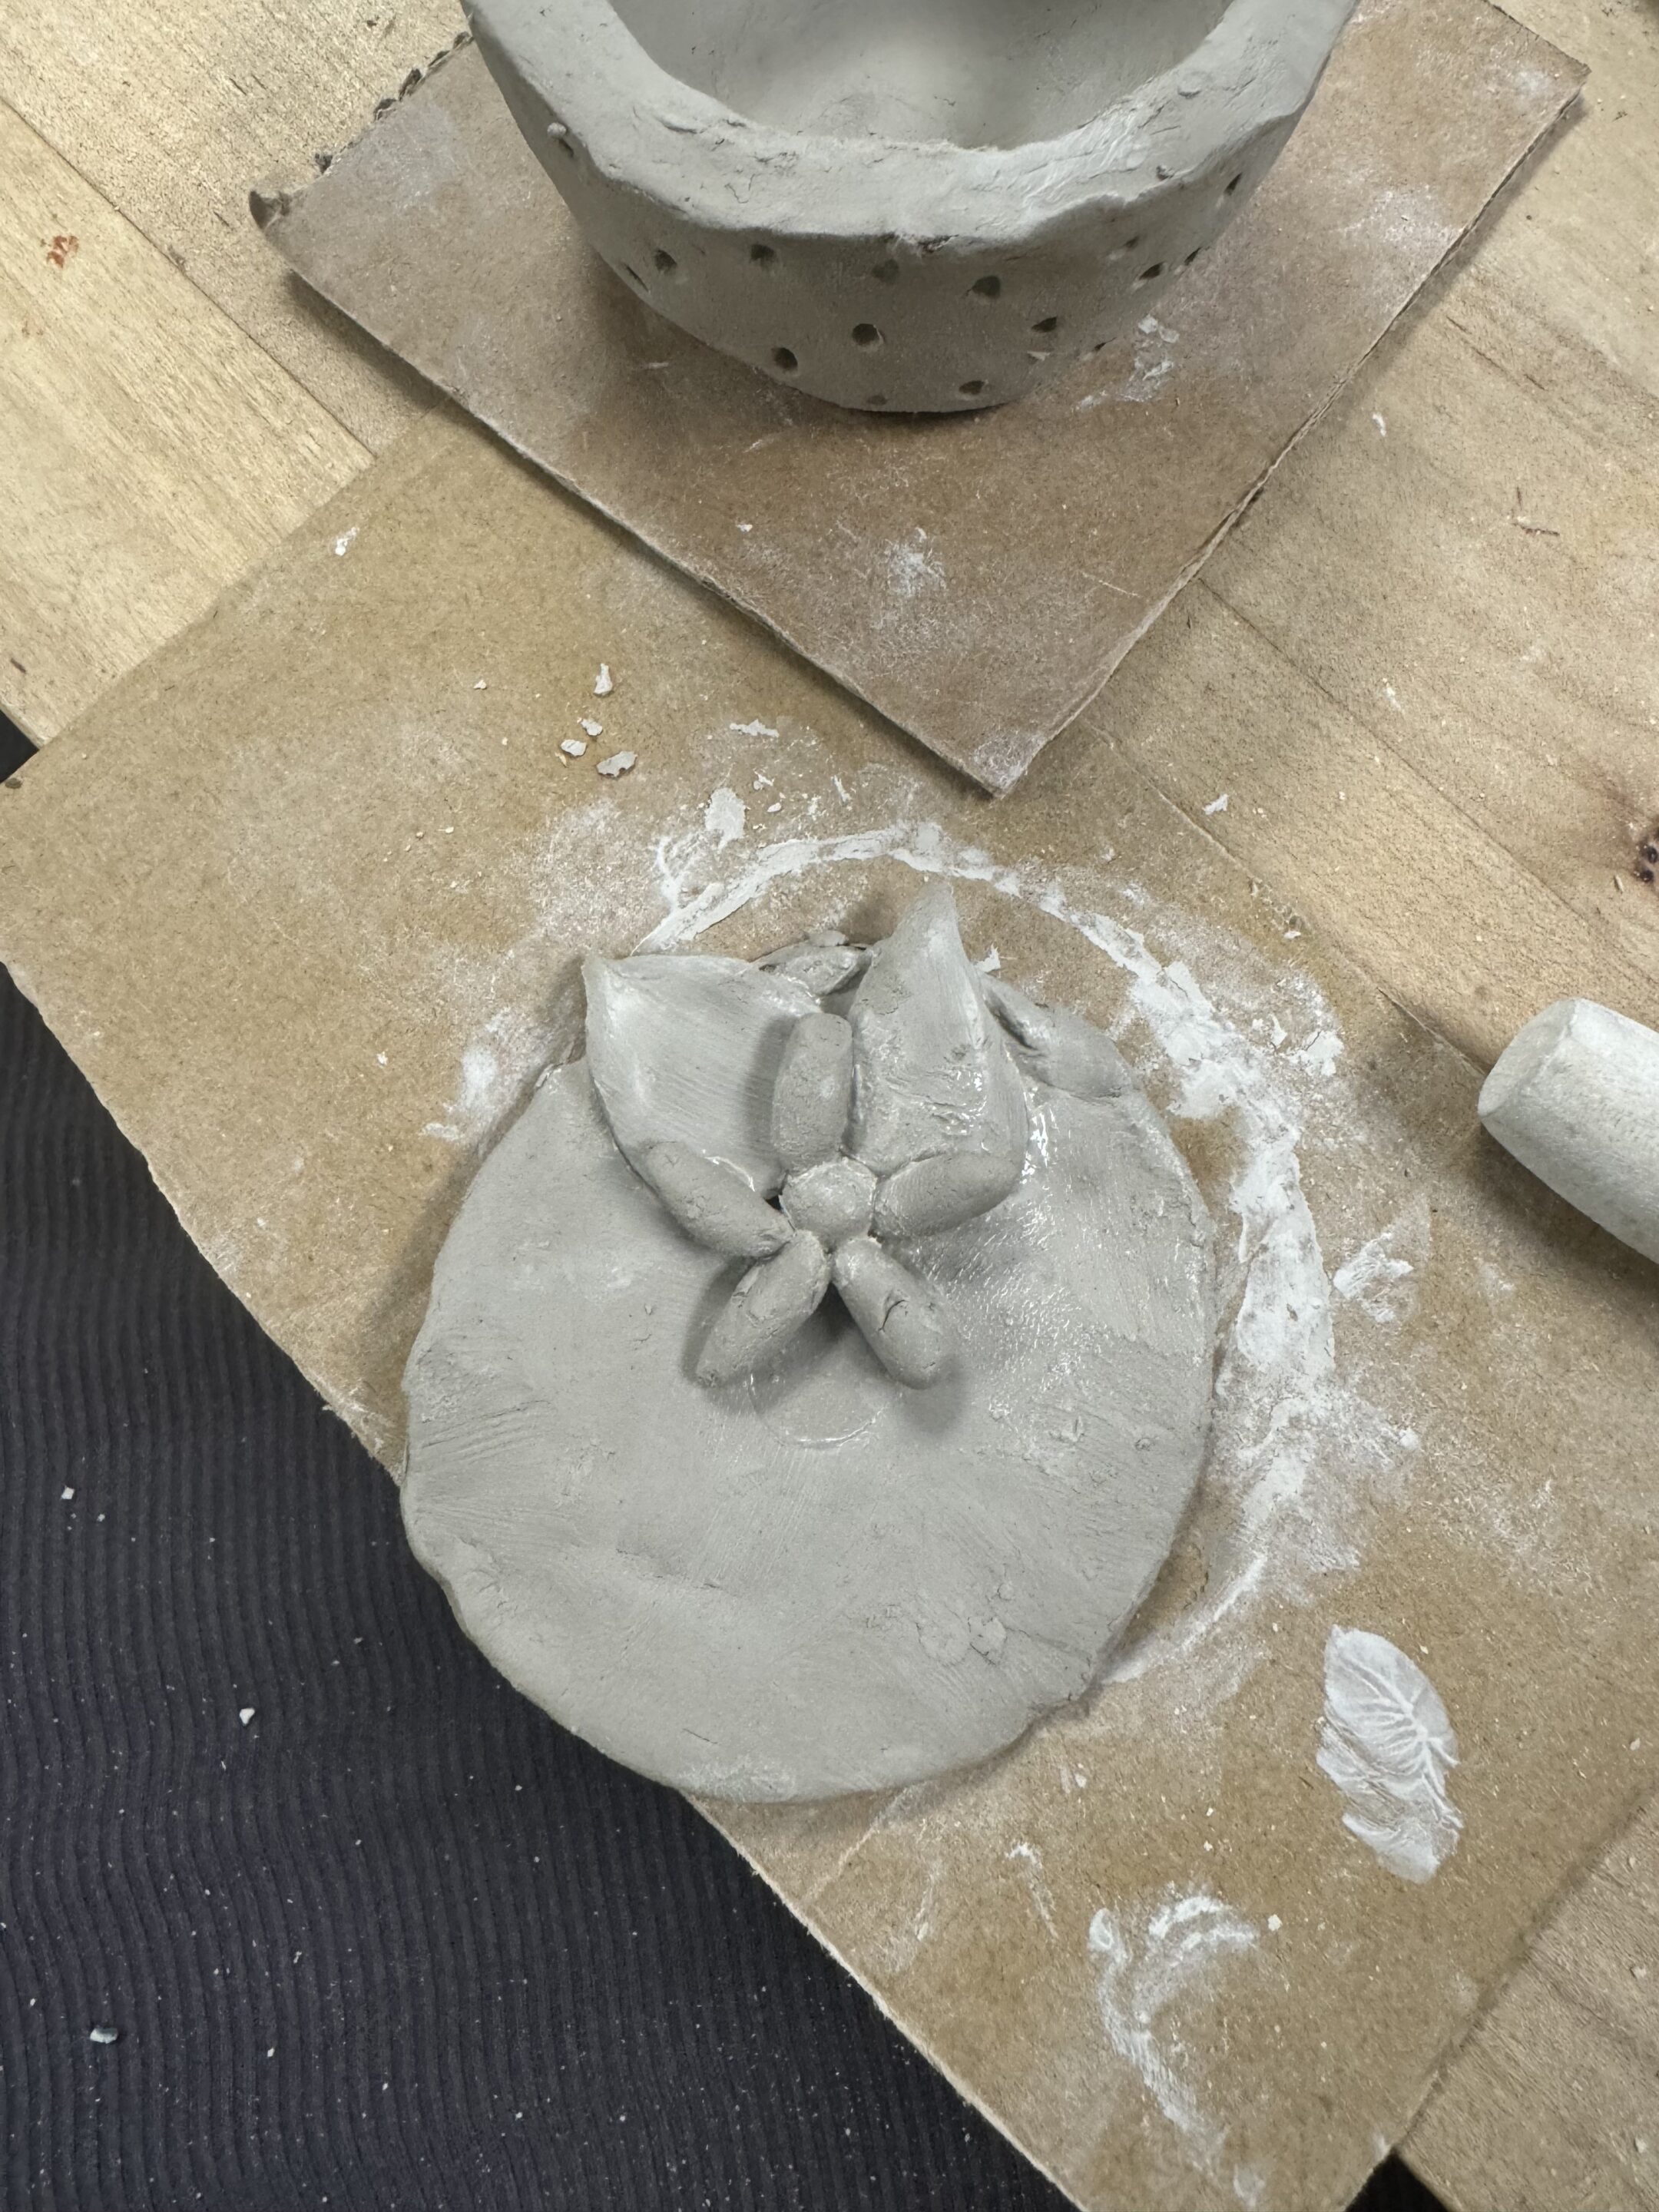
I got out the clay I set aside, and used the rolling pin to flatten it. Pull it out evenly on all sides like a pizza. You can also use a tool and cut it into a circle. I saved a little piece for the flower on the top of the lid. Compare the circle to the top of the big bowl. You want it to be the same size so it won’t fall into the bowl.

To attach the flower you’ll need just a bit of water. Be careful not to use too much since it’s airdry clay it doesn’t work well with water. Too much water will make it crack when it dries.
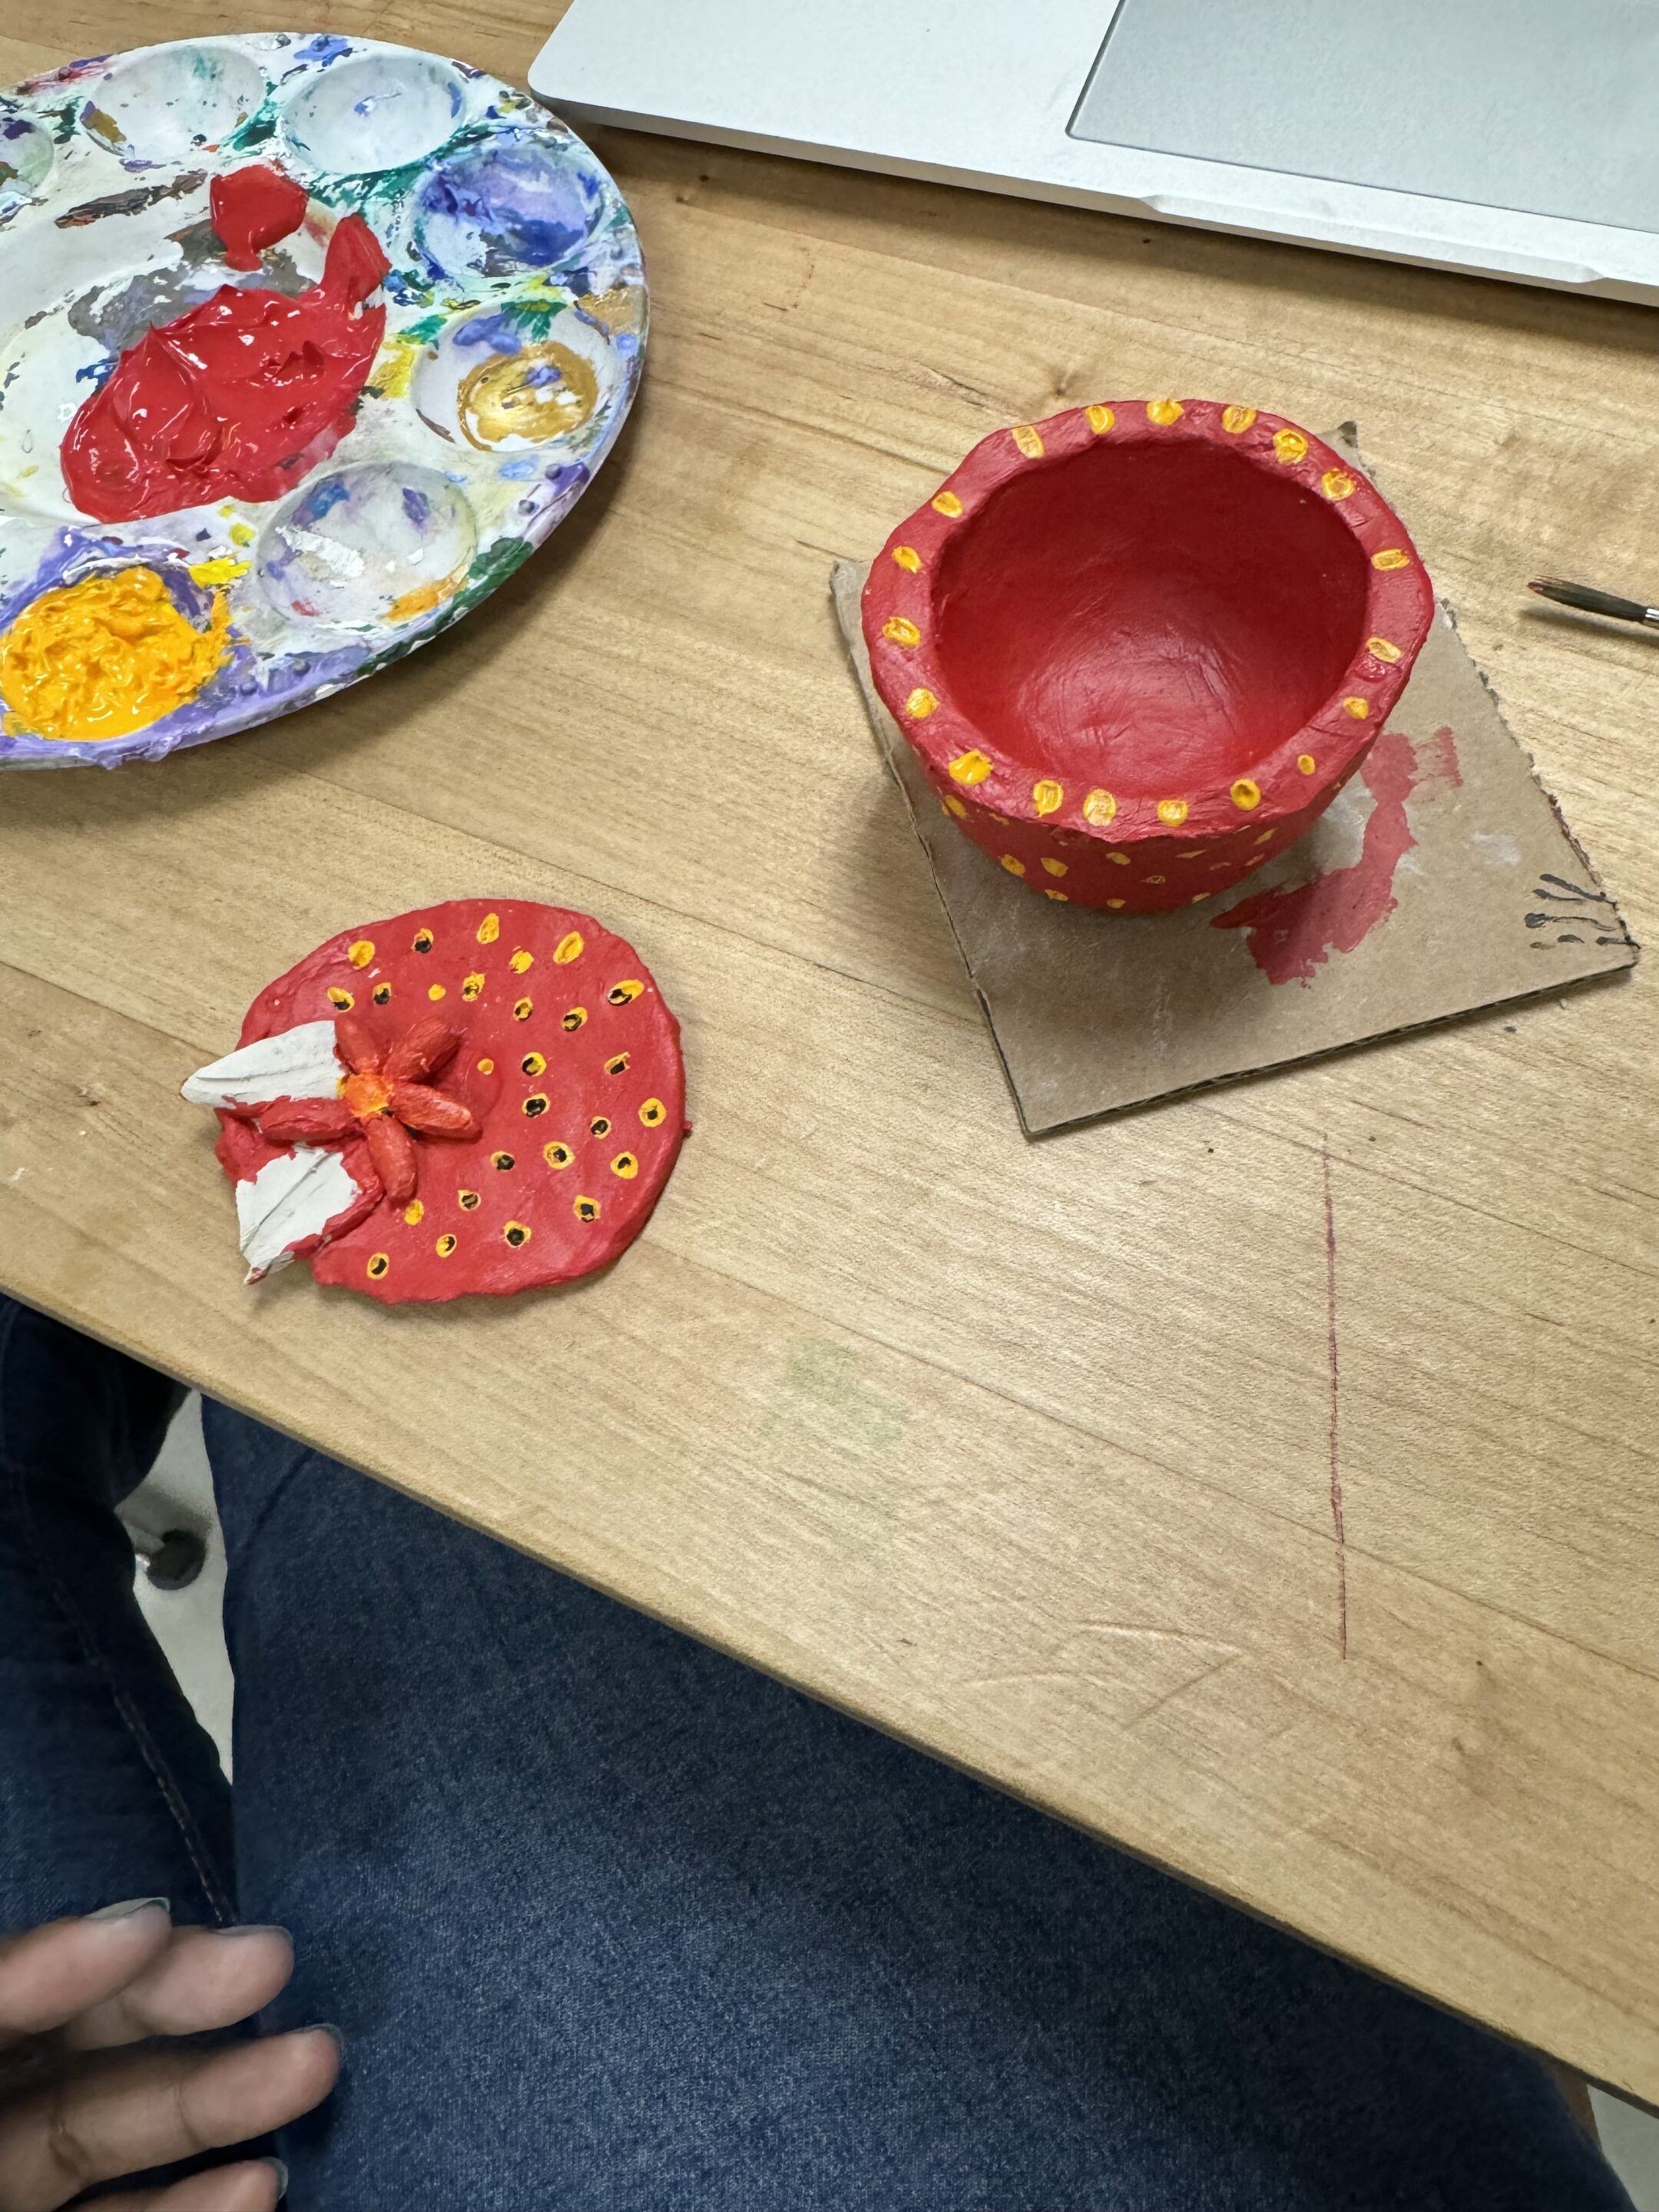
Now once you have everything set up the way you want it you will need to let it dry before you paint it. This is to make sure when it dries it’s still very bright and not splotchy. Once it‘s dry you can paint it with acrylic paint. I painted mine to look like a strawberry.
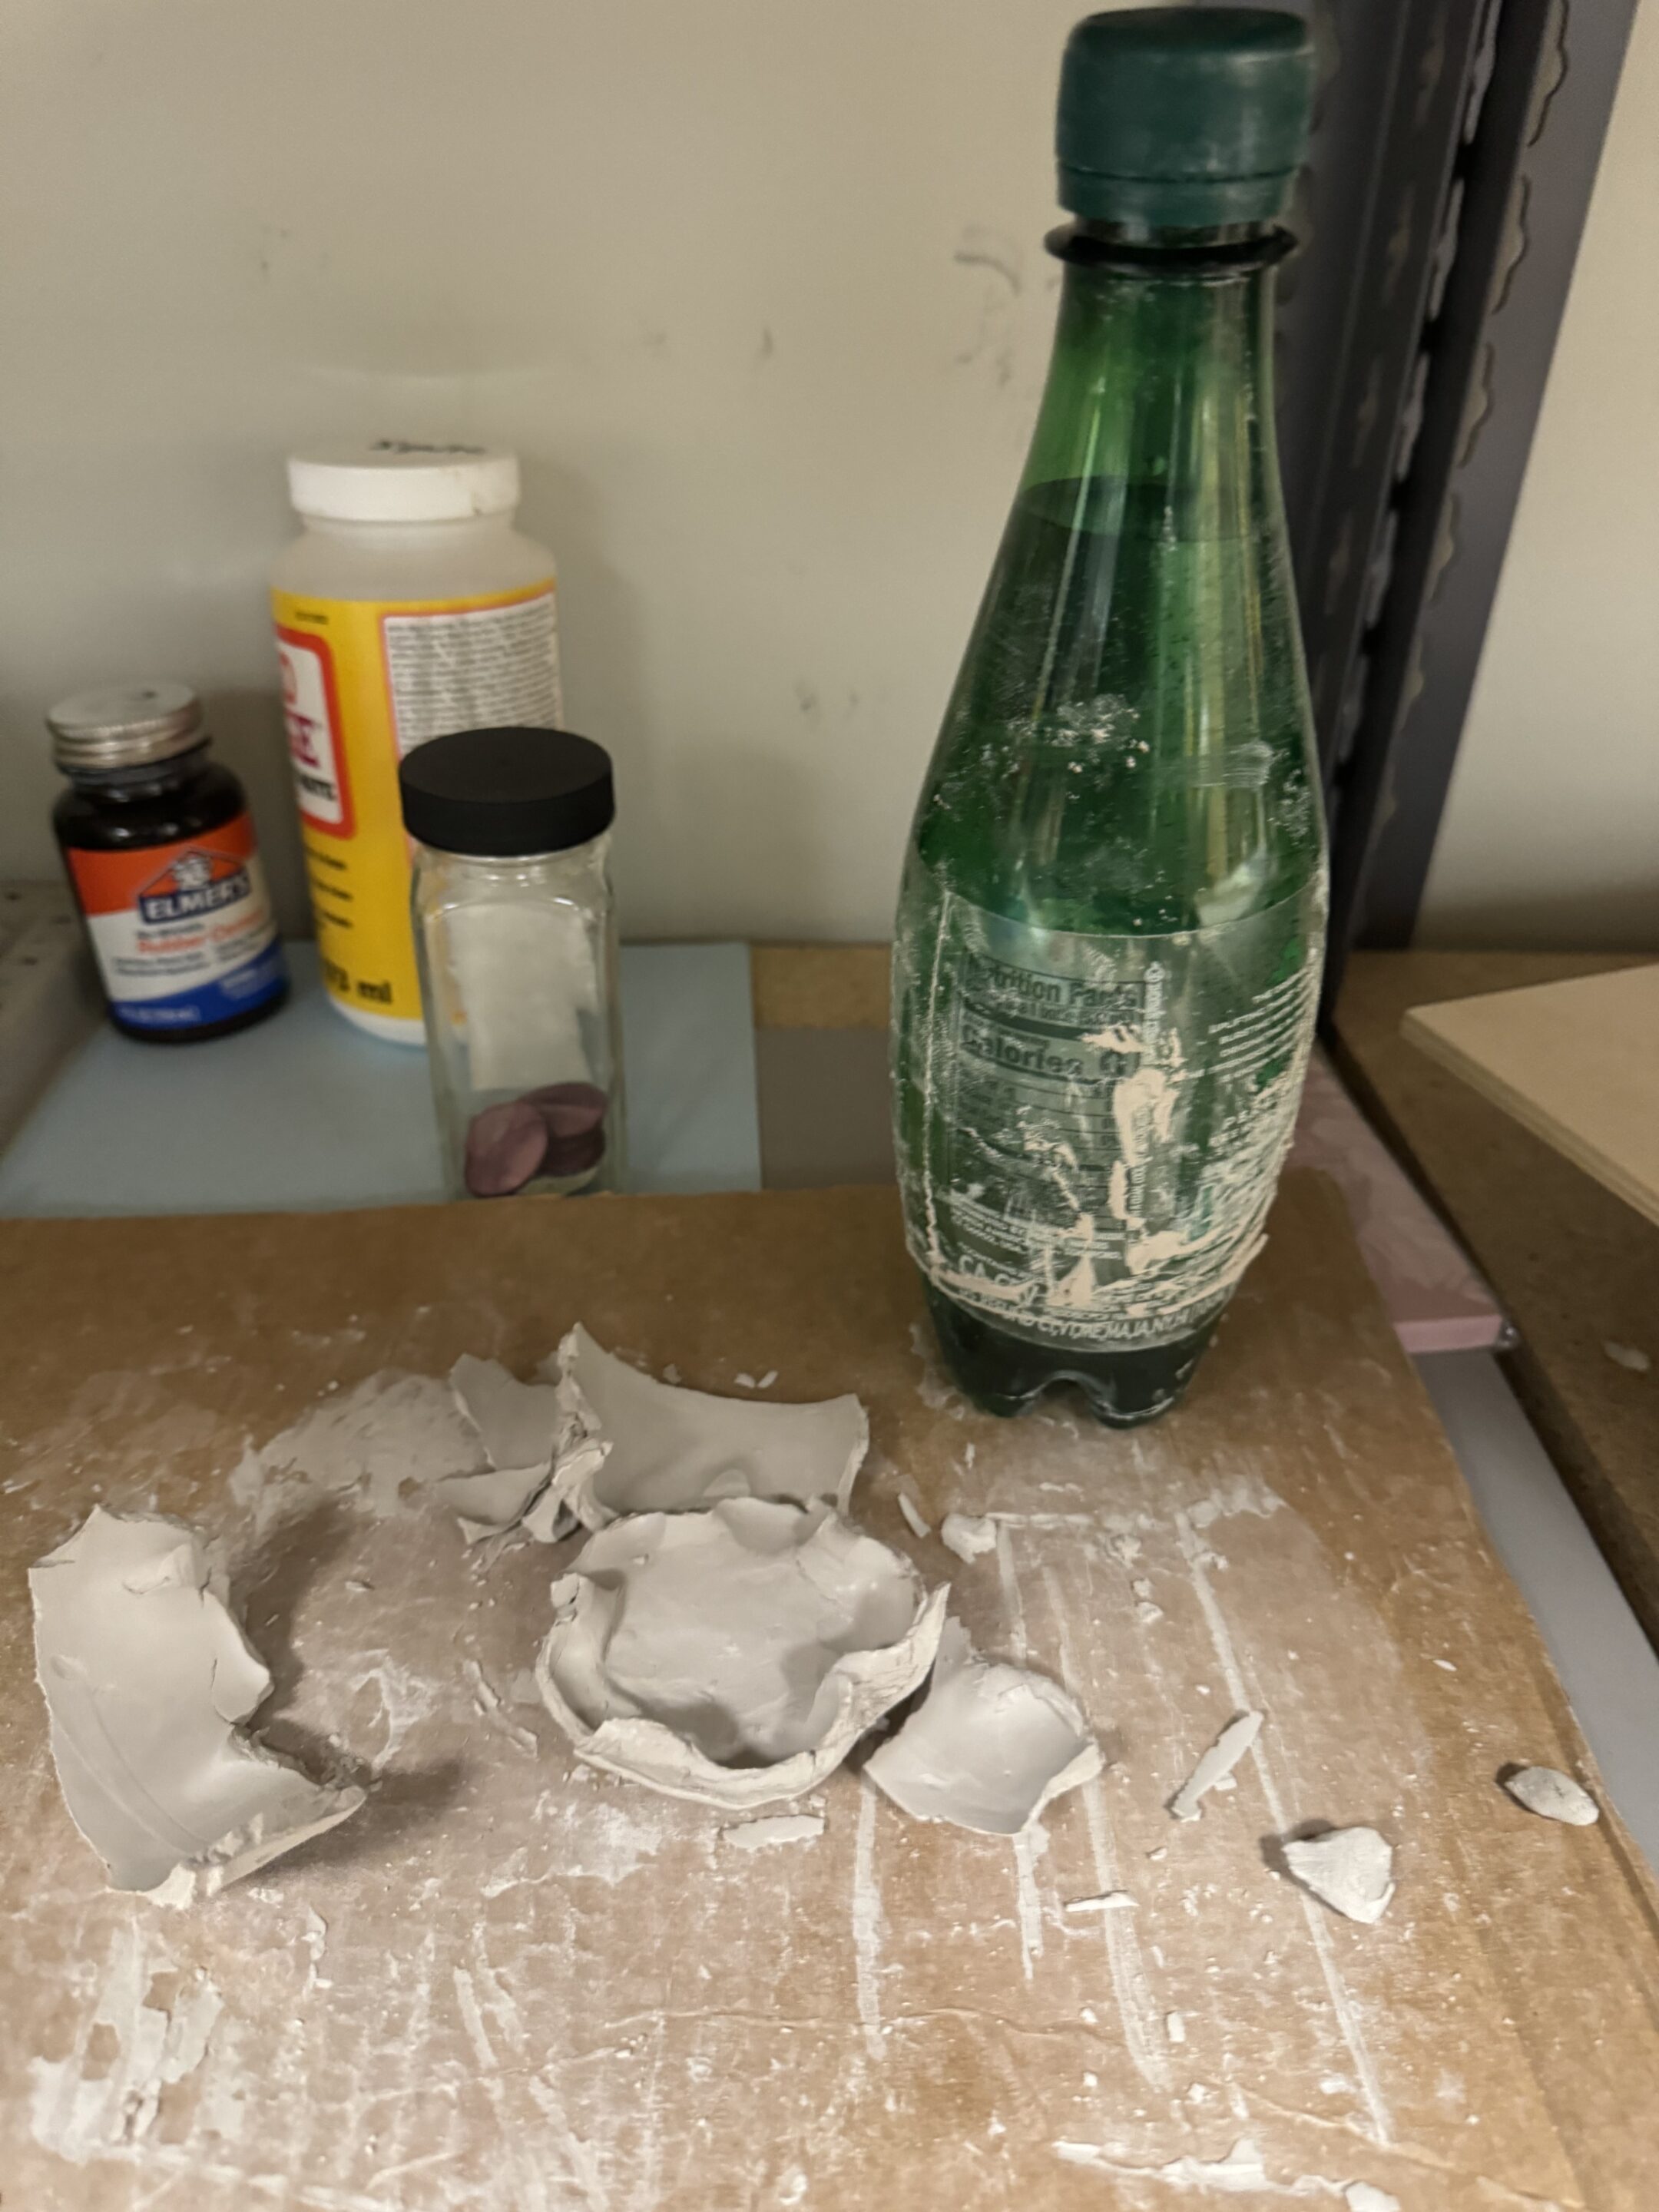
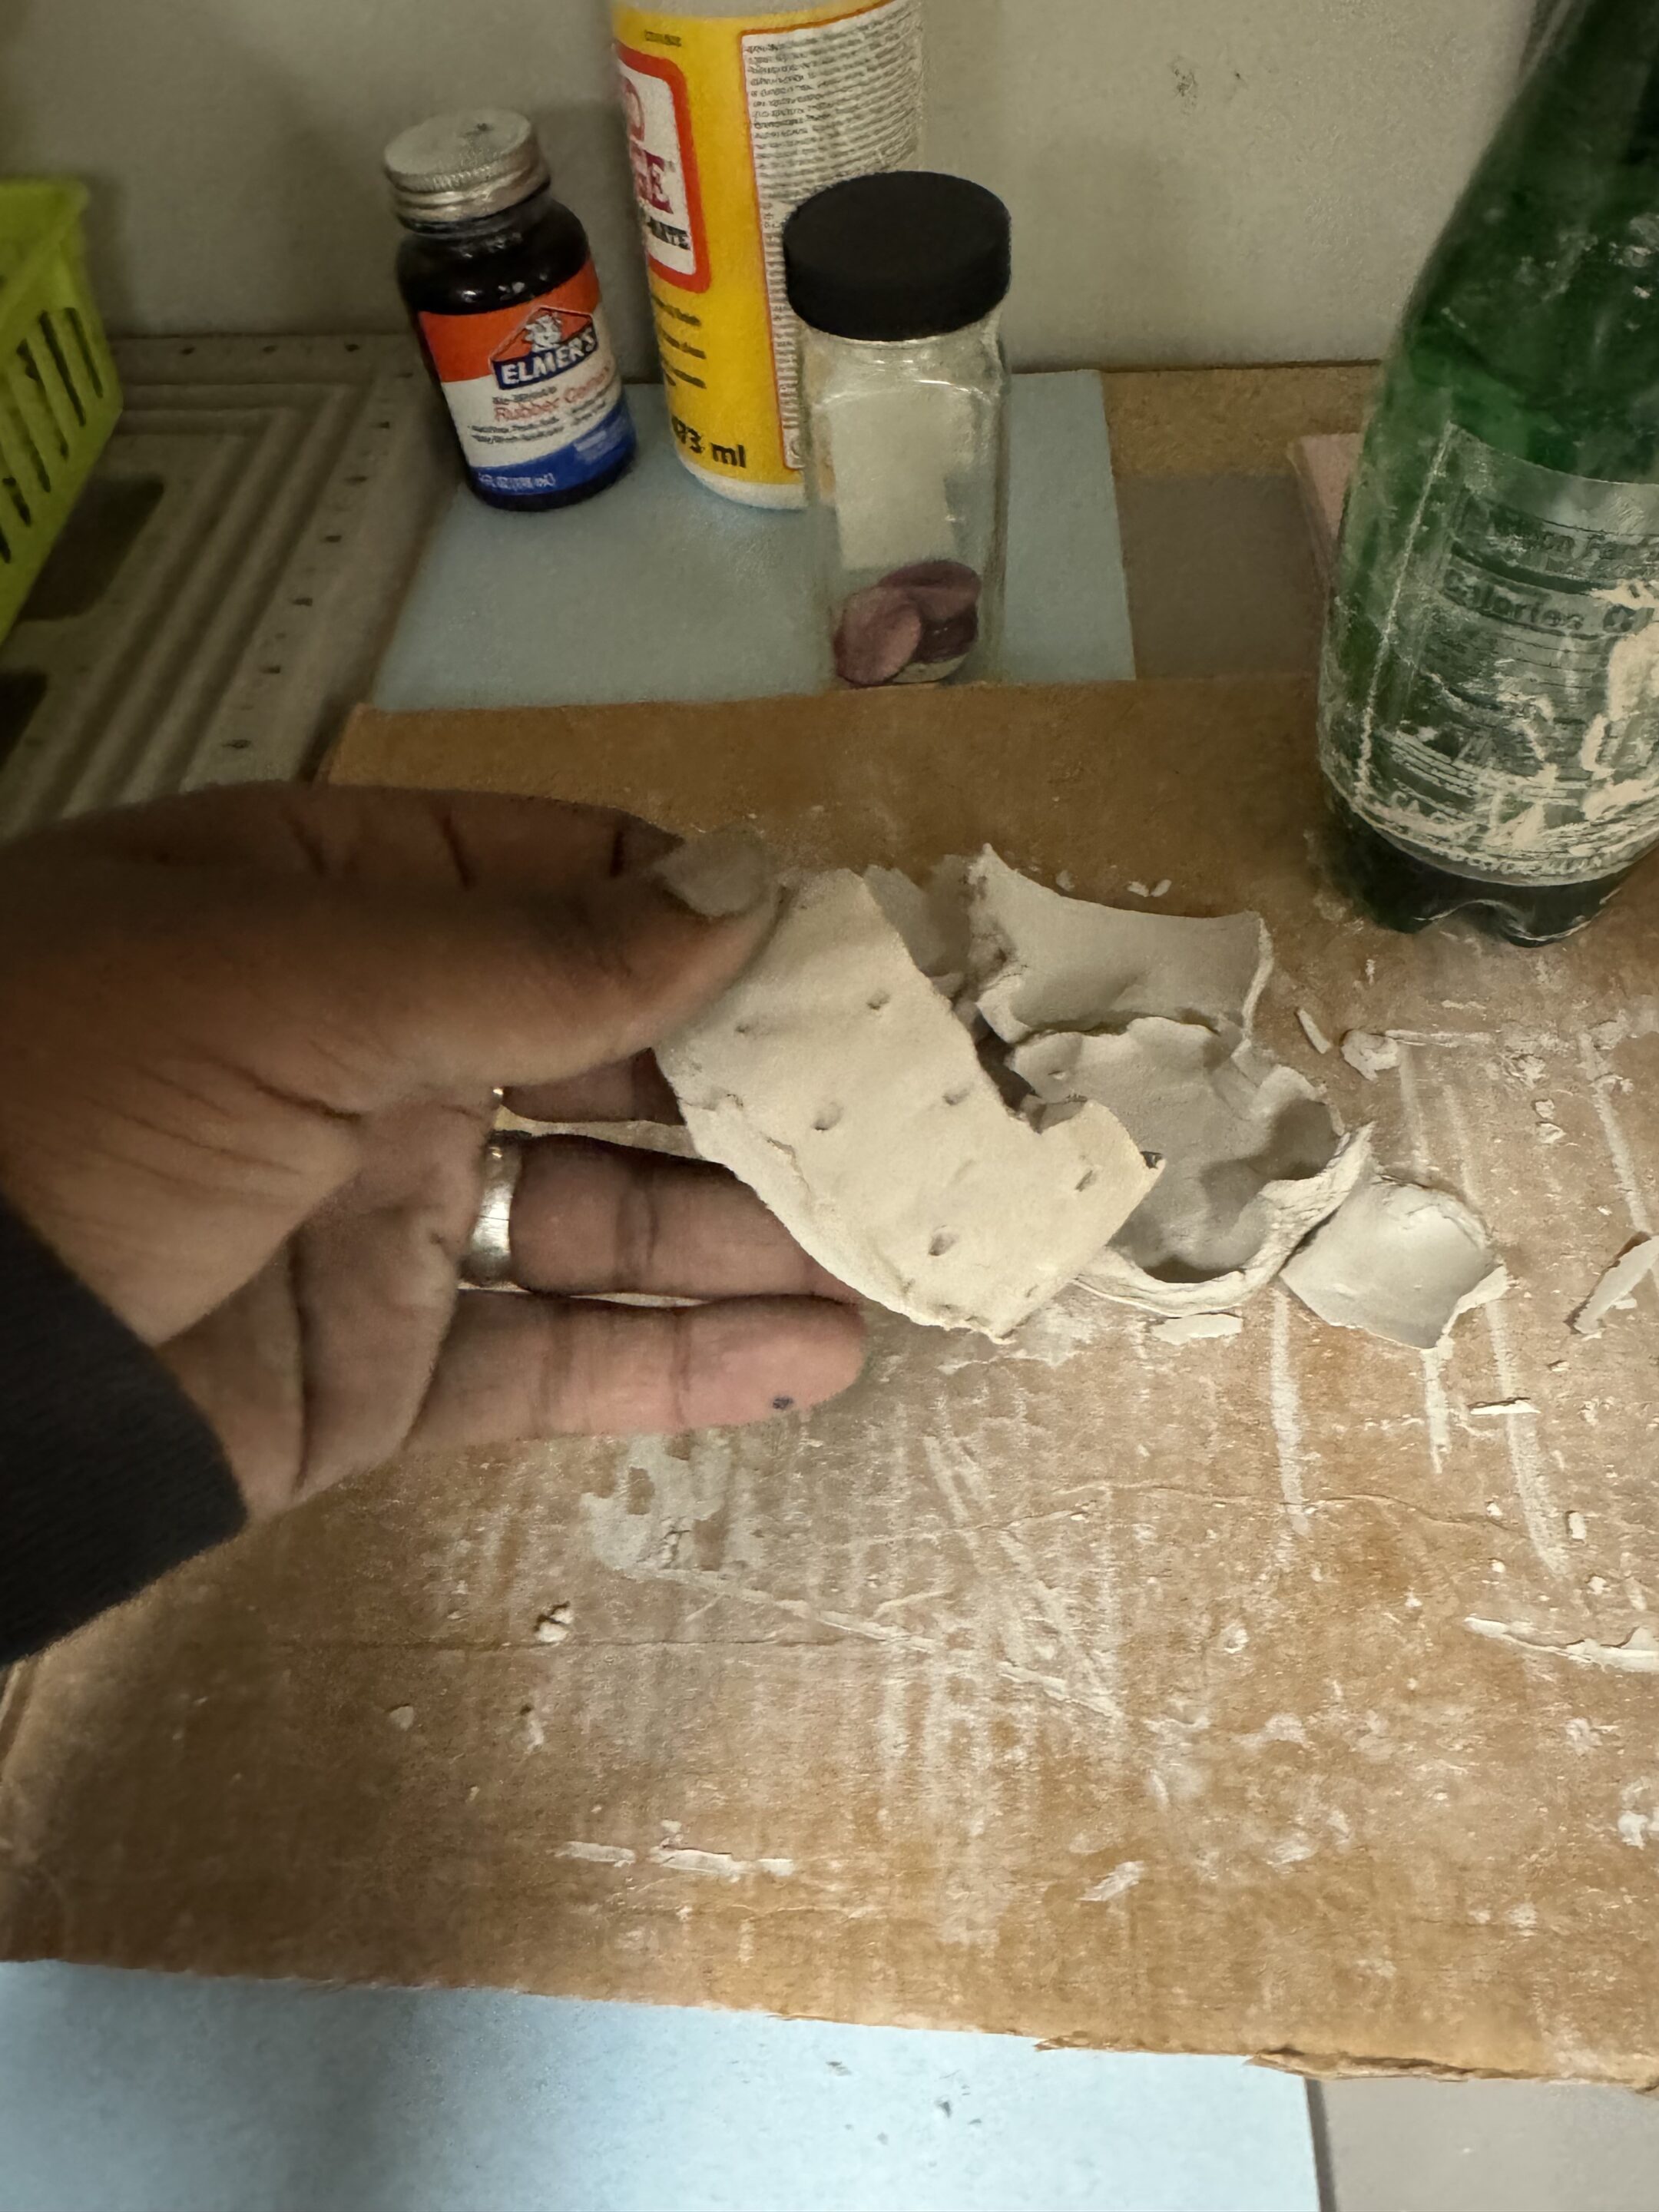
I also included pictures to show how I messed it up the first time. At first, I used a bottle to mold the shape. Then I had to wait until it dried to get it off and it ended up crumbling. I included this because even us grown-up artists mess up.
What’s important is to keep going and try again. We’d love to see what you make in Ignite!
