by Jared H.
Over the past year or two, the Red/Blue 3D effect has been making a comeback. This effect is actually fairly easy to achieve in Photoshop. Here is a quick guide on how to make a 3D image, also known as an “anaglyph,” using the Red/Blue 3D effect in Photoshop.
How to Make A 3D Image
Open your Image
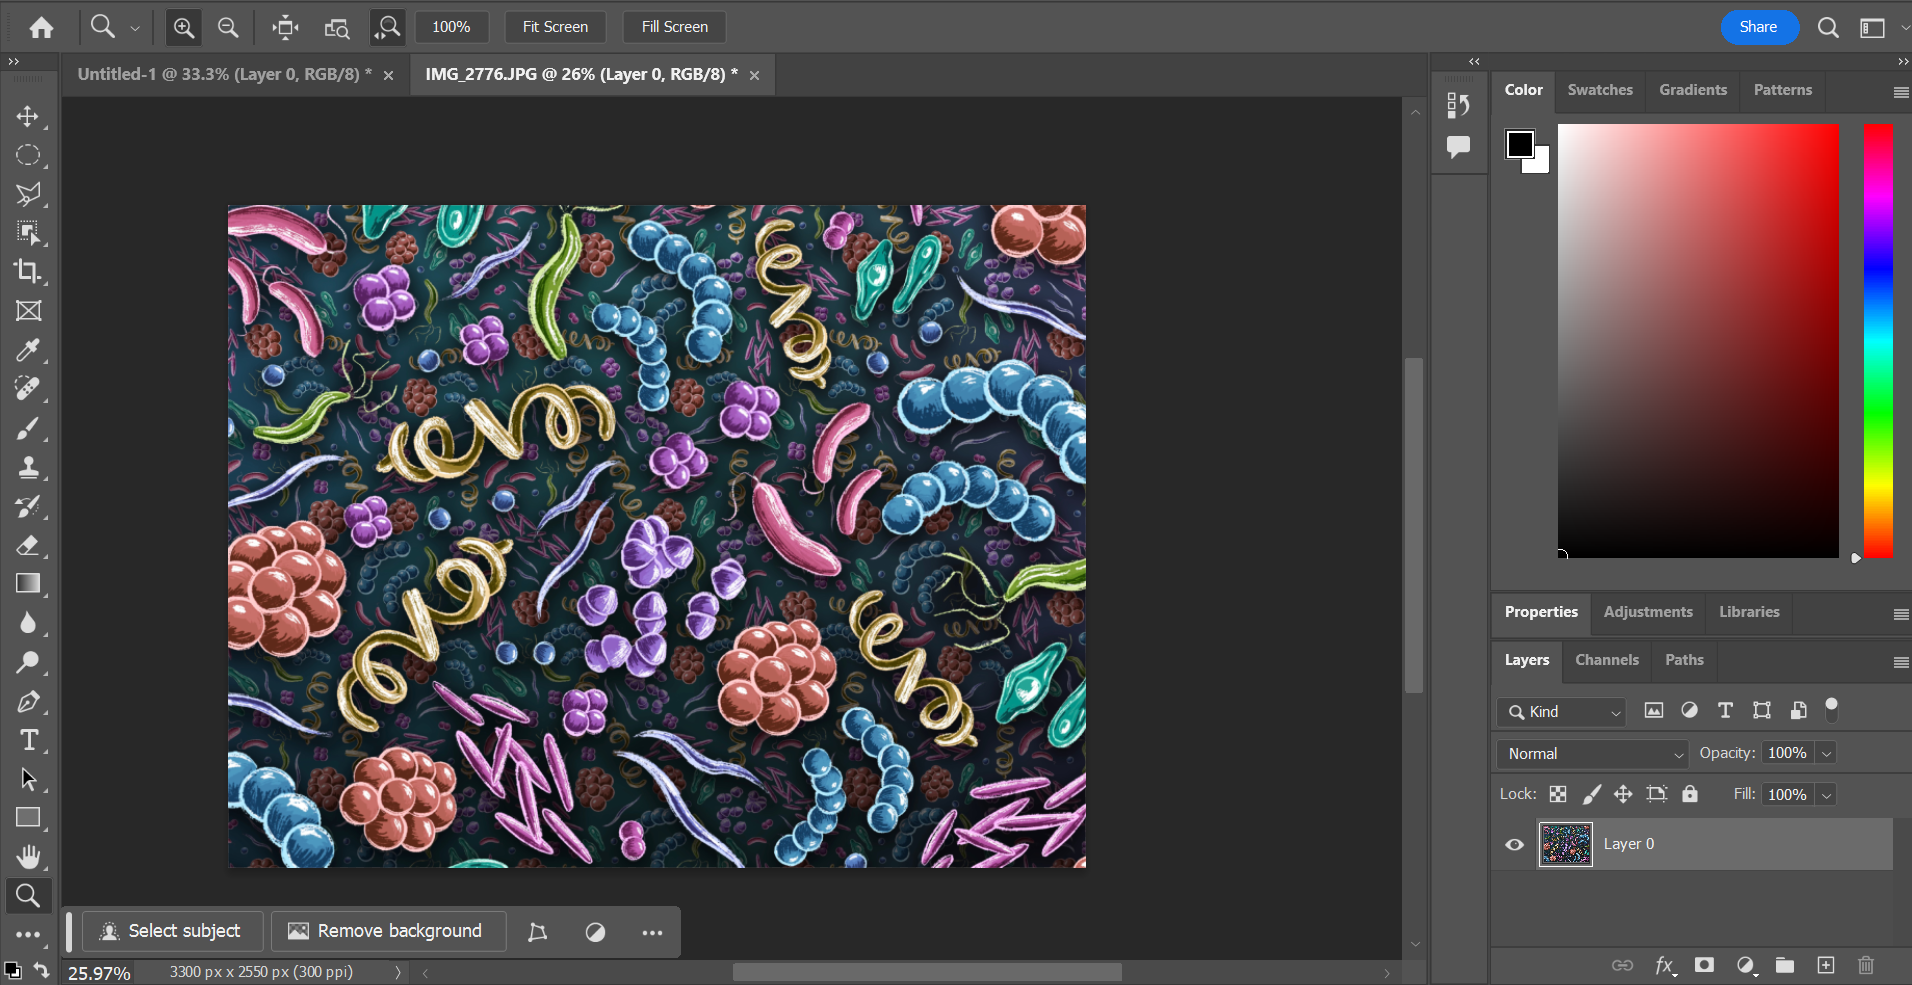
After you’ve opened the image you’d like to apply the effect to, select the image in the layers panel on the right. Duplicate the layer by either right clicking and selecting ”Duplicate Layer” or using the keyboard shortcut ”ctrl+J” / ”cmd+J” (Mac).
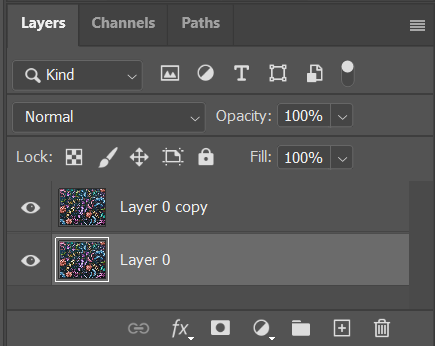
Separate Color Channels
Now that we have two layers, we need to isolate the Red channel on the new layer. To do that, right click on the new layer and choose “blending options.”
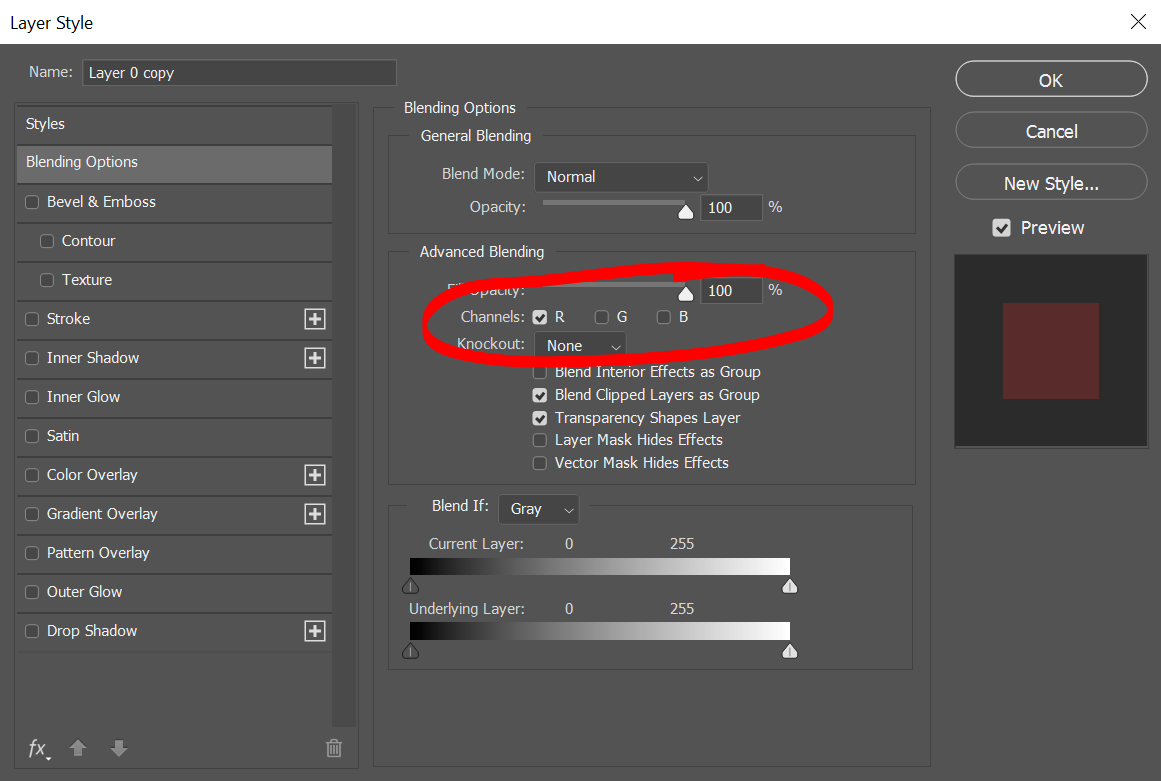
In the center of the screen, you will see the red, green, and blue (RGB) channels.
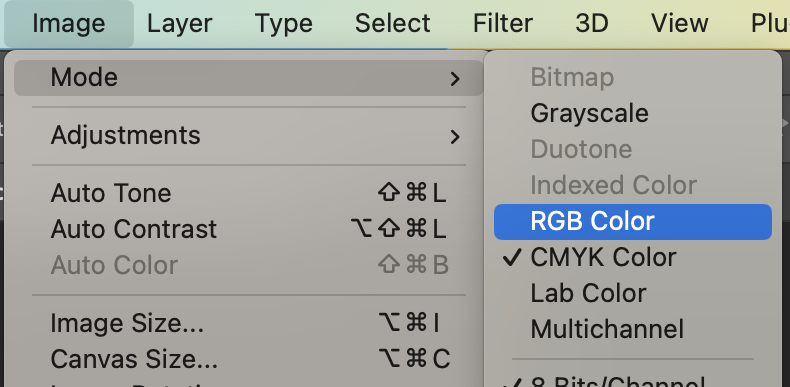
NOTE: If you instead see CMYK, the color mode of your file needs adjusted. To do that, close out of this window. At the top menu, click Image>Mode>RGB Color. Then open blending options again.
Uncheck everything except for red and click “OK”. This will leave the entire image red to match the red side of the 3D glasses.
Repeat this step with the bottom (original) layer. This time, however, only uncheck the red channel. This will leave this layer cyan to match the blue side of the 3D glasses.
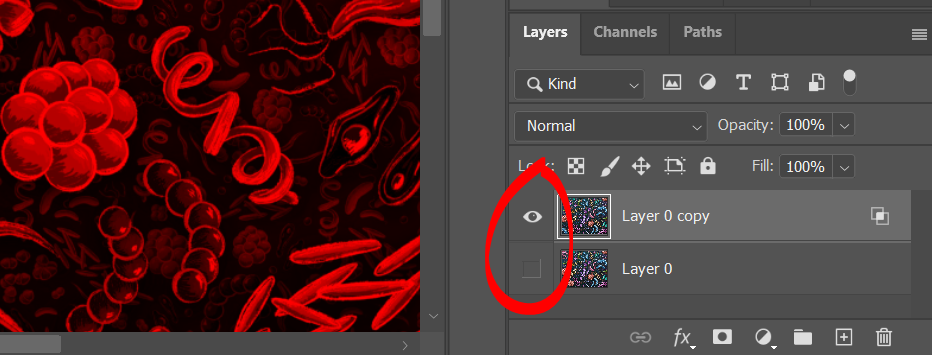

At first glance, it will appear as though nothing has happened. However, if you adjust the visibility to view only one layer at a time, you will see that the top layer is only red and the bottom layer is blue. Make sure to turn the visibility back on before continuing.
Offset Layers
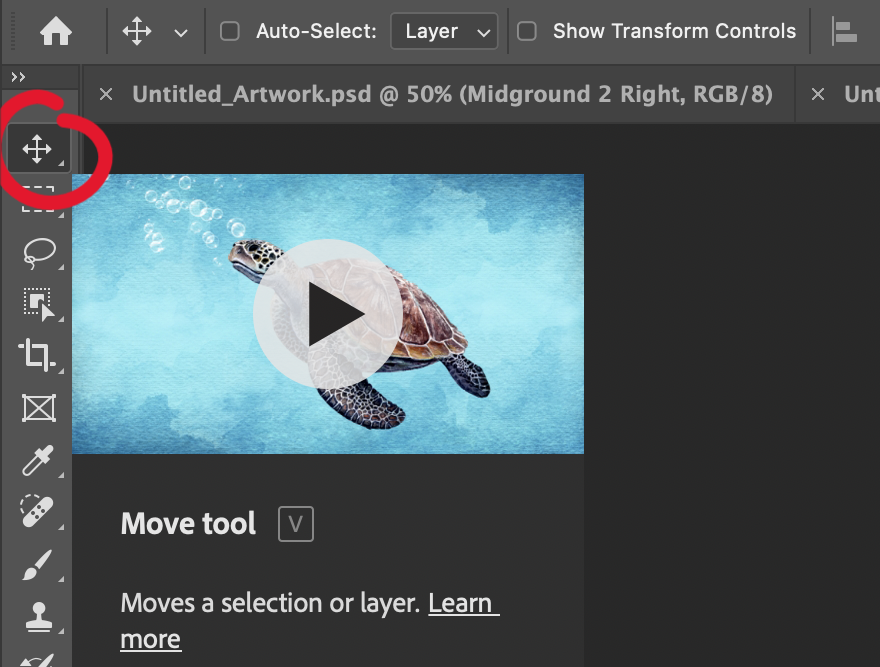
To finish the 3D anaglyph effect, select the top (red) layer. Click the Move tool on the left toolbar or use the keyboard shortcut “V”.
Use the left arrow key on your keyboard several times until you achieve the desired effect. This is a good time to put on the 3D glasses if you have some to find the offset distance that works best.
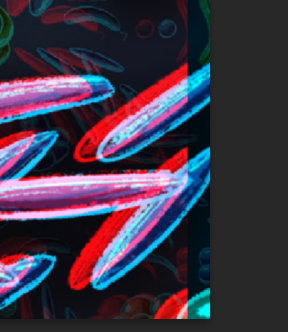
Trim Edges
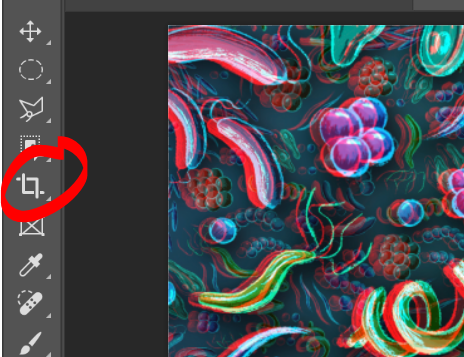
Because the red image was shifted to the left, the edge of the image is now visible on the right side of the artboard. Use the crop tool to adjust the frame and cut that edge out.
Share!
Share your 3D anaglyph with us on the Ignite Community Discussion Board. Happy Making!