

by Ashabul A.
If you’ve wondered how to utilize our laser engraver beyond cardboards, woods, and acrylics, ceramic tiles and metals are excellent materials to broaden your laser engraving expertise. Since each material requires their own settings for optimal engraving, I’ll show my process for engraving on both an onyx ceramic tile and a sheet of galvanized steel. If you ever want to try to engrave on these materials yourself, all you need are some ceramic tiles, galvanized steel sheets, and a little bit of laser engraving experience. Prior to using Ignite’s laser engraver for the first time, we require that you take our short certification course. If you need to do that, you can get started on our website. Read on to learn how to laser engrave ceramic tile and galvanized steel.
How to Engrave Ceramic Tile
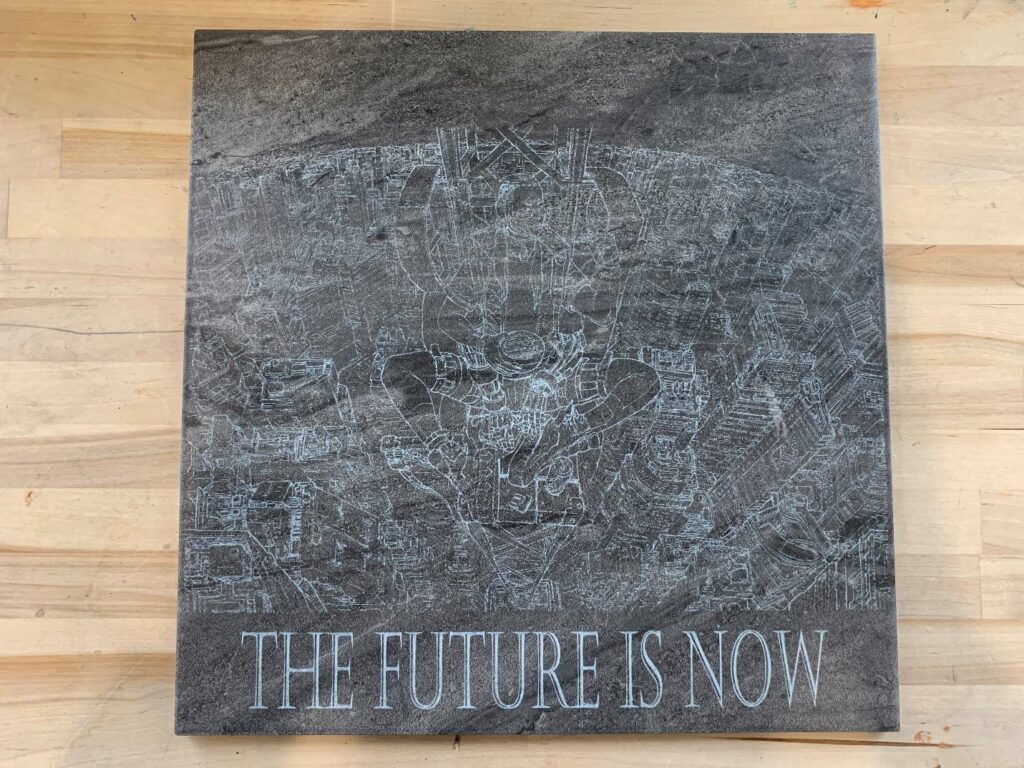
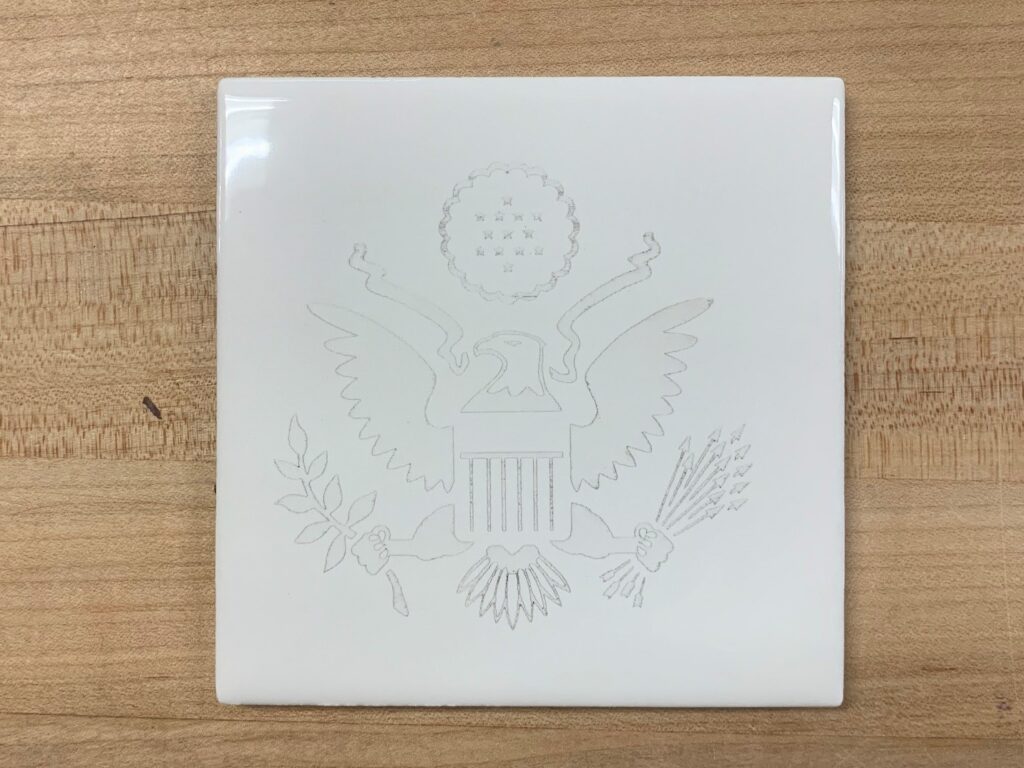
First, our laser engraver is able to engrave on a variety of stones and ceramic tiles such as onyx, marble, and sandstone. After testing different types of stone tiles to engrave on, I’ll show you which types work best and have the clearest engraving results at the end. To demonstrate this, I purchased two ceramic tiles. One ceramic tile is darker, which is my onyx tile, and the other is lighter, which is my slate tile, as shown below:
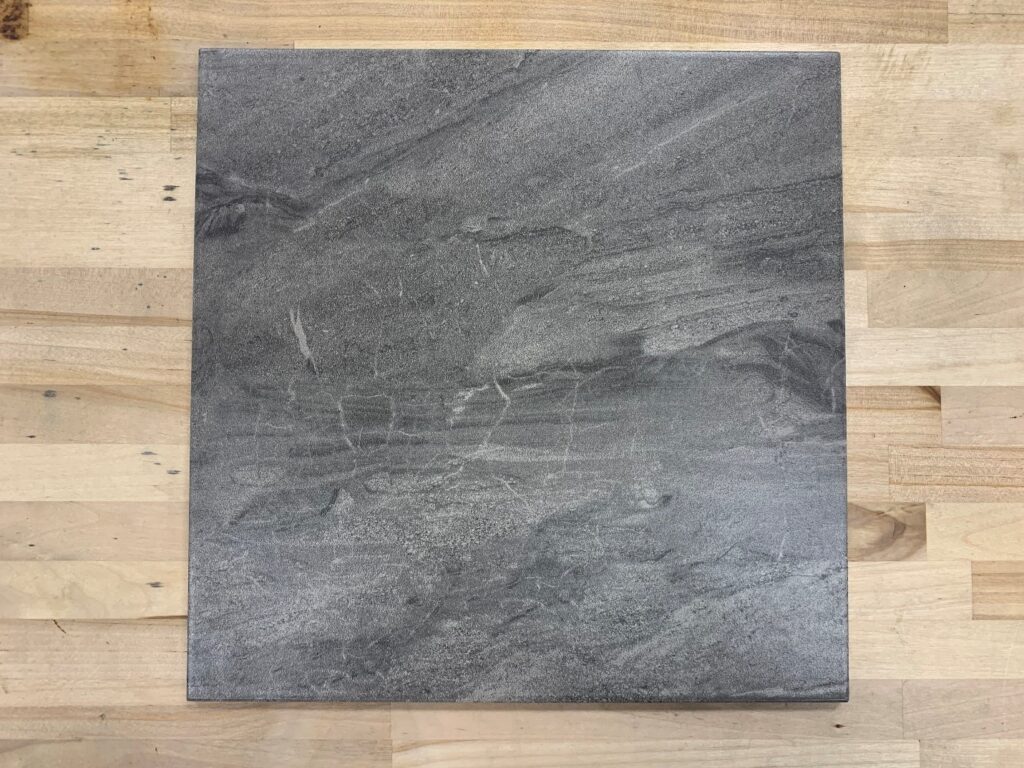
Onyx Tile
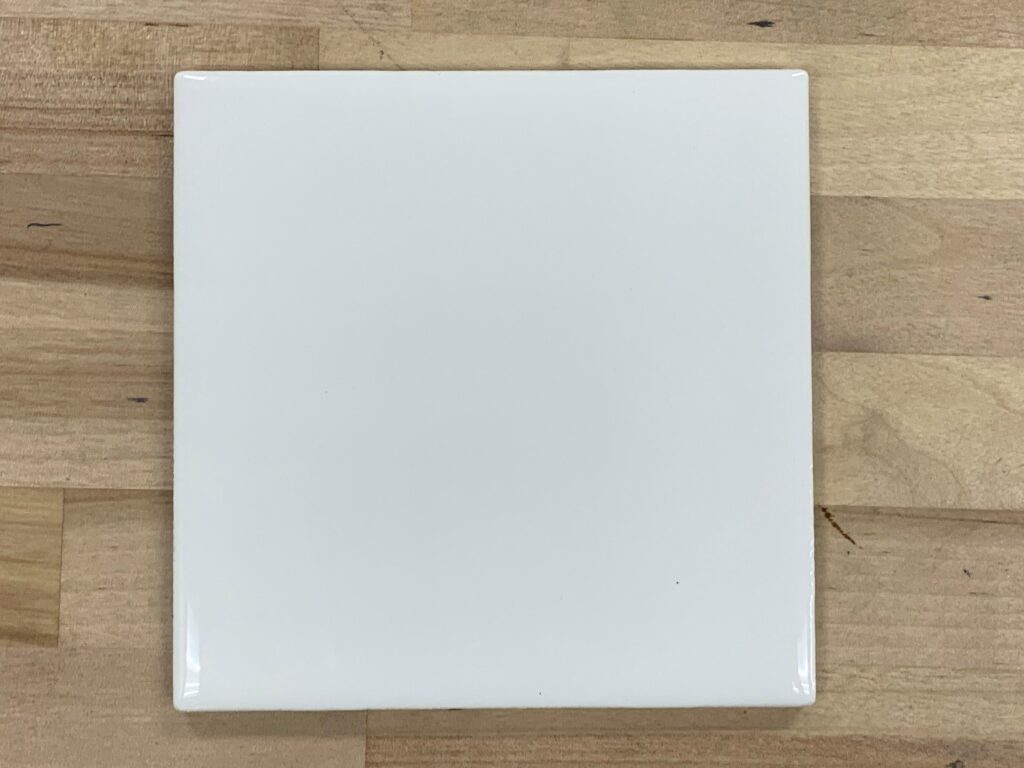
Ceramic Tile
Engraver Settings
After doing my speed and power tests, I discovered that Speed 300 and Power 85 worked well for my project. Ceramic tile and stone is a heavier and denser material to engrave on. Because of this, the power needed for an engrave to show is higher than other materials. Here are the settings I recommend for your laser engraving projects working with ceramic tile:
- Speed: I found that 250 to 350 is optimal for engraving ceramic tile. Since engraving ceramic tile requires a lot of power, keeping the speed up will prevent the laser from overheating and ensure the longevity of the machine.
- Power: A power between 70 and 85 worked well for my engraves. Any power under 70 will be very hard to see on ceramic tile, especially with denser stones like marble.
The Reveal
After both my tiles finished being engraved, you can see the onyx tile has much more contrast than the slate tile since the engrave comes out as light grey/white (similar to acrylic). However, a subtler effect may be optimal for your project so please keep in mind these different finishes as you work. Lastly, a big benefit of engraving ceramic tile is that there is hardly any soot to clean. Be sure to lightly brush it off with either a dry or damp paper towel, and your project should be ready to go!
How to Engrave Galvanized Steel
Then, I wanted to test how well our laser engraver can engrave on metals and steel. I went ahead and purchased a sheet of galvanized steel to engrave.
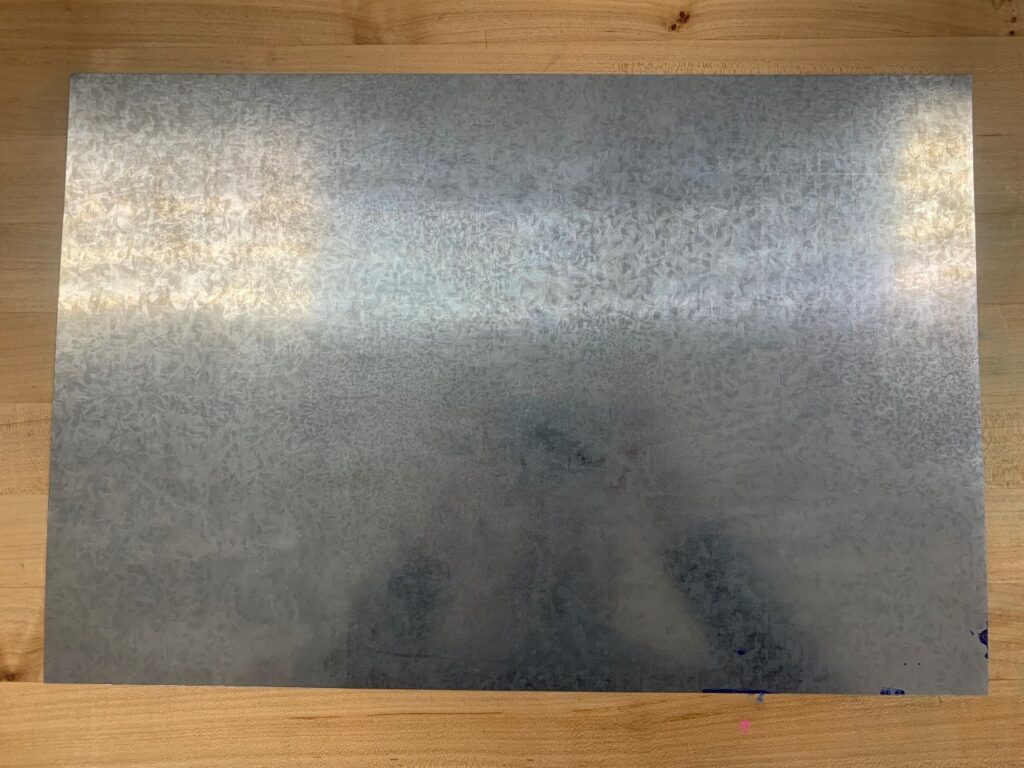
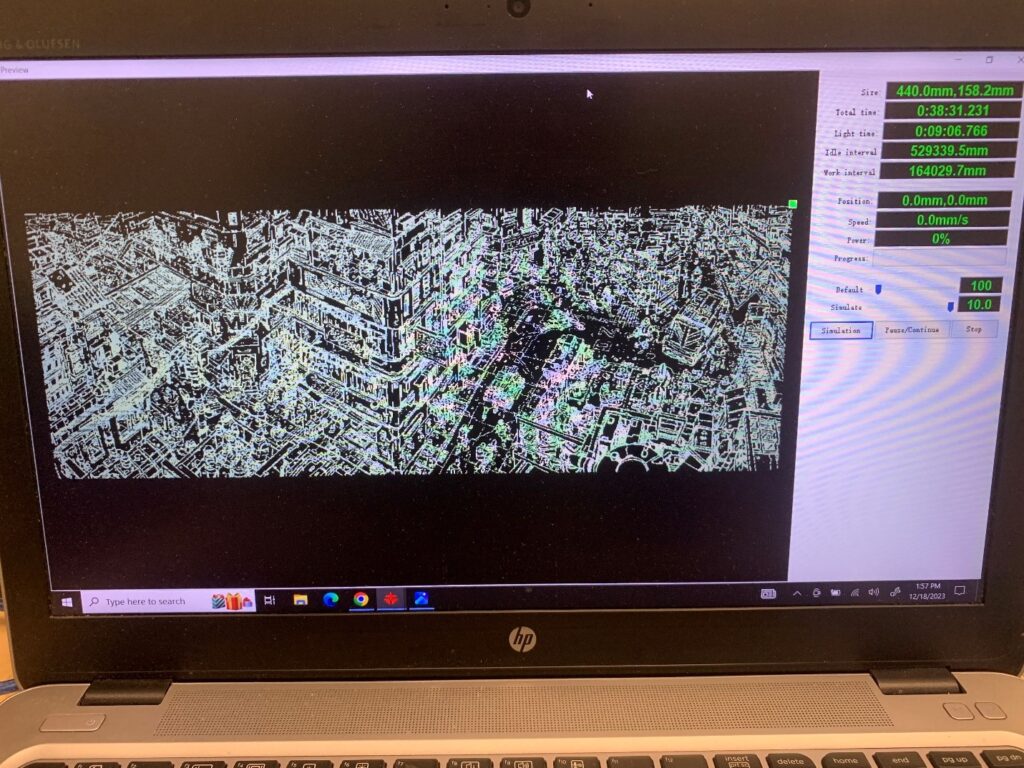
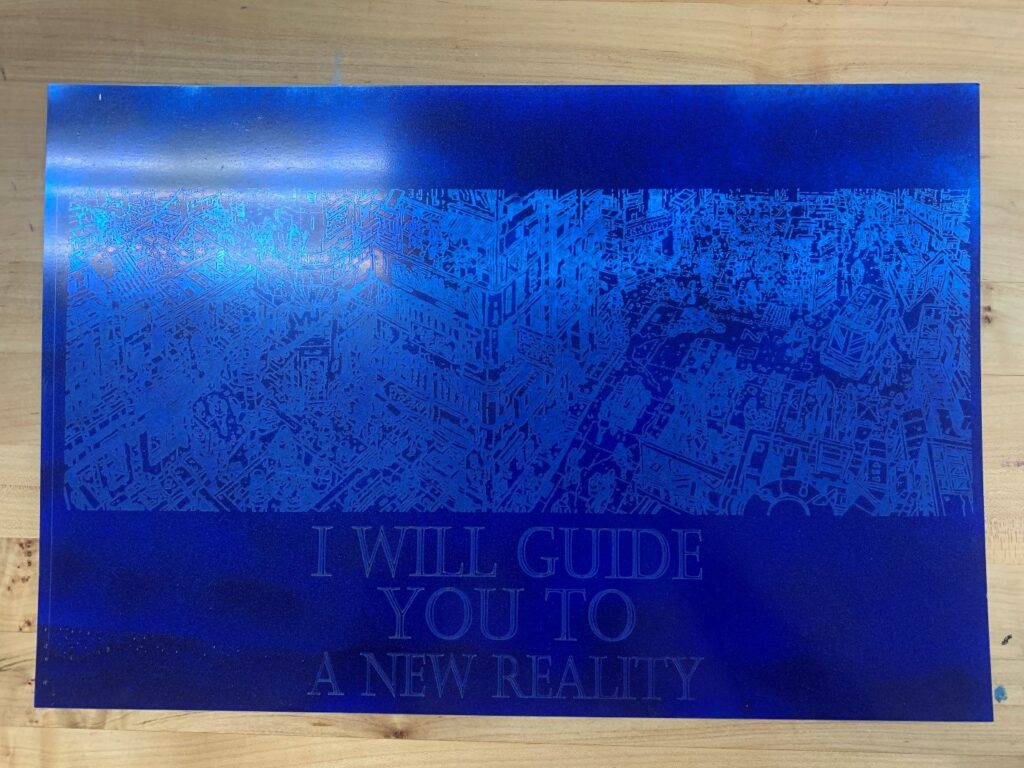
Since our engraver has a CO2 laser, you WON’T be able to engrave on metals on their own. However, you can coat your metals in a layer of paint and our machine will be able engrave on the metal from there. I went ahead and coated my galvanized steel sheet in a space blue spray paint, once it dried completely I was ready to move on to the next step. Please note: Ignite does not have a spray painting booth. This step must be completed outside of the studio.

Engraver Settings
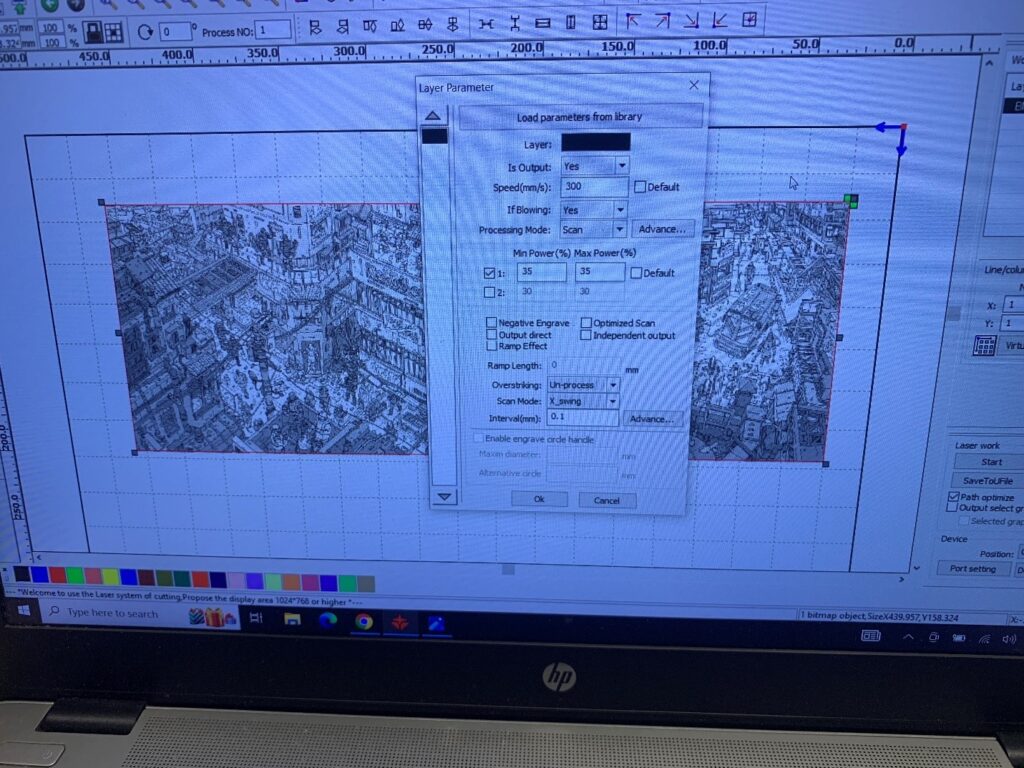
After doing my speed and power tests, I discovered that Speed 300 and Power 35 worked well for my project. My sheet of steel was fairly thin and the engrave clearly showed contrast between the blue paint and the silver metal beneath. As a general rule of thumb, here are the settings I’d recommend for your laser engraving projects working with galvanized steel:
- Speed: I found that 200 to 350 is optimal for engraving steel. Since our CO2 laser cannot cut through metal, I highly encourage you to keep the speed higher than at least 150 for this reason.
- Power: A power between 30 and 50 worked well for my engraves while minimizing the amount of soot/residue left behind.
The Reveal
After the engrave was finished, I let the metal rest inside the machine for 15 minutes to ventilate all the fumes emitted from the paint. Once it was ready to go, I took a dry paper towel to brush off any of the soot for a final clean-up to reveal the final product. Something important I learned along the way is that your engraved steel will be very fragile, since the coated layer of paint on top is susceptible to scratches and blemishes. You can see a small scratch on the top left of my steel sheet so please be sure to be careful with your final product afterwards.
If you engrave some steel, metal and/or ceramic tile on our laser engraver, we’d love to see it by sharing it with us on the Ignite Community Discussion Board! Happy Making & Happy Engraving!
