by Katie W.
Charcoal is a messy material that can seem daunting to use. However, once you get the hang of it, it offers a great experience for everything from quick sketches to incredibly detailed drawings. If you are working on a drawing that has deep shadows, charcoal will have the rich black tones you want to convey that sort of intensity. Charcoal also blends better than many drawing materials, allowing for a smooth look relatively quickly. Read on for an overview of how to draw with charcoal.
How to Draw with Charcoal
When you’re first starting out with charcoal drawing, it’s important to choose the right materials. There are a few supplies that are specific to charcoal drawing, as well as different types of charcoal.
Types of charcoal

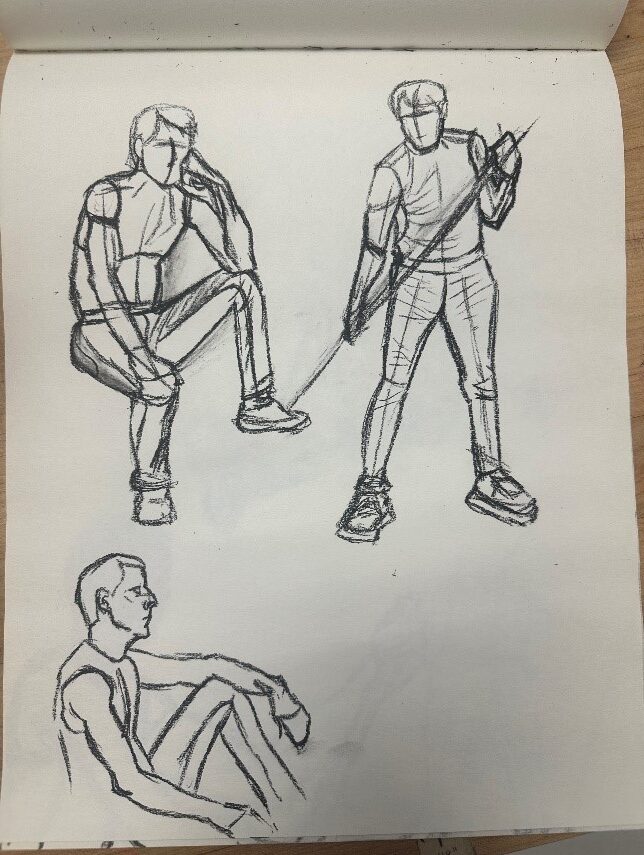
Willow, or vine, charcoal is ideal for large-scale drawings, as it is soft and blends easily. It’s also great for doing quick sketches, or gesture drawings. There are also compressed charcoal blocks, which are good for large-scale drawings or for creating extra dark shadows and texture in your work. For detailed work or for sketching on the go, charcoal pencils are a good option. They come in a range of hardness, from soft to extra-soft. White charcoal, which can come in block or pencil form, is great for highlights, adding contrast, and drawing on darker paper. Unlike regular charcoal pencils though, it only comes in one hardness (typically on the firmer side). Keep in mind: the softer the charcoal, the messier it gets! Keep an eye on how messy your hands are getting, and wipe them with a dry rag periodically if necessary.
Other supplies
- Blending sticks- for rubbing charcoal into the paper and blending
- Sandpaper- for cleaning blending sticks
- Pencil sharpener- if using charcoal pencils
- Kneaded eraser- picks up and absorbs charcoal better than a regular eraser
- Drawing paper

You’ll find all of these supplies in Ignite’s charcoal drawing kit, available in our kit library.
Charcoal drawing step-by-step
Step 1: Sketch the basic shapes and lines of your drawing. Remember: these don’t need to be perfect, focus on proportions, and spatial relationships (positive and negative space).

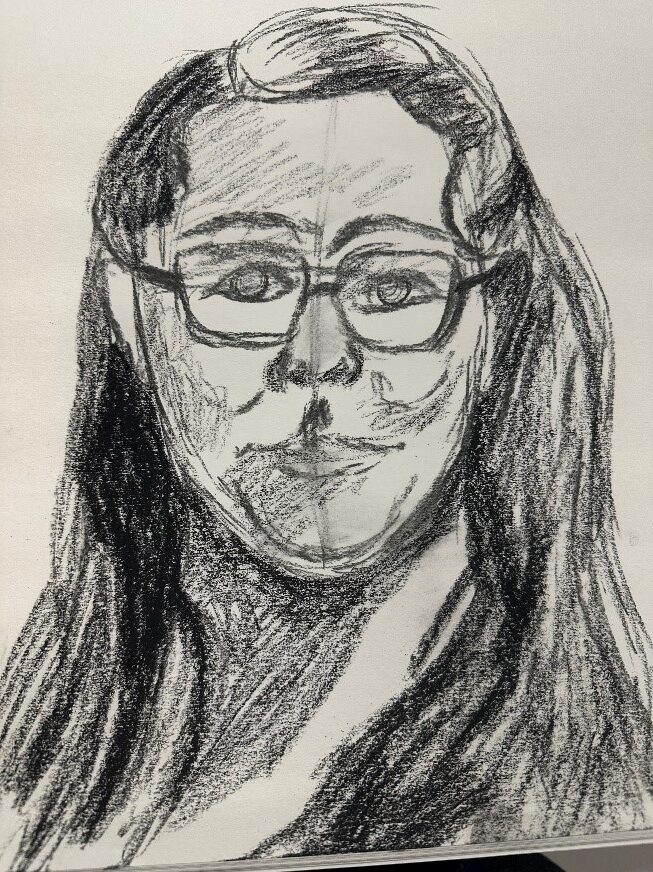
Step 2: Use a light touch to shade where the dark areas are. Shade lightly where you see shadow, avoid shading areas that are lighter in tone. Build up tones on the paper and your drawing will start to take shape.

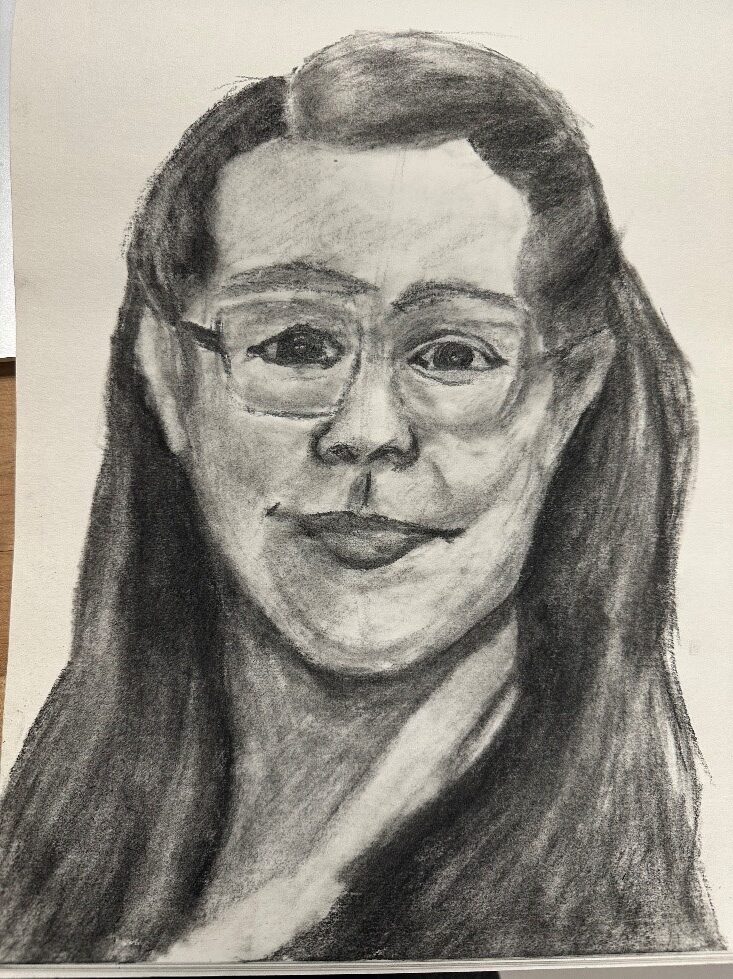
Step 3: Now that you have broadly established lights, darks and mid tones, you can work to increase the contrast. Layer charcoal, applying a little more pressure for the darkest areas. Use a kneaded eraser to lift highlights in the brightest areas, or to smooth the transitions between elements. Don’t worry about drawing hard edges or details, its fine for the drawing to appear blurry, or as if different elements are smudging together slightly.

Step 4: Use a charcoal pencil to draw in the sharpest looking details. Add the small lines and sharper edges.

This is the part where using white charcoal could really accentuate highlights and reflections.

Step 5: The optional last step of a charcoal drawing is fixing it with a charcoal fixative. Fixative keeps the loose charcoal powder from getting everywhere, and your drawing from becoming messy and smudged. Make sure you use this outside, or in a well ventilated room, depending on the manufacturer’s instructions. Keep in mind: some fixatives may cause values in a drawing to change. Be prepared to go back over some of your highlights, as they may dim after being sprayed. Feel free to ask Ignite staff for fixative to use on your sketch, we have it behind our desk.
Try your hand at charcoal drawing in Ignite Studio, and share your work on our Ignite Community Discussion Board. Happy making!

