

by Sydney Brink
My favorite types of projects in Ignite are the ones where multiple different pieces of equipment or kits get to come together for the sake of making. I find this comes up often with projects that involve stencils! You can use all kinds of different equipment in Ignite to make your stencils. Read on to learn how to create stencils using Ignite equipment and kits.
How to Create Stencils with the Cricut
Start by cutting vinyl on the vinyl cutter or the Cricuts. Then use the vinyl as a stencil for screen printing
You can follow along to Ignite’s video tutorial on how to use vinyl for screen printing here. Stencils on silkscreen won’t last as long as using photo emulsion. But if you already know how to use equipment like the vinyl cutter or the Cricuts, then stenciling is a lower-cost option to using the emulsion and a great introduction to screen printing.
Start by cutting cardstock on the Cricut. Then use the paper as a stencil for cyanotypes
The Cricuts cut all types of materials – not just vinyl! You can use your Cricut-cut cardstock as a stencil for cyanotypes or anthotypes. I used pre-treated paper and the light exposure unit available in Ignite’s Fab Lab.
Create Stencils in the Fab Lab
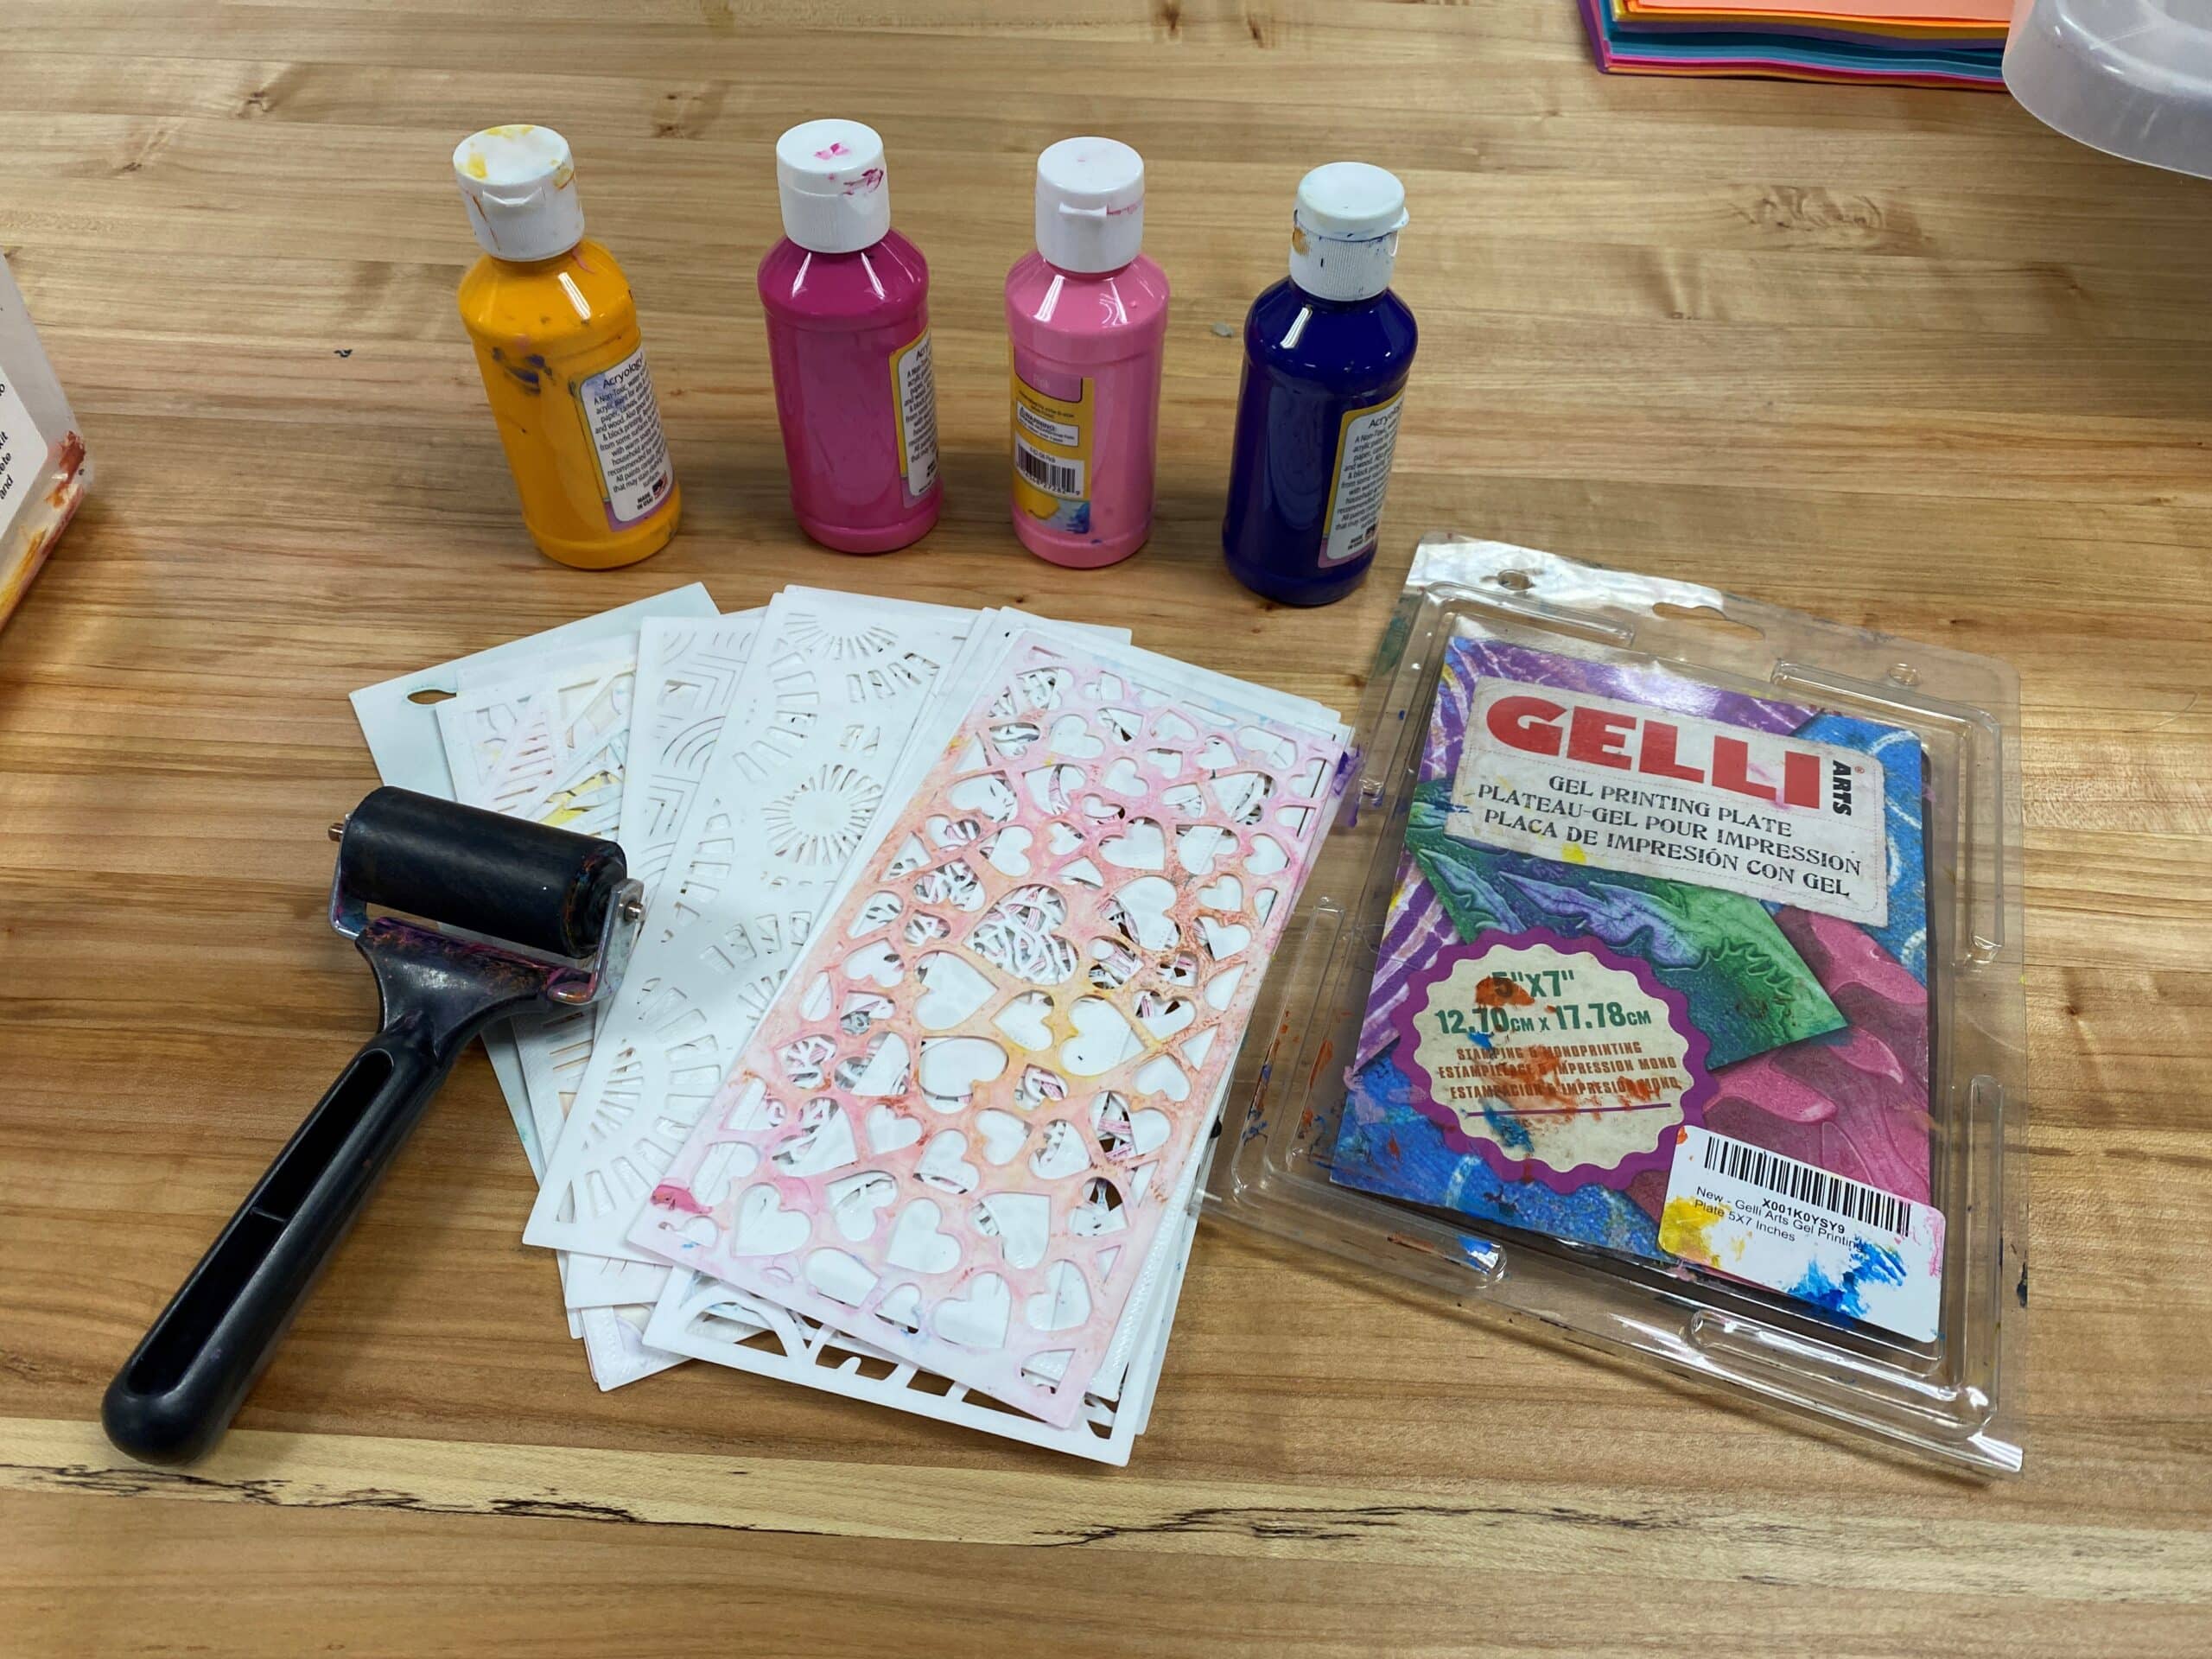
Start by 3D printing some stencils from Thingiverse. Then use the stencils on the gelli plate in Ignite’s monoprinting kit
You can 3D print all kinds of things, including plastic stencils! Get certified on Ignite’s 3D printers to print your own, and find a file from Thingiverse to be inspired by. You can use these stencils to make gelatin plate prints like this blog describes, or use the stencils you’ve printed to paint, glaze, or trace away.
Start by cutting acrylic on the laser. Then use the acrylic stencil for papermaking
Acrylic sheets that have been cut on the laser can be versatile. Get certified on Ignite’s laser engraver to be able to make your own stencils using acrylic to for the specifications of whatever your project is. For papermaking stencils, measure the deckle (where the paper pulp gets put into shape). For instance, Ignite’s papermaking kit has an 8.5”x11” deckle. Cut at rectangle the size of your deckle out of acrylic to fit inside, and then add in more cut lines for whatever you want the shape of your paper to be. You could make heart-shaped or circular shaped paper, or make a shape like an envelope laid flat (pictured below). When the paper is dry, you can fold your handmade paper into envelopes. You could also cut acrylic to use for stenciling things like hand lettering guides, or use clear acrylic to make a guide for making and measuring quilting squares.

These are only a few of the stenciling projects you could do at Ignite! Drop your next stencil idea in our Facebook discussion group. Happy stenciling!
