by Katie White
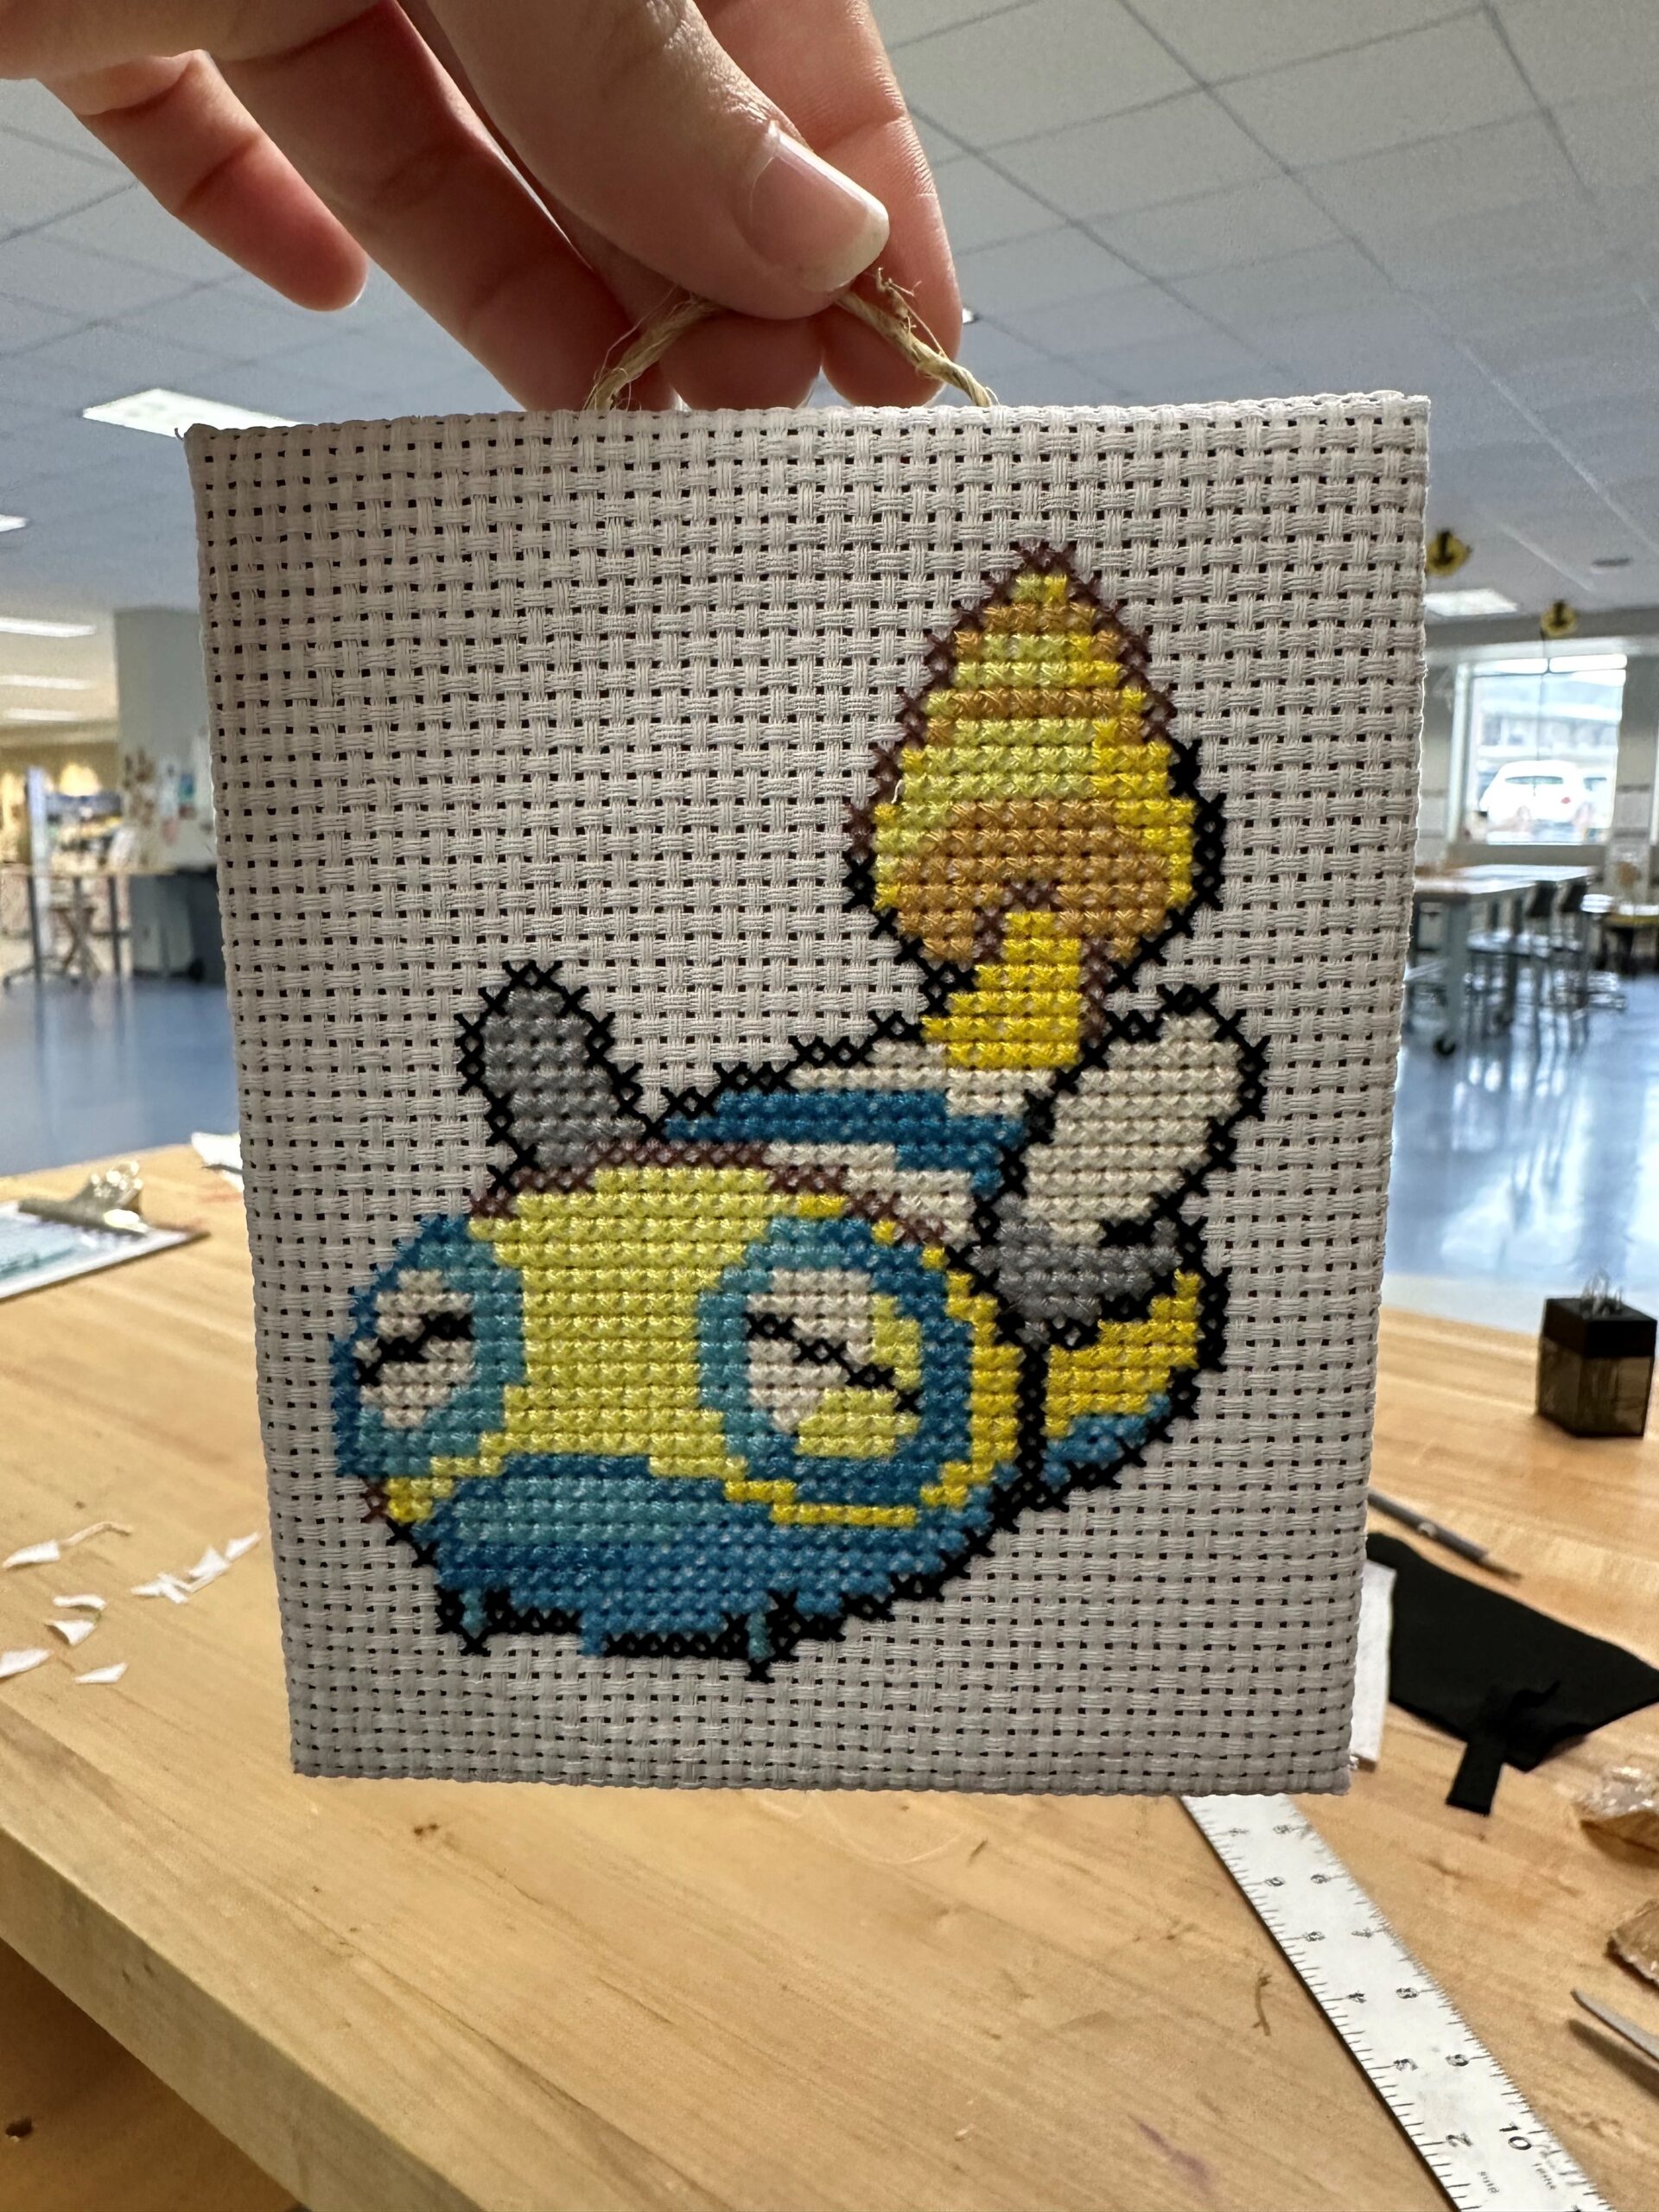
Hi I’m Katie, a studio assistant here at Ignite, and I’m going to teach you how to put a felt backing on embroidery projects! This is a great way to cheaply and easily finish a project, as well as turn it into a sign or an ornament. This technique can be used for a lot of different embroidery types (pretty much anything on fabric) but I’m going to use cross stitching as an example, because that’s what I prefer. Check out our Embroidery Kit to make your own project, then follow along!
Felt Backing on Embroidery Projects
Supplies you’ll need for this project:
- Finished embroidery piece
- Cardboard
- Crafting glue or hot glue
- Felt
- Scissors
- Ribbon (optional)
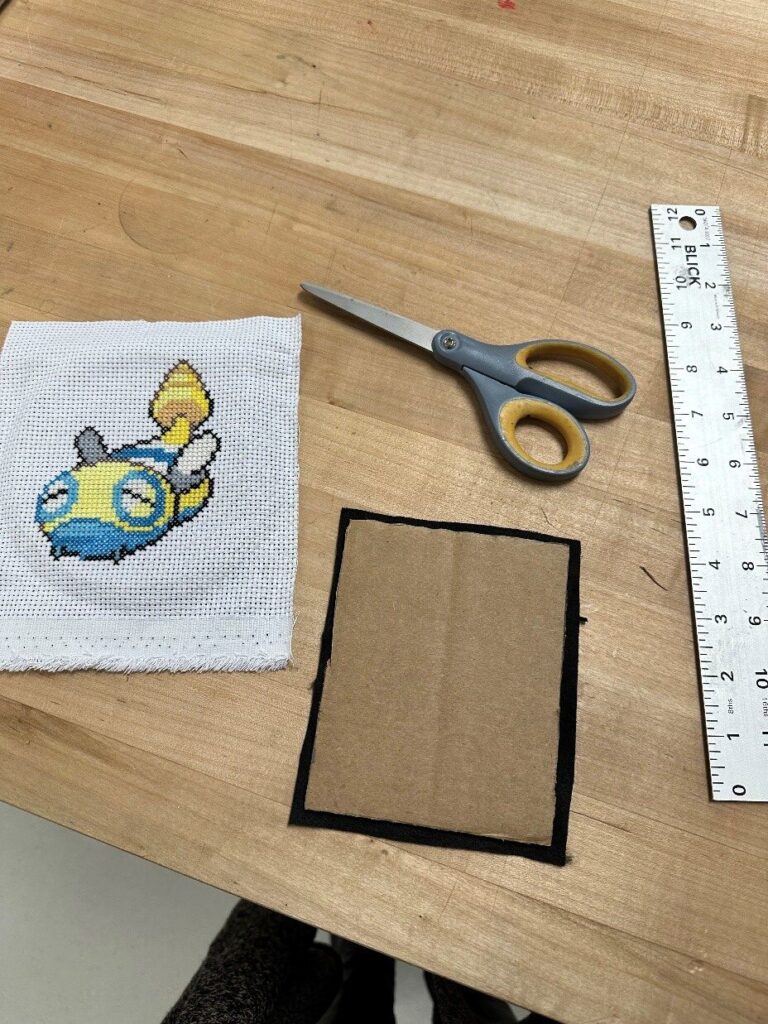
To start, cut your embroidery pattern out if you haven’t already, leaving plenty of space around all four edges. Then, cut out a piece of cardboard the size you want your finished piece to be (it needs to be smaller than the fabric piece). Also, cut a piece of felt to be the same size as your cardboard.
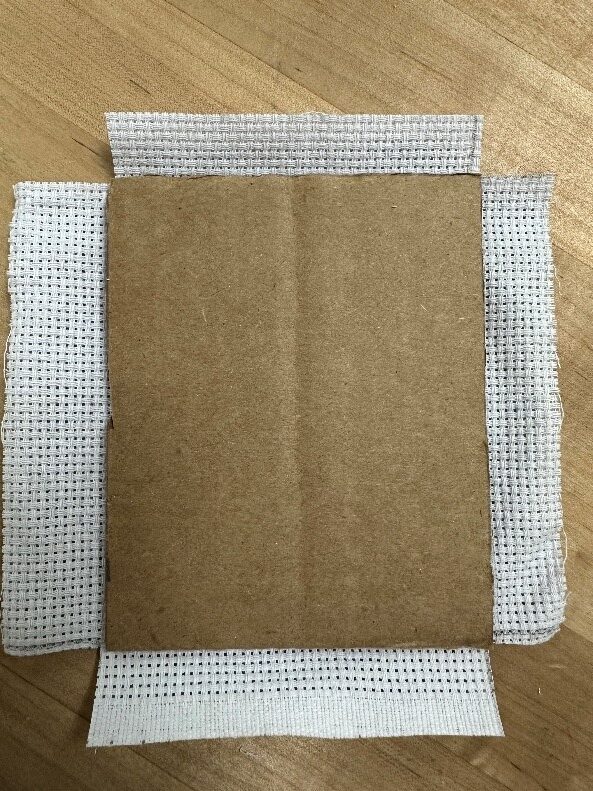
When you have your cardboard, place it in the center of your fabric and mark with a pencil where the edges are. Then, make sure to cut the corners out of the fabric. This will keep the corners from bunching up, and making an uneven backing. Then, fold the edges over and glue them down to the cardboard. Give the glue some time to dry completely before moving on to the next step.
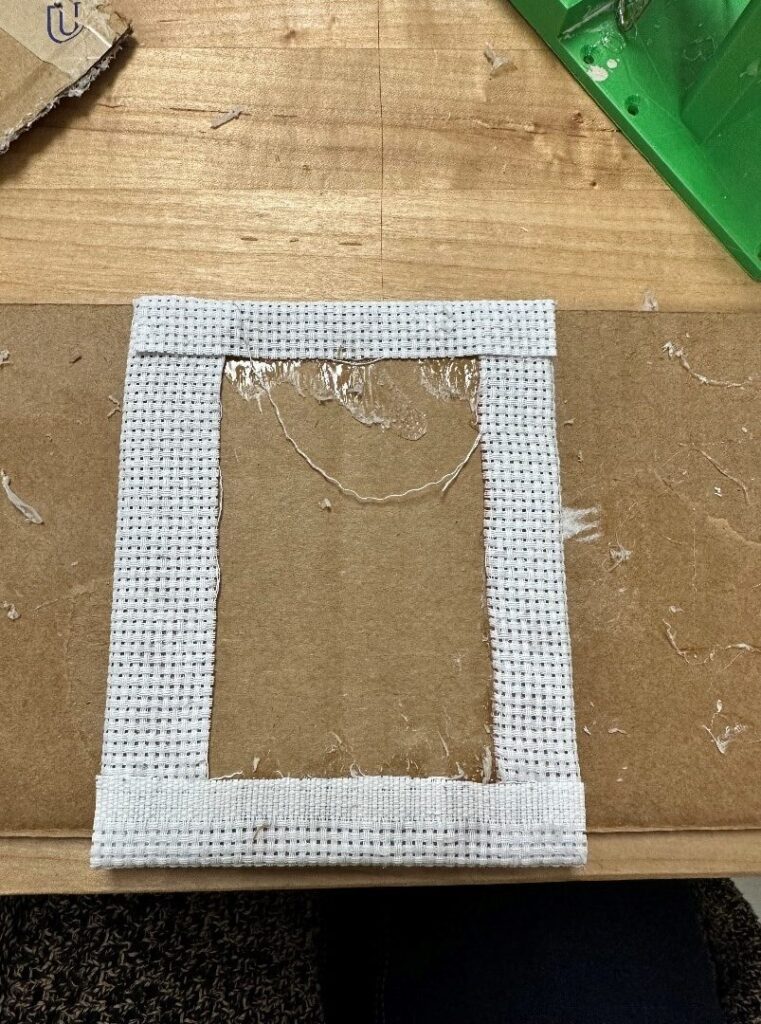
This next step is optional, and only applies if you’d like your piece to hang! (ex. A sign or ornament). Cut a small piece of your (ribbon, string, or twine), make a loop with it, and glue the ends down to the cardboard. It’s important to make sure the ribbon is in the center, or your piece will hang lopsided.
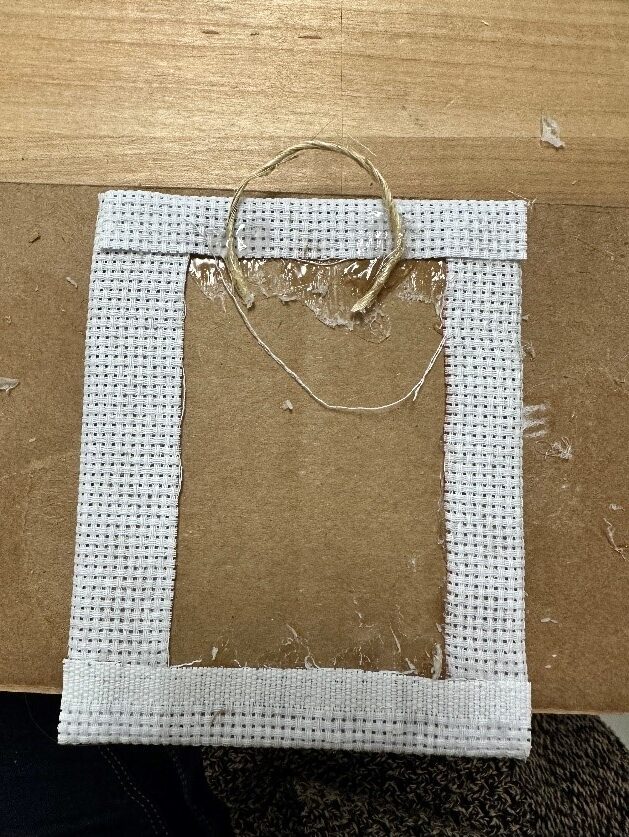
Finally, you’ll glue down your felt over the cardboard, making sure the edges all line up. This will hide the fabric (and ribbon) ends, and make your piece look nice and complete! It may be a good idea to put something heavy, such as a book, on top of your project while it dries so that everything is flat and none of the edges are loose or floppy. Once the glue is dry, you’re all done!


Share your next embroidery project on our Ignite Community Discussion Group on Facebook. Happy making!

