by Cindy P.
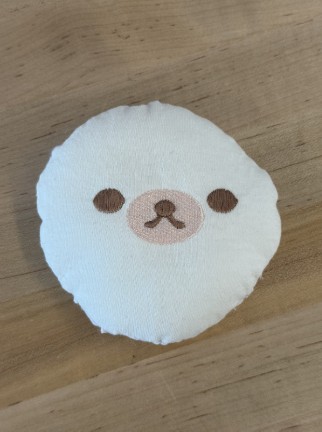
Plushies are a fun way to combine creativity with hands-on crafting skills. For this project, I created a custom plushie using both sewing and machine embroidery techniques. The embroidery machine was used to stitch the facial features onto the fabric, while sewing was used to assemble and shape the final product. To complete this project, I used the Embrilliance Embroidery Software to create and prepare the design, and an embroidery machine to stitch the face. Either a sewing machine or hand sewing techniques can be used to construct the plushie.
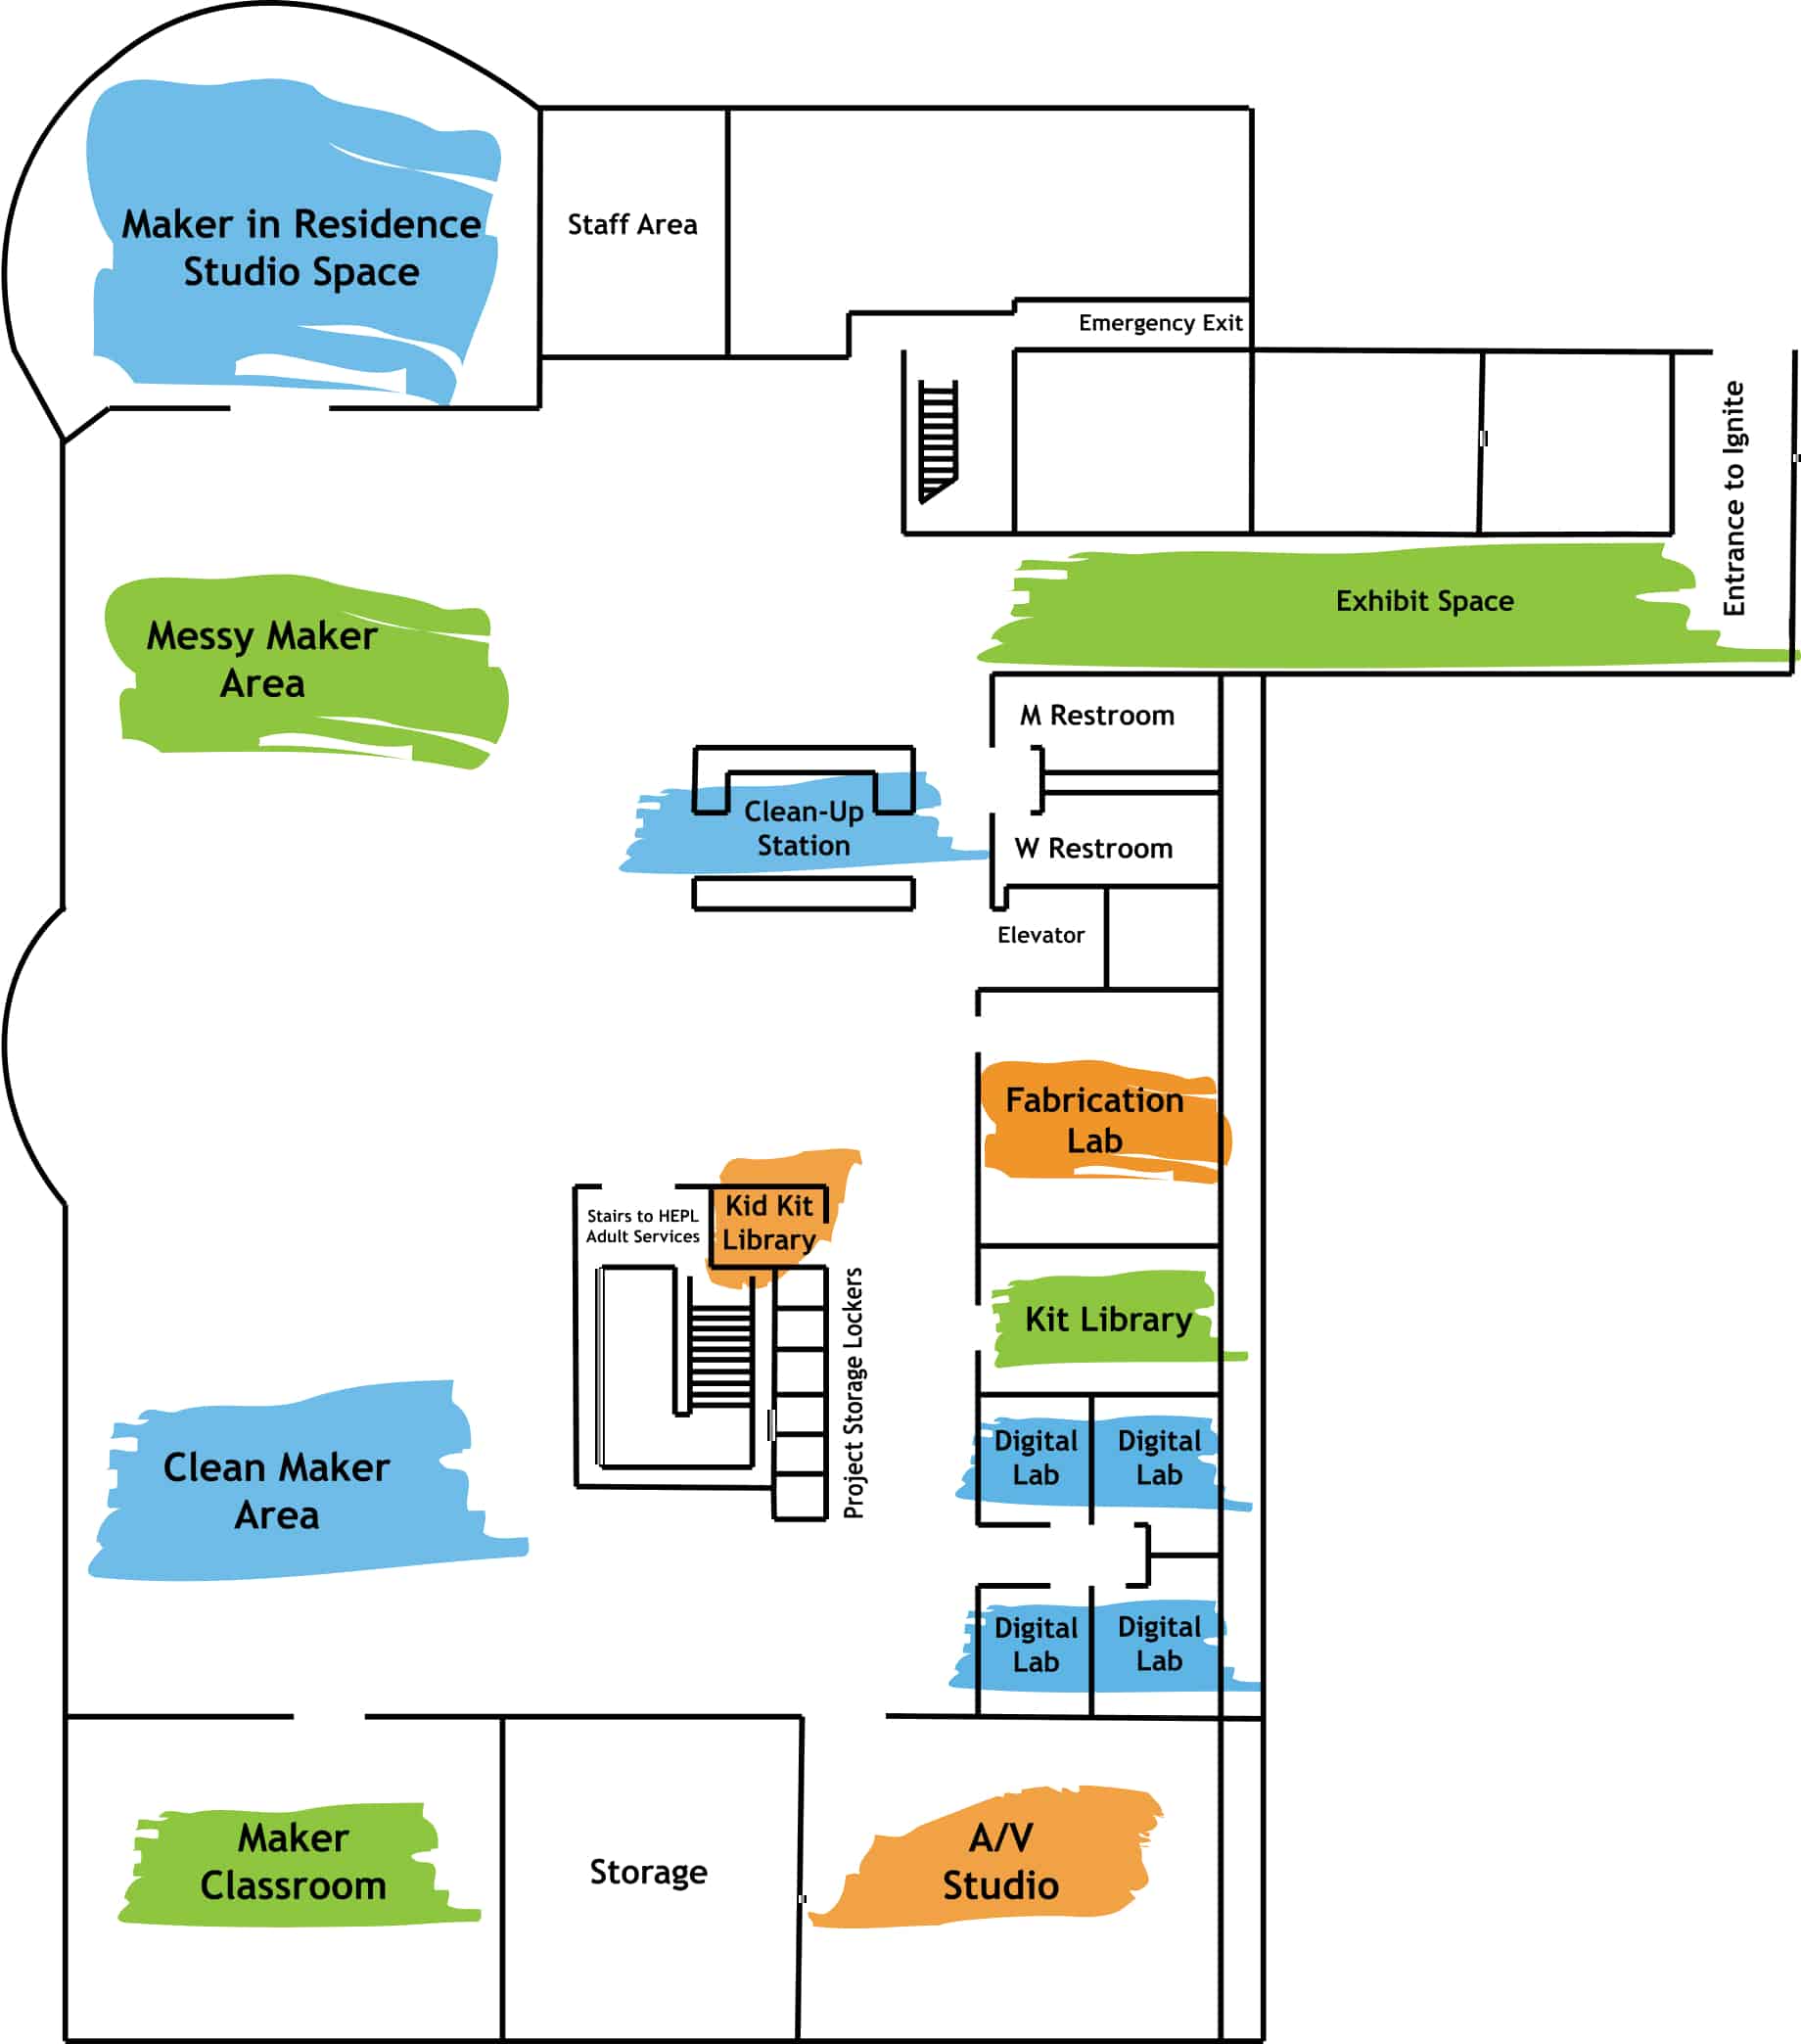
Here are the tutorials on how to use Embrilliance and the Embroidery machine in the Noblesville Maker Lab.
Making the Embroidery Design
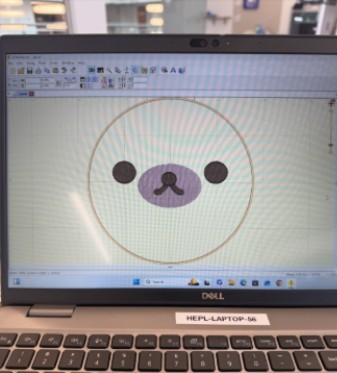
The first step in creating the plushie was designing the facial features in Embrilliance. Using this software, I created the eyes and mouth, that would be embroidered onto the first piece of fabric. I adjusted the size and placement of each element to ensure they would fit properly on the plushie and look balanced once assembled. After finalizing, I exported the design into a .DST file which is the only file compatible with our embroidery machine.
Prepping your fabric
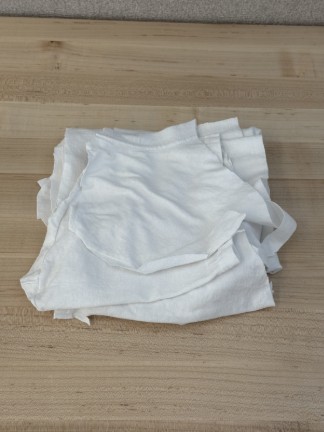
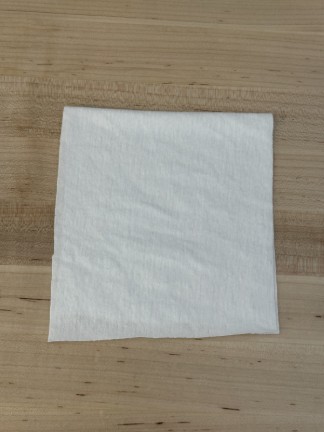
You can use any fabric you want for this project. I upcycled an old t-shirt and cut 2 pieces of fabric to the size that I wanted the plushie to be. The first piece is for the top of the plushie, and the second piece is for the bottom of the plushie.
Embroidering your Design
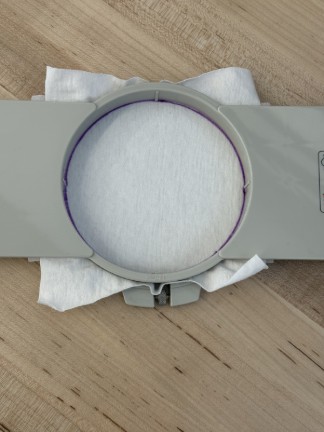
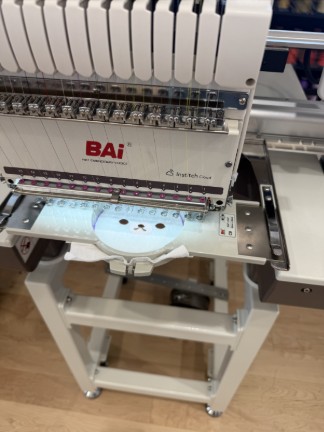
Begin by hooping the front piece of fabric in the appropriately sized embroidery hoop, making sure the fabric is secure.
Next, upload the .DST embroidery file to the machine and position the design as needed.
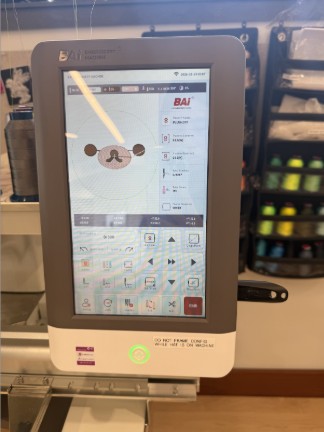
Once everything is set up, start the embroidery machine and allow the machine to stitch the design onto the fabric.
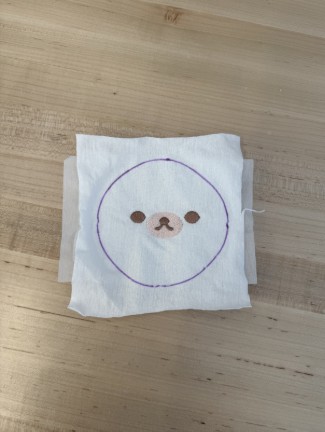
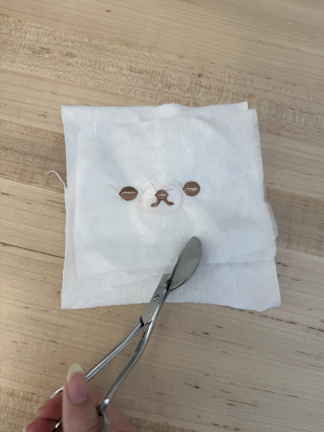
After the embroidery is complete, remove the fabric from the hoop and cut the stabilizer around the design.
Sewing your Plushie Together
Clip the two pieces of fabric together with the embroidered design facing inward. This allows the plushie to be turned right-side out after the sewing is complete, hiding the seams on the inside.
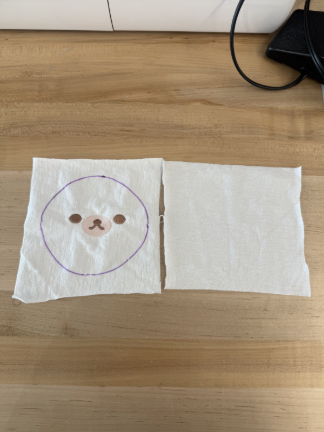
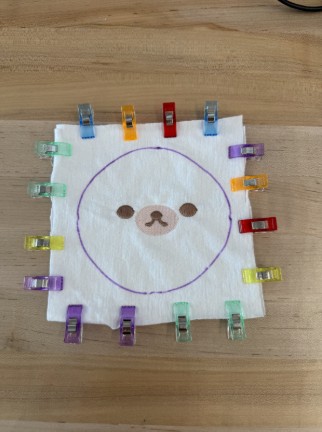
Next, sew around the edges using either a sewing machine or hand sewing. For this tutorial, the pieces were sewn together by hand. Be sure to leave a 2–3 inch opening along one edge so the plushie can be turned right-side out and stuffed later.
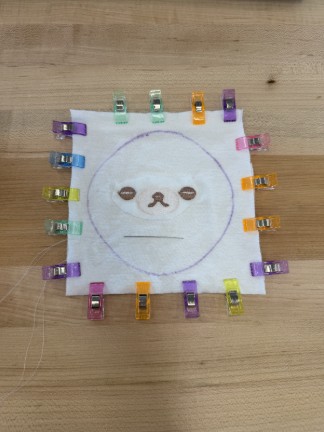
Once the sewing is complete, carefully trim the excess fabric along the seams.
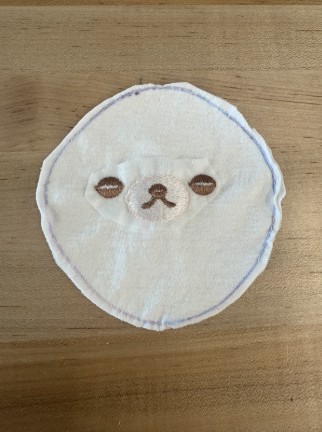
Stuffing the Plushie
Turn the plushie right-side out through the opening that was left during sewing. Next, begin stuffing the plushie until it reaches your desired firmness and shape.
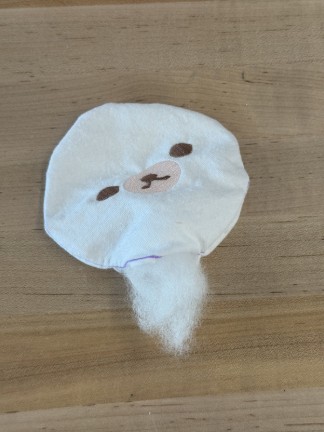
Once you are satisfied with the amount of stuffing, carefully sew the opening closed to complete the plushie.
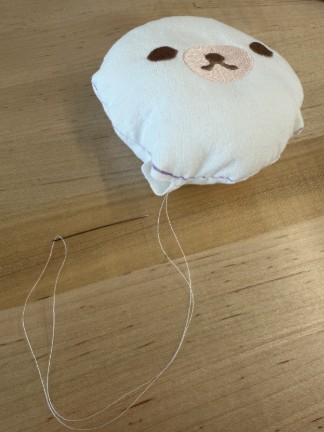
Final Results
Creating this plushie was a fun way to combine embroidery and sewing into a single project. If you are interested in trying machine embroidery or looking for a creative sewing project, consider making your own custom plushie at the Maker Lab. Just remember to bring your own fabric and stuffing, as these materials are not provided.