by Cassy Coha
From making your own patches to embroidering your name on your favorite t-shirt, Ignite Studio has the tools available to help you create a digital embroidery design. Ignite’s Brother Embroidery Machine has some embroidery presets already on it. But it is also capable of embroidering designs you create and load onto the machine. Let’s experiment with how this can be done with programs that are available to download for free.
Create A Digital Embroidery Design
One program to digitize an embroidery design is called Inkscape. This program is already available on the laptops at Ignite. It is also free to download yourself. For this specific purpose, Inkscape requires a plug-in called Ink/Stitch. This is also free to download and relatively easy to install following the instructions provided on the website. Once Inkscape and the Ink/Stitch plug-in are downloaded, you can create your embroidery design!
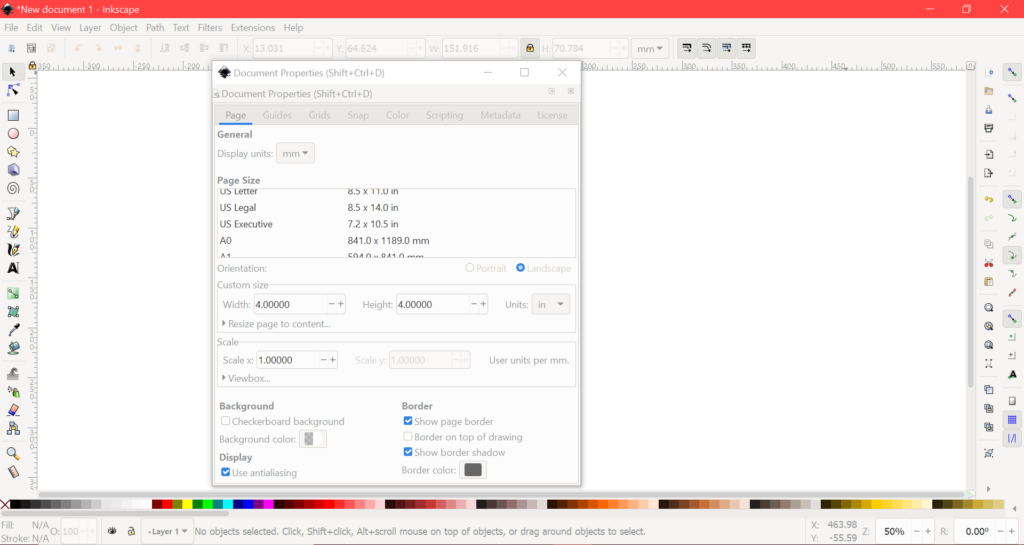
Ignite’s Brother Embroidery Machine has a size limit for designs of 4×4 inches. Because of this, after opening Inkscape set your document size to 4×4 inches to make sure that the design will fit on the machine.

Then, begin designing! You can import a pre-made vector image or you can use the tools in the program to make your own. You can also vectorize images in the program. Pro-tip: this can be a little more difficult to do successfully with multi-colored designs. There are lots of resources that can help you navigate this if you are new to the program:

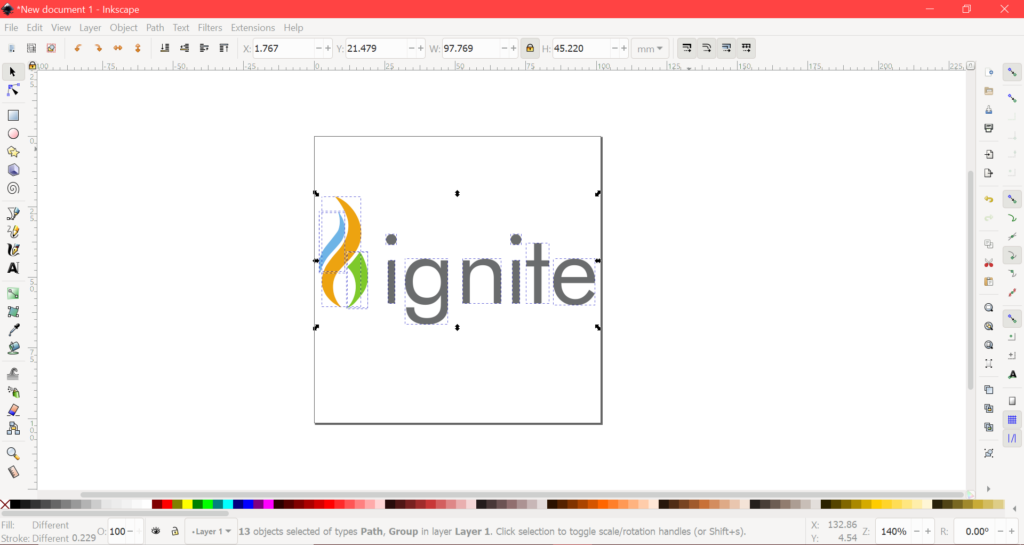
This example design is already a vectorized .ai file, so it’s ready to go. Make sure that all shapes used in the file are ungrouped, otherwise the program will be unable to read and digitize the individual shapes for embroidery.
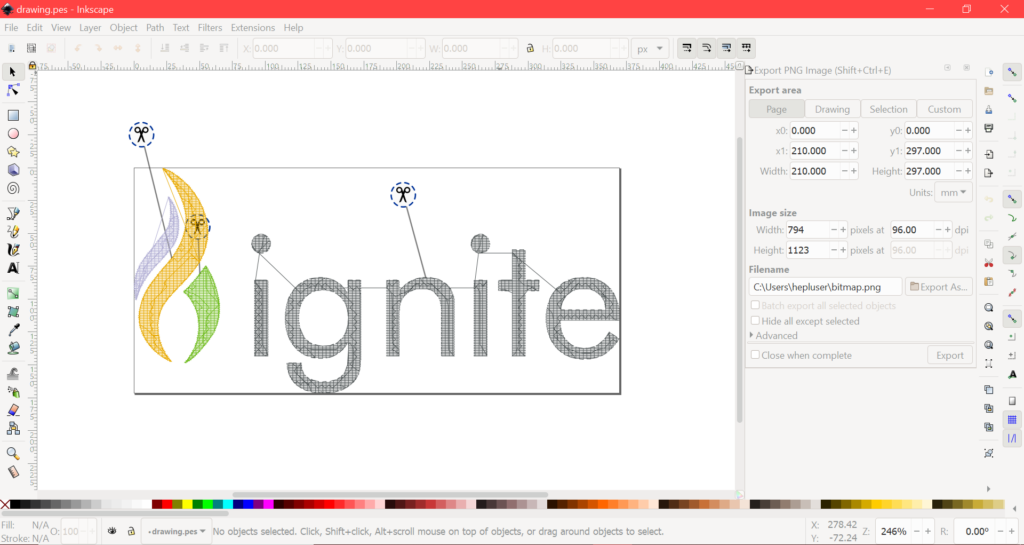
After the design is complete, save the file as an embroidery file type by using the “save as” menu. The Brother Embroidery Machine at Ignite reads .PES filetypes. So when you save your embroidered design, be sure to select this file type from the file options. Also, make sure that your design is the correct size before digitally embroidering it. If you change the size after the file was saved as an embroidery file type, it will have the incorrect number of stitches. To avoid this, make sure to also save your file as an .SVG in case you need to edit the design later!
When you open your saved .PES file, you’ll see the stitch instructions that the machine will follow.

Embroider A Digital Design
Moving your design onto the embroidery machine is fairly simple! Just connect a laptop with your file on it to the embroidery machine using the cord available in Ignite’s embroidery machine kit. Copy your file onto the storage drive that pops up. Afterwards, your design will be visible on the embroidery machine’s screen!

If your design has multiple colors, the machine will display each individual color in your design. It will also show the order that it will embroider them. This design begins with a lime green color, so let’s load that one onto the machine. After that layer is finished, move onto the next color and so on.

Ignite has thread available to use, but you may want to bring your own, especially if you have a certain color or type of thread in mind. Different types of threads have different sheens, thicknesses, and elasticity. We recommend polyester thread. It is one of the stronger kinds of thread. But they all have their own benefits!
After your thread is loaded, you’re ready to embroider the design! Here’s the machine finishing up with the last color.

Make sure to watch the embroidery machine while it is running so you know when to reload the thread if it has broken. You’ll also need to switch thread colors throughout. There is a hiccup in this design. Can you see it?

Show us what you’re making with Ignite Studio’s equipment on our Ignite Community Discussion Board on Facebook! Happy Making!


