
by Kenzye P.
Finding ways to make use of small scraps of vinyl can be challenging! You spend so much time and money on your vinyl and want new ways to make use of every last bit. This blog will help you utilize scraps 3” and smaller to create a cohesive design all within Cricut Design Space. Find the supplies below around the studio:
- Scrap vinyl
- Scrapers and weeding tools
- Transfer tape
- Computers with Design Space downloaded (available for checkout at the service point)
Create with Cricut Design Space
Upload an Image
1. Upload your image into Design Space.
Upload your image to Cricut Design Space using the “upload” tab on the left.
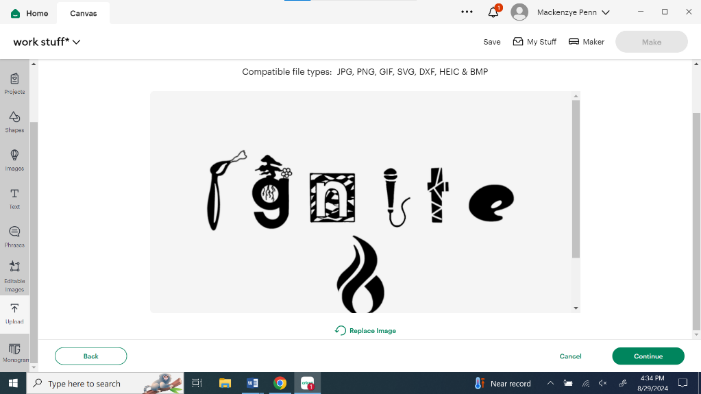
2. Crop your image to be only a smaller portion of the design. Mine was easiest to split based on the letters in my design. Continue and choose “single-layer graphic” to develop the cut image.
Choose “single layer graphic” and hit continue.
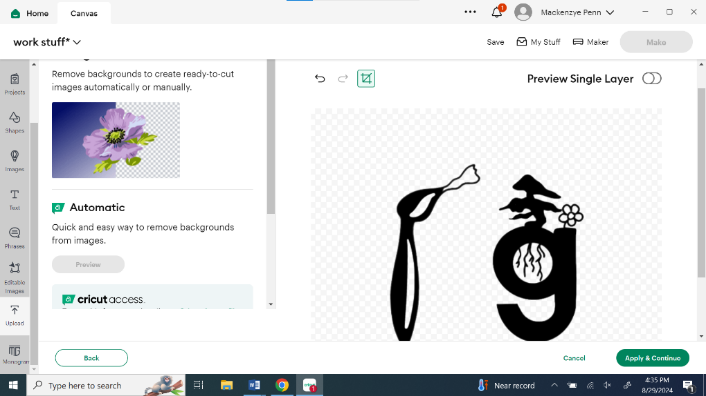
3. The uploaded image will populate into your canvas – DO NOT RESIZE YET! Repeat the uploading process for any other parts of your SVG/PNG image.
Align Each Object
4. As each portion loads in, it will have the same size proportions as the original, un-cropped image. This will allow us to align each part of the image and then resize altogether. The ruler grid in the background of Design Space will help you again later on so keep your program handy.
Each image populates as a layer, and you can view each layer in the right hand side.
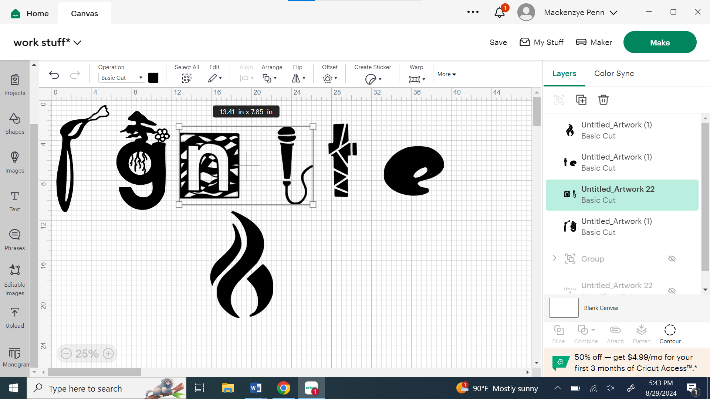
5. We now have 4 individual layers that we want to adjust to be evenly spaced both vertically and horizontally.
To align the first line, select all three layers, choose “Align” at the top of the screen and then “Distribute Horizontally.” You’ll notice your layers evenly separate.
Now, all the elements of our design are perfectly aligned. Our next step is to let the Cricut know that each layer needs to be cut separately so that we can utilize our small sized scraps. To do this, we need to assign a different color to each layer- the color is arbitrary
Select all layers and click the “align” menu at the top of the canvas.
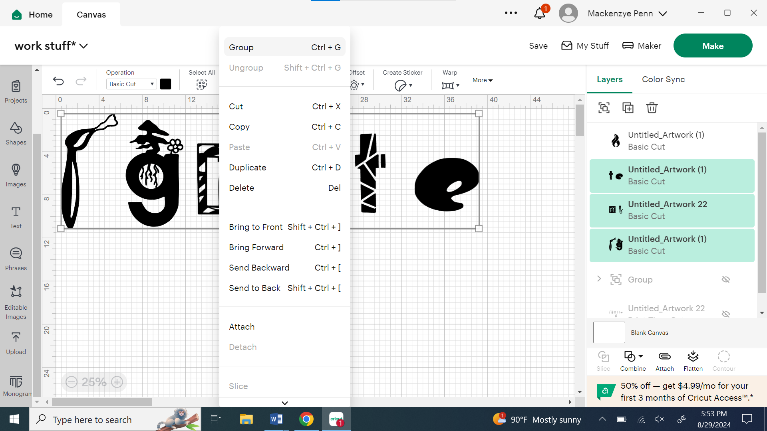
6. Now that these layers are even, select all three again, right click, and then group them together.
The “group” option will show up when you right click on your selected layers.
7. To align the grouped top section and the lower, final layer, we want to select both, choose “Align” again, and from the dropdown choose “Center Horizontally.”
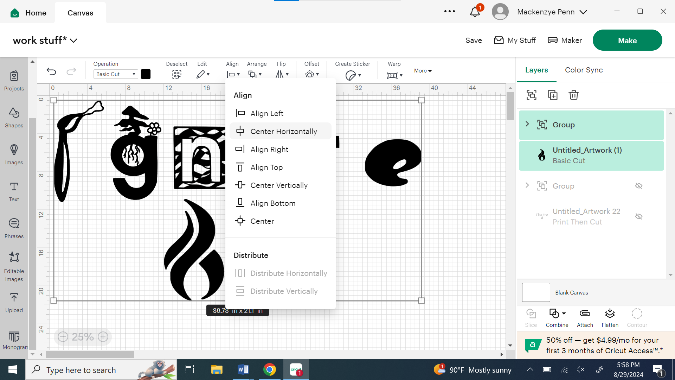
Find the “align” tab at the top of the canvas.
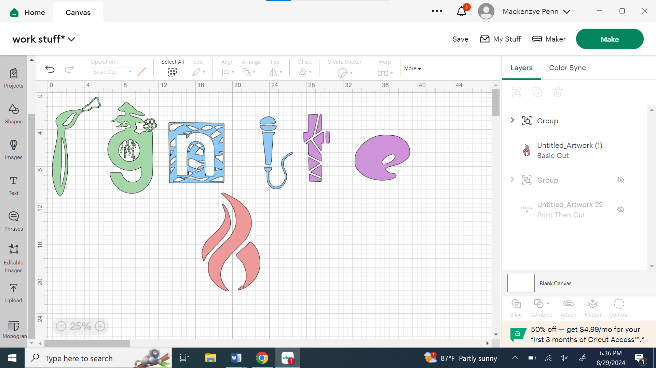
8. Select the individual layer and click the colored square in the “operation” section. From here, you can select a new color for the layer. When you’ve changed each color, it should look something like the picture below.
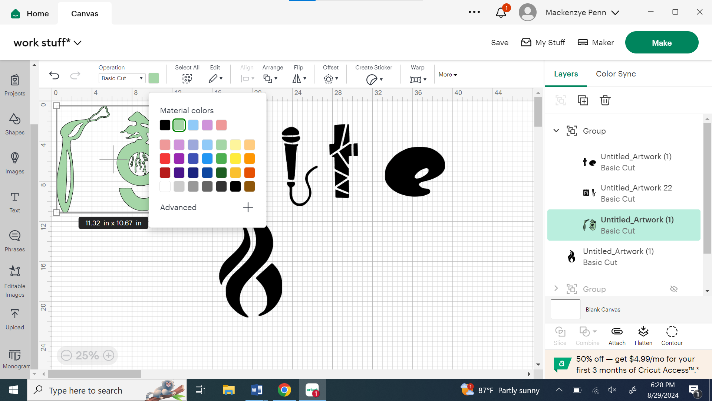
Change the color of each layer with the “material color” option from the “operation” drop-down menu.
The color in Design Space is arbitrary, as the color of your vinyl scrap will be what color your final product is.
Resize the Creation
9. Now we can select all the layers and resize the image for our cup. The glass that I’m using today needs a design to be less than 9” around and about 4.5” tall to fit comfortably onto the surface. Because of this, I’ll select all of my layers and then, in the size section of the toolbar, insert 4.5 into the height.

Change the size of your image by finding “size” under the “more” drop-down menu at the top of the canvas.
Send the Project to the Cricut
10. We’re now ready to “Make” my project. When we go to make, we’ll see our project populate across 4 different mats. These mat previews will show us the approximate size of vinyl scraps we need to use. Each box represents a 1 inch by 1 inch square.
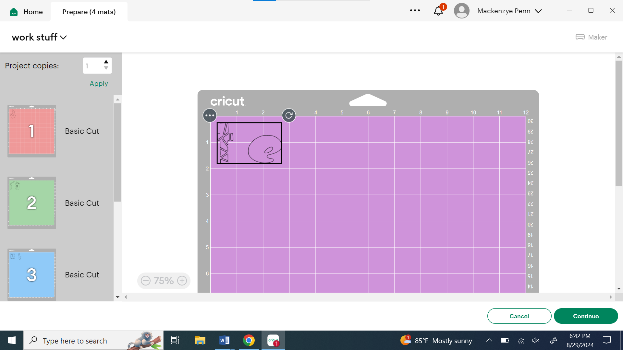
Your different colors of materials are sorted out into different mats on the left.
Connect your computer to your Cricut, then choose the material type and blade pressure. The material type we’ll use today is “Premium Vinyl” with “normal pressure.” Your design will last the longest if you utilize permanent adhesive vinyl (not sold in Ignite). However, the Oracle removable vinyl sold in studio already has a strong adhesive to keep your design in place.
Using Transfer Tape
1. Once you’ve cut a layer, you can remove it from your mat and begin weeding. After each layer has been cut and weeded, you’ll end up with an image like the one below.
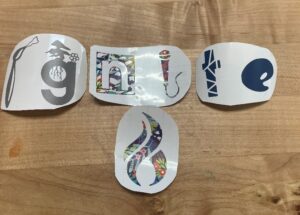
Four different cut and weeded vinyl bits, before transfer tape
Now you’re ready to use your transfer tape to put the whole design together and adhere it to your cup. Cut a rectangle of transfer tape roughly big enough to cover your full design.
2. If your design uses multiple lines, you’ll want a way to be able to work one line at a time. Turn your transfer tape over and carefully cut a line through only the backing paper. Be careful not to cut through the adhesive transfer tape. You can now peel one half of the backing off at a time making it easier to properly line up your design.
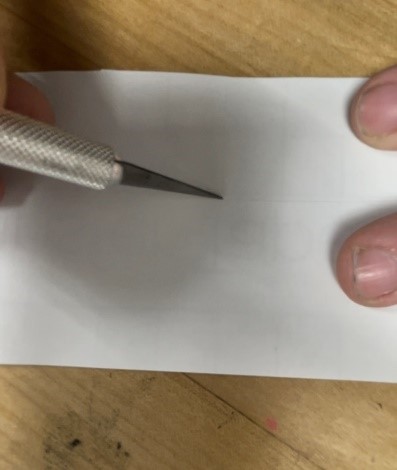
Lightly cut through the backing paper with a craft knife.
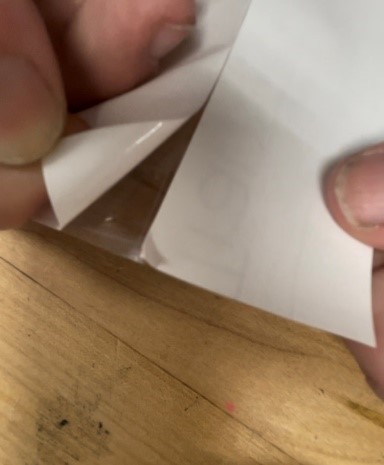
Peel away the backing paper.
3. As you gently peel the backing off of the transfer tape, begin lining up your design one piece at a time using the grid in Design Space as your alignment guide.
4. Repeat steps 1- 3 with the lower line of your design if you have one. Slowly peel the remaining backing paper off of your transfer tape.
5. Now that all of our elements are on the same sheet of transfer tape, you can trim the edges like you see below.
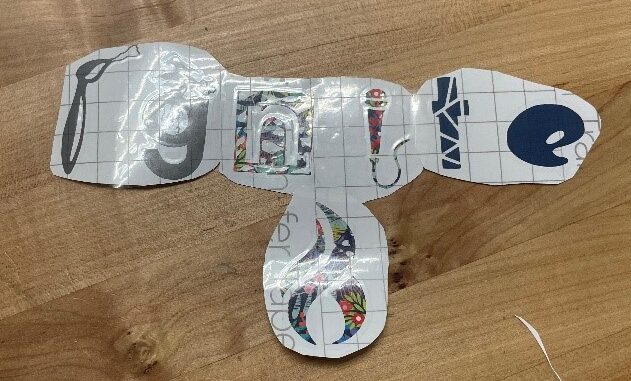
The four vinyl bits, attached and aligned with transfer tape.
6. Use any kind of hard edged scraper to adhere the tape firmly to the vinyl. I find it useful to keep my scraper in one hand as I gently begin to remove the vinyl from its original backing. If the tape starts to pull away WITHOUT the vinyl, lay the tape back down and give it a push again with your scraper.
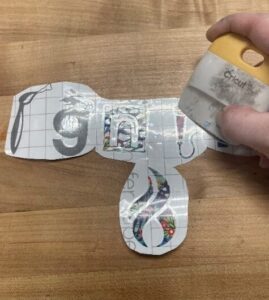
Use a scraper or even the edge of a library card to adhere the transfer tape.
Apply the Vinyl to the Product
Now that you have your vinyl onto transfer tape, line it up with your cup. Press firmly to adhere vinyl to the cup and then, begin SLOWLY peeling back the transfer tape. If any vinyl starts to peel with the tape and not adhere to the cup, use your scraper to gently rub the vinyl onto the glass and try to peel the tape again.
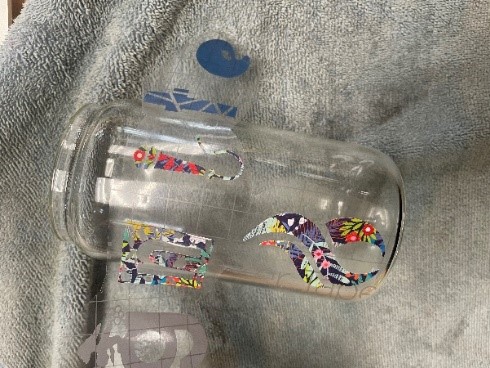
Apply the vinyl to the surface.
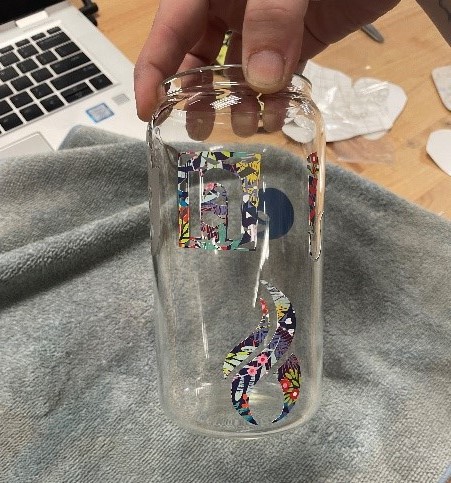
Your cup is all finished! You can seal it with a layer of resin or Mod Podge, however, this isn’t necessary if you’re only going to hand wash your design and/or utilize the permanent adhesive vinyl.
Bring in your own cups or purchase one of our sublimation blanks to bring your design to life, and share your creations with us on the Ignite Community Discussion Board. Check out our Cricut playlist on YouTube if you are unsure of where to start. Happy making!
