by Jared Hart
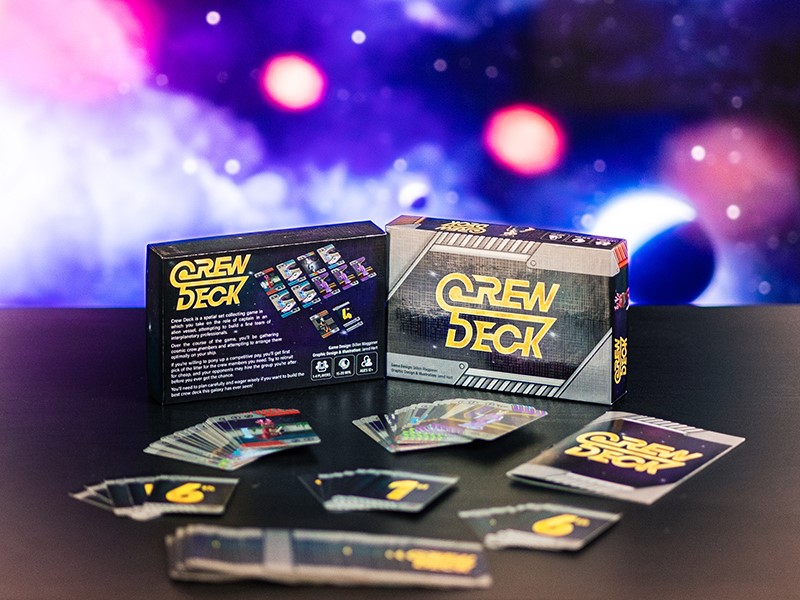
Do you want to bring your games to life with a manufactured copy that you created? There is a way to do it without having to mass produce. The Game Crafter makes custom Print-On-Demand games. The downside to this method of production is that it’s a bit more expensive, since games are typically only being produced one at a time. However, it’s a very small price to pay if you don’t want to go through the hurdles to get your game mass produced.
Bring Your Games to Life
To get started, you first need to create a free account. Once you’re logged in click the “Make” drop-down and select “Games.” This is where all of the games you’ve made on this site will show up; but first, we need to create our first game. Add a title for you new game, and click the green “Create Game” button.
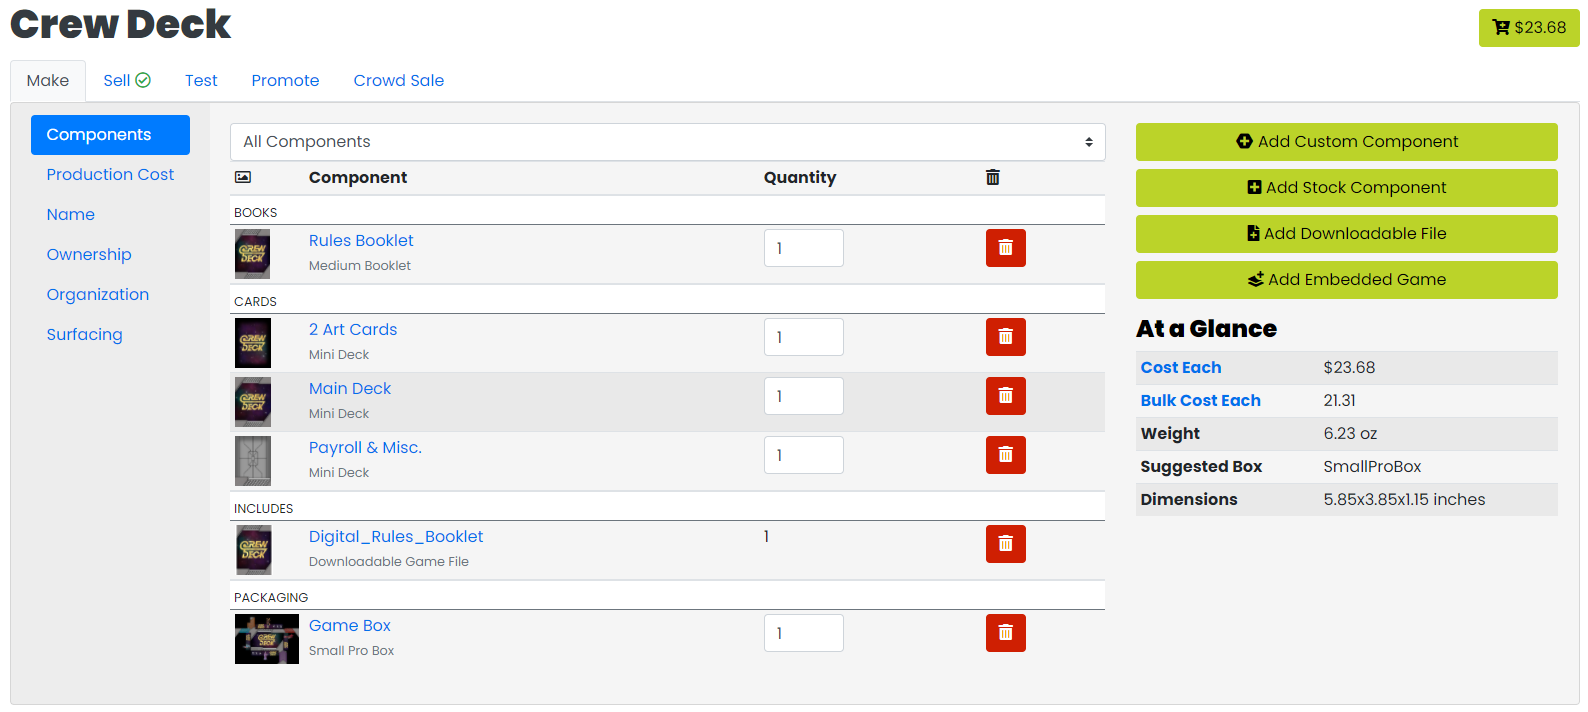
You’ll now be sent to a page where you can see a list of all of the components you’ve added to your game. This will be your main hub while designing your game. In the lower right you’ll see the “At a Glance” section. As you add components, this will update to show you the total costs and a suggested box size that will fit all of your components.
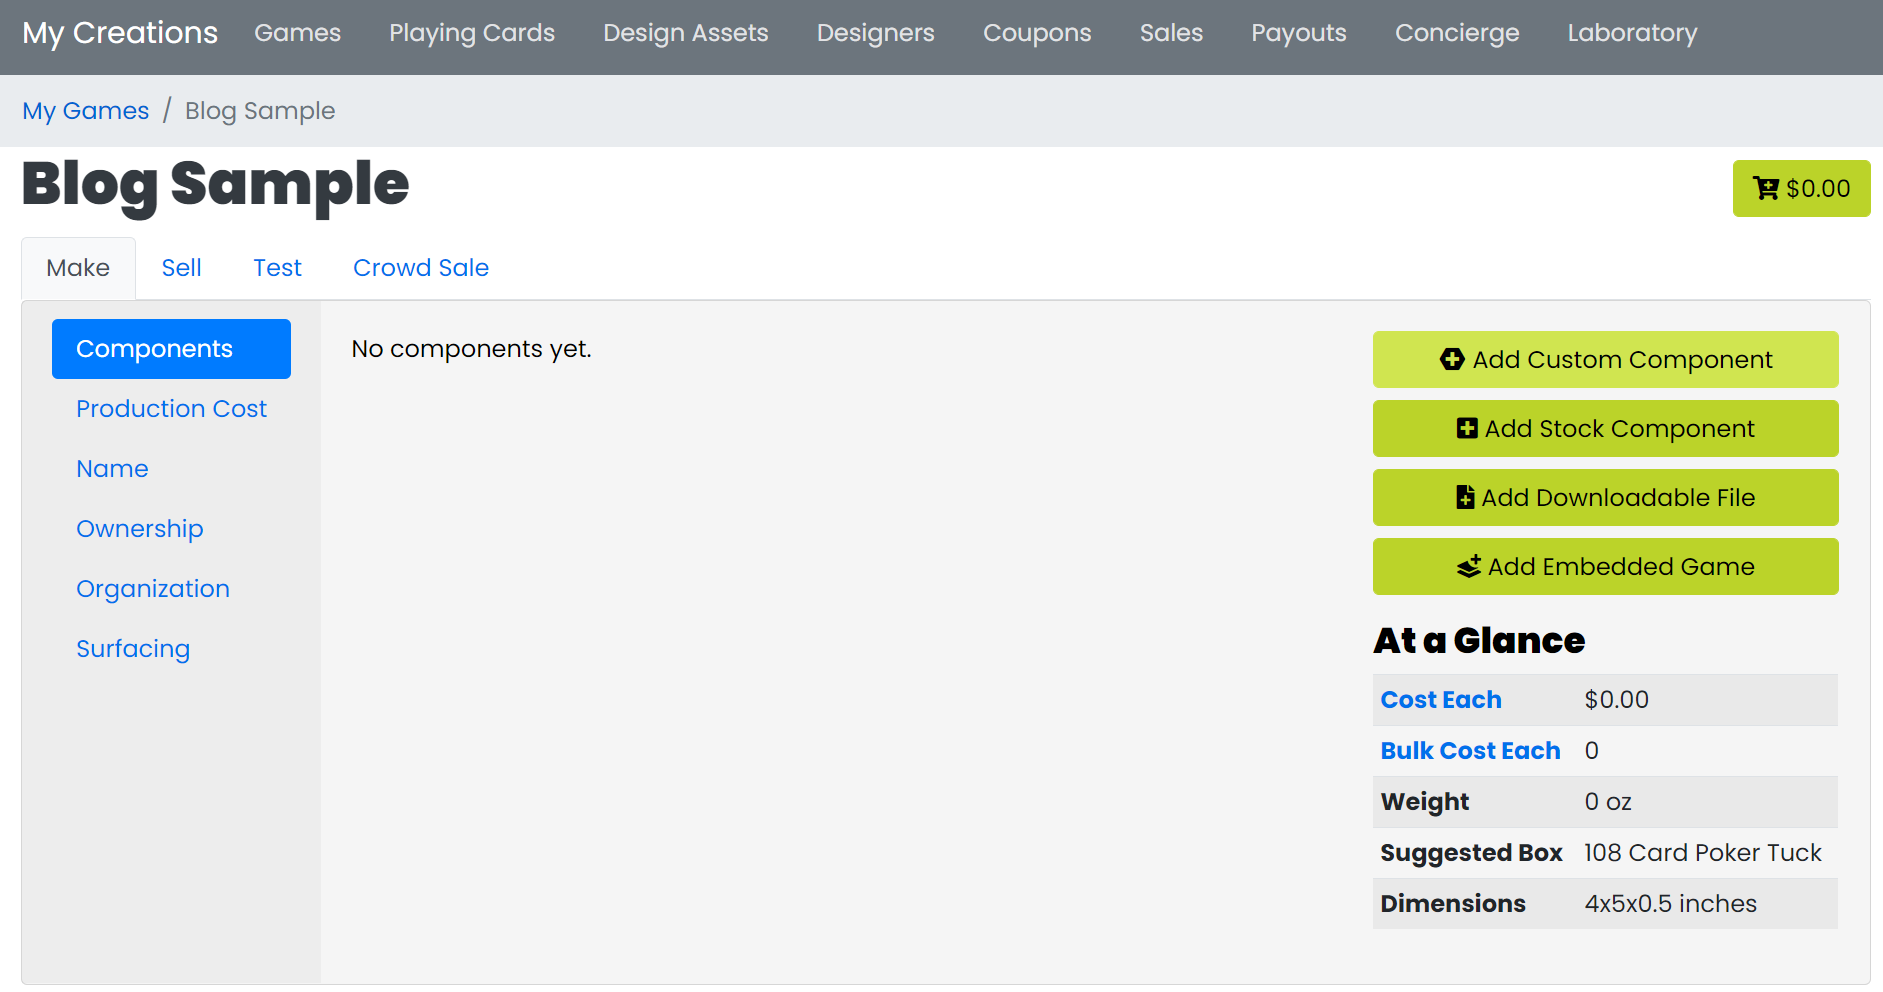
If you haven’t done so already, this is a good time to start making a list of all of the different things you’ll need to include in your game. If you’re needing to add something with your custom artwork or shapes, you’ll want to click “Add Custom Component.” But if you’re needing something generic such as dice, pawns, sand timers, or resource tokens, click “Add Stock Component.”
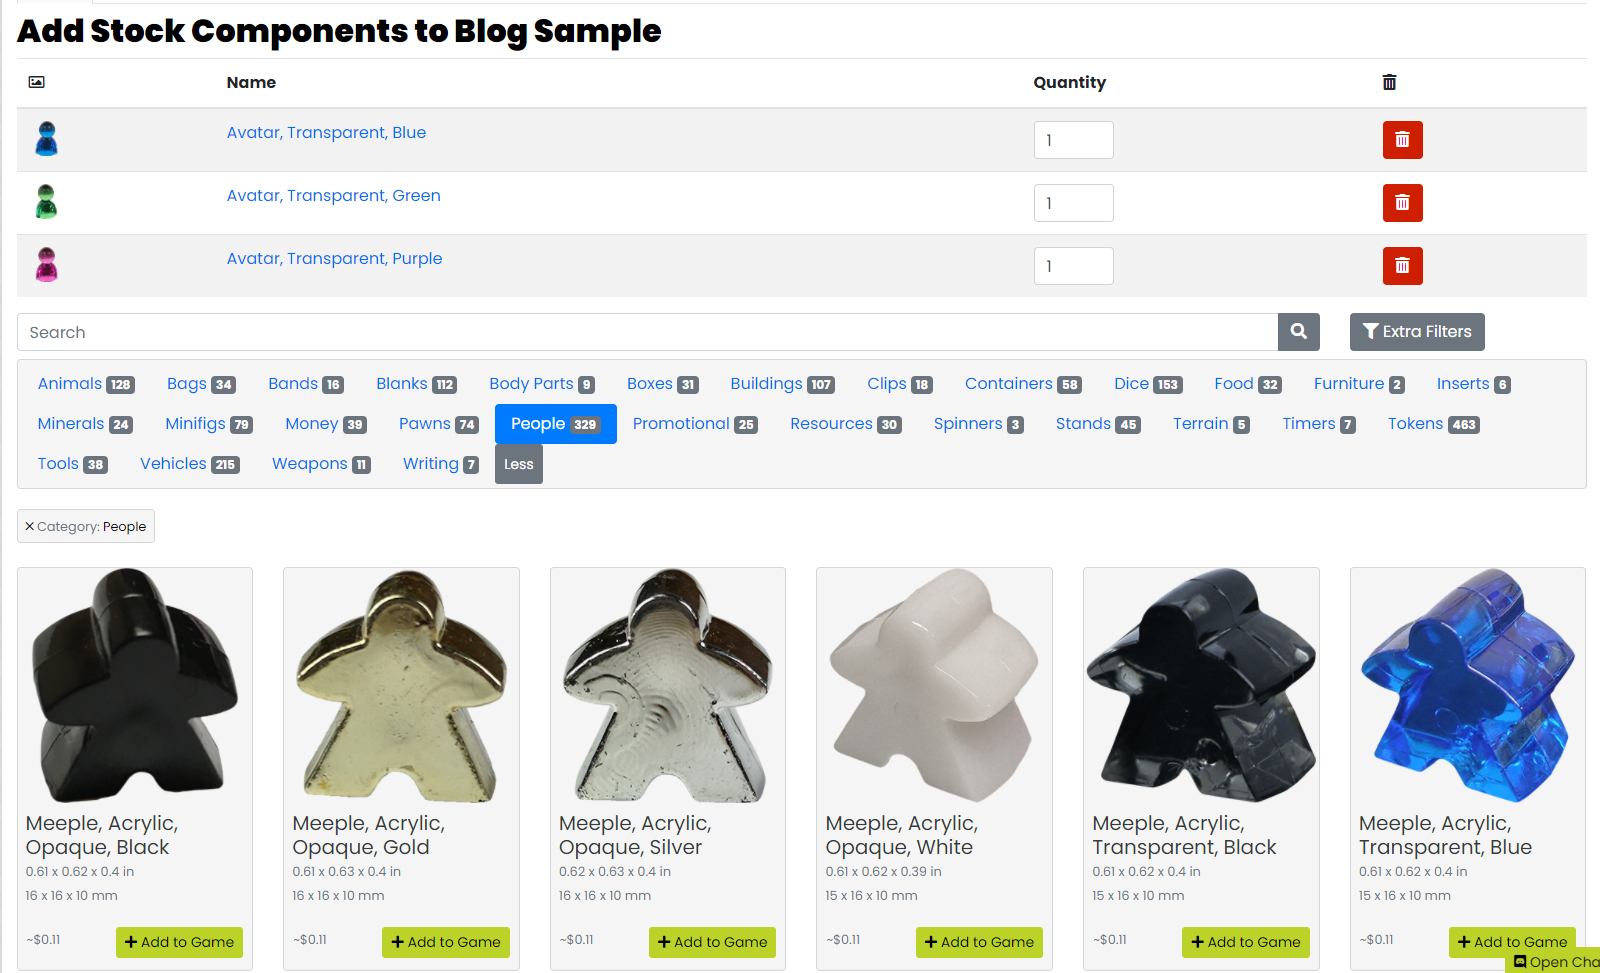
First, I’ll go over the Stock Components section since it is much less complex. When you open this page, you can either use the search bar to find what you’re looking for or you can use the categories. If you don’t see the category you’re looking for, click the gray “More” button. Each component shows the estimated price per unit to the left of the “Add to Game” button. As you add components to your game they will appear at the top of the page. (In the example below, I have added 3 different colored pawns) In this section you can change the quantity of each component you have added.
Once you’re done adding stock components head back to the main hub. You’ll notice that it now shows all of the components you’ve added. The “At a Glance” area has also been updated to show the cost of your game.
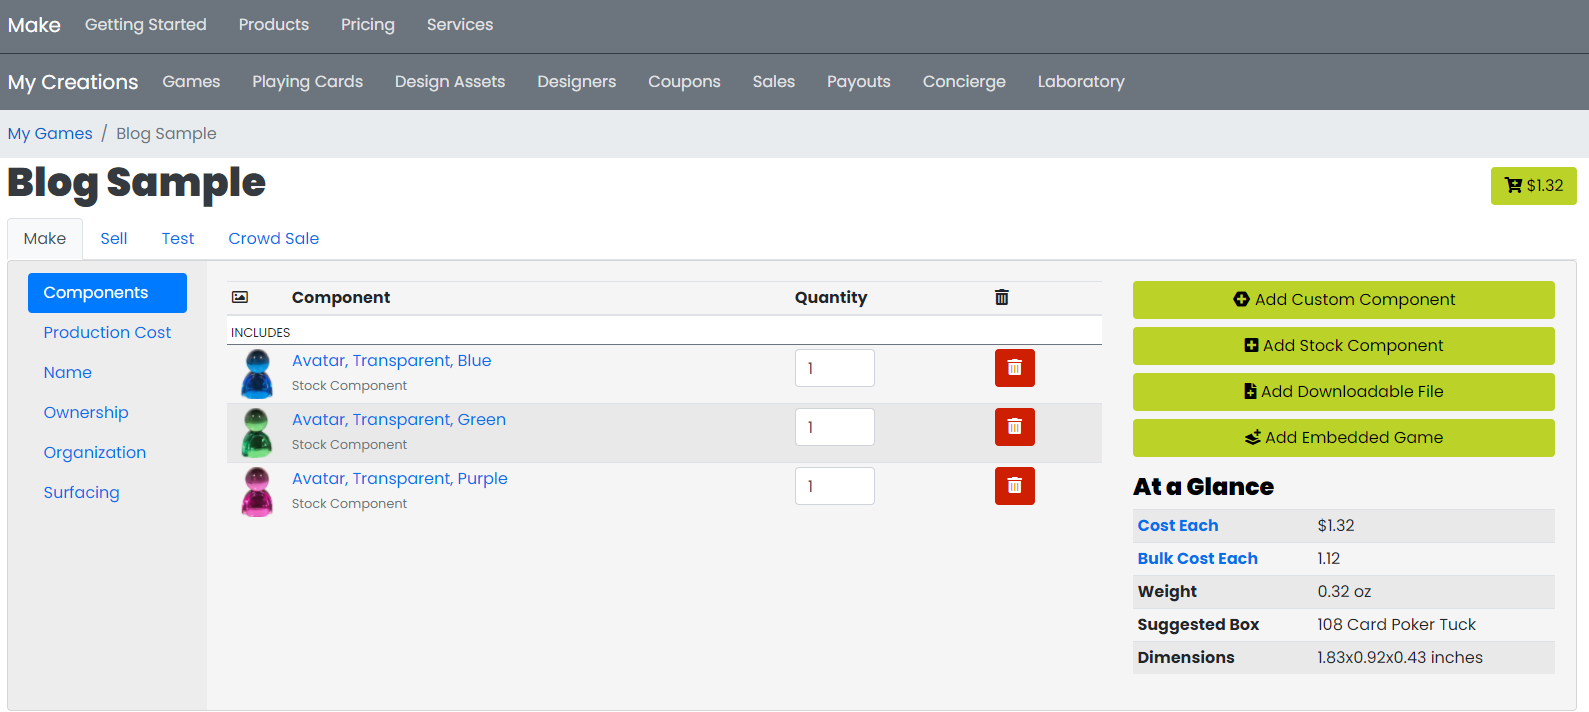
If you click “Add Custom Component,” you’ll see a page similar to the stock components page. However, this is only showing artwork for other games as an example. You’ll notice the categories are shown on the left. If you click one, there may be subcategories that will appear to help narrow your search. If you would like more details about any specific component, you can click on the picture.
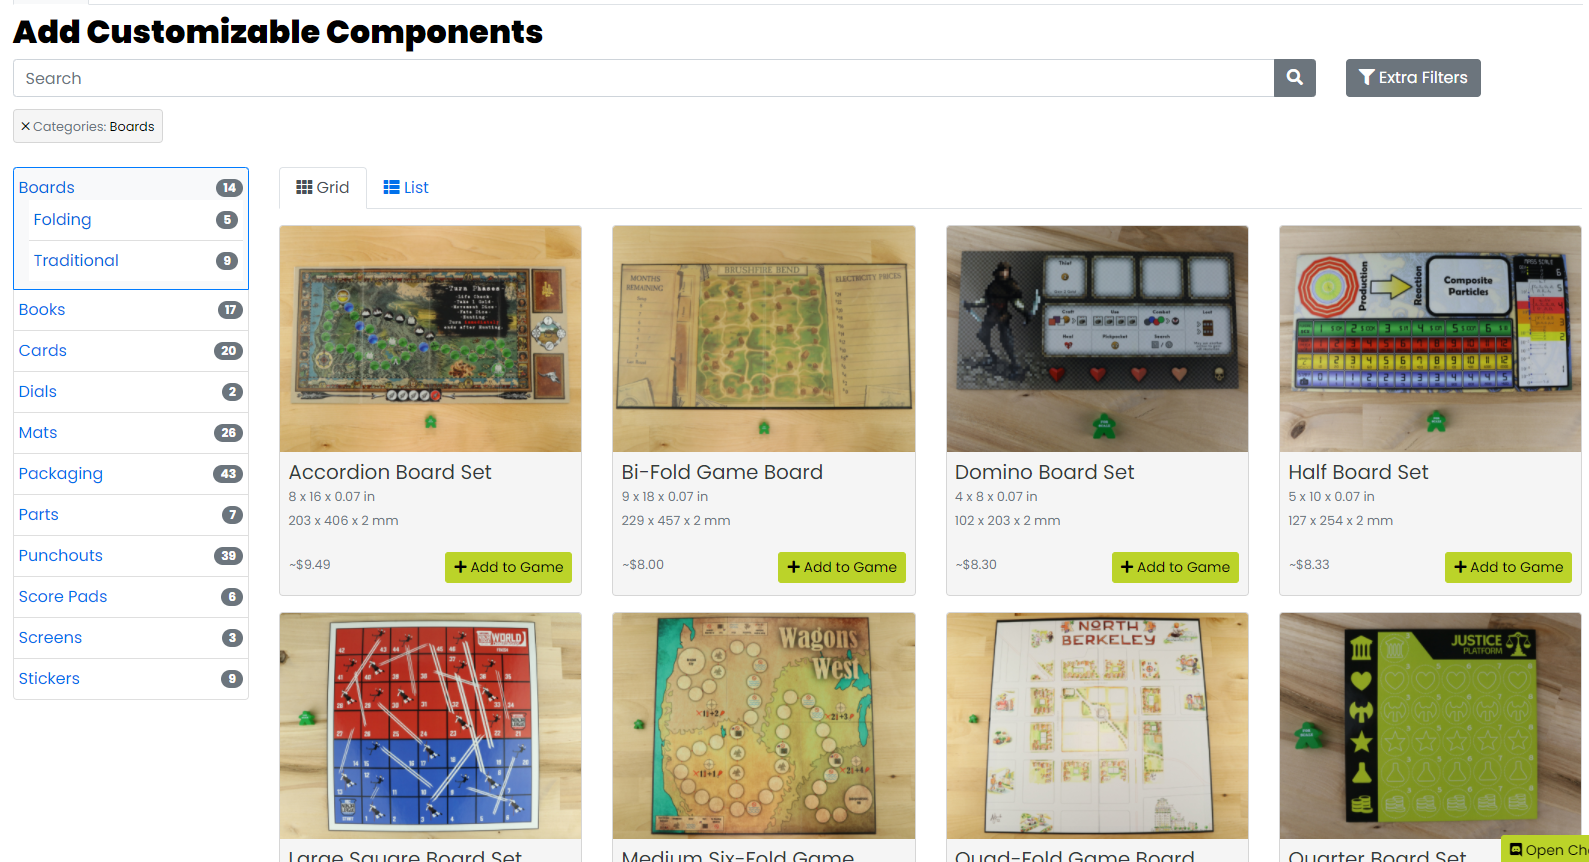
Once you find the component you want, click the green “Add to Game” button. You’ll then be taken to a page where you can edit the component. You can add a name (for your own personal organization), change the quantity of this component, change the surface treatment, and add artwork.
Before adding artwork you’ll need to prepare a print-ready file. To get started, you’ll want to download one of the templates they provide on this page. If you have vector graphics software such as Adobe Illustrator, or a free alternative like Inkscape, you’ll want to download the “SVG.” Otherwise, you’ll probably want to download the png.
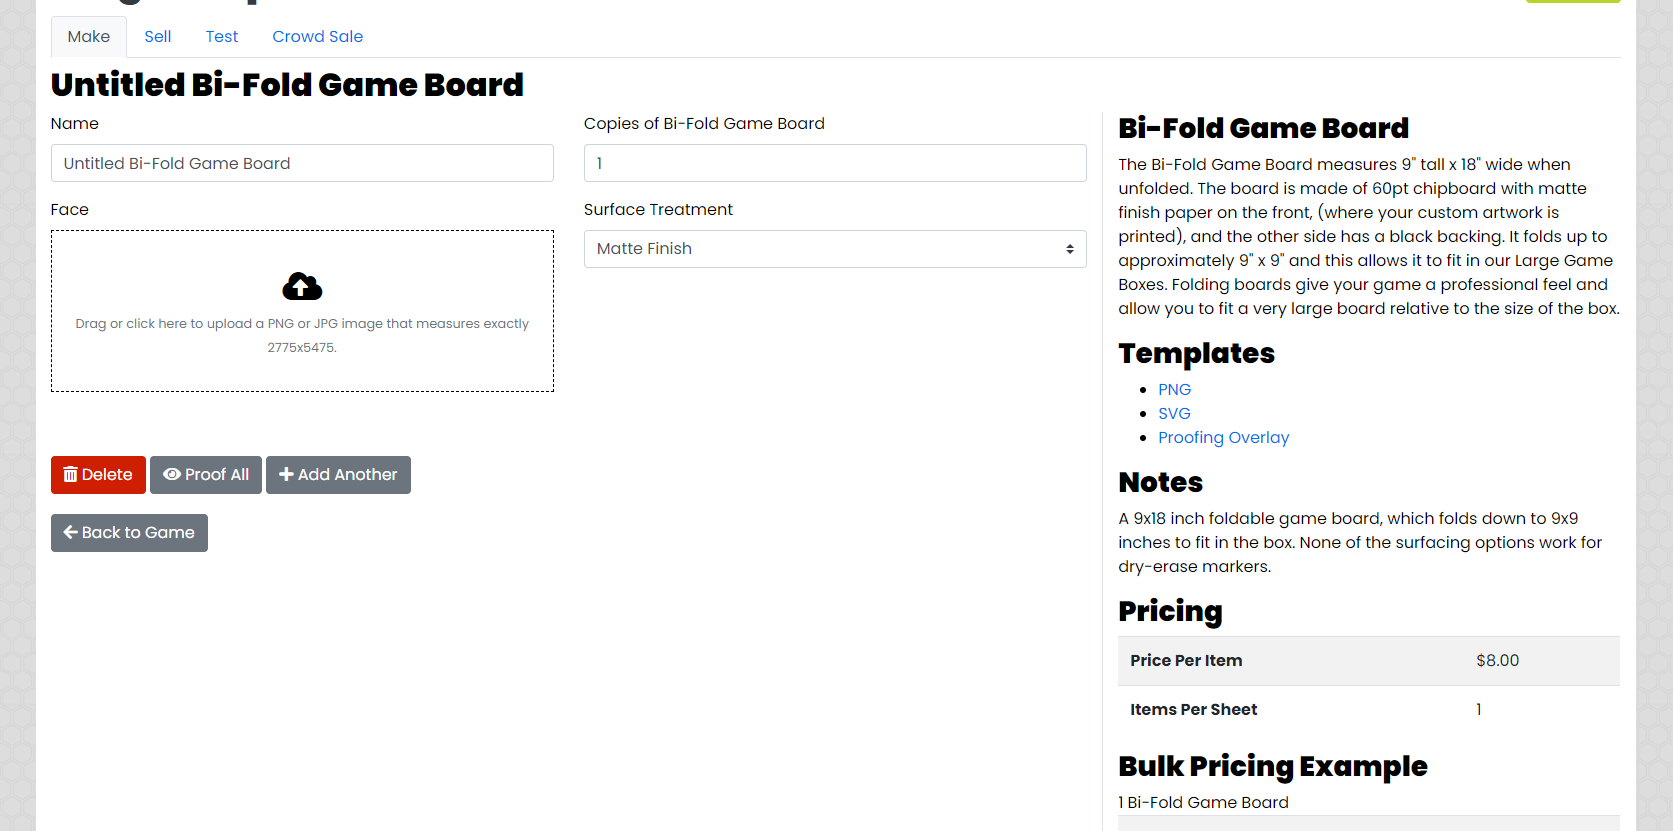
When you open this file, you’ll see a lot of different colored lines with descriptions of what they represent. It can be useful to have your artwork behind all of these lines while designing the layout of your components. However, before uploading your artwork, you’ll want to make sure to delete these guides so they don’t actually print on top of your component. Once you’ve finished designing the artwork, you’ll want to save it as a .png or .jpg and then upload it into the designated area for the component.
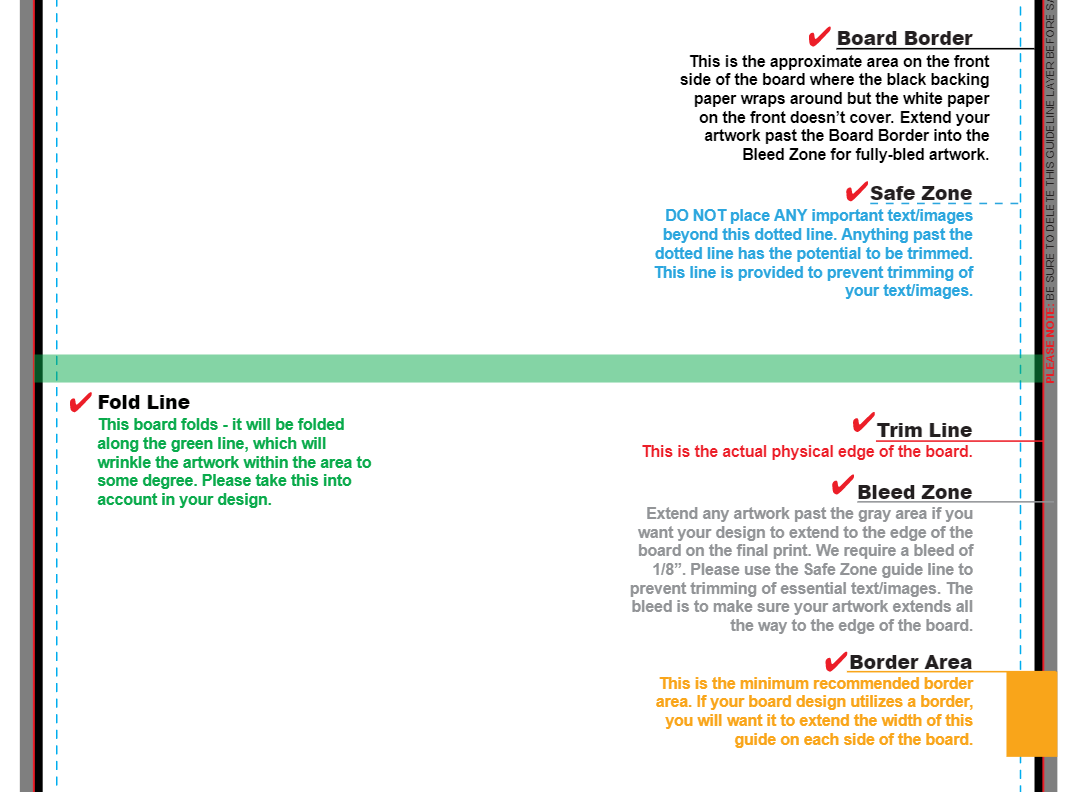
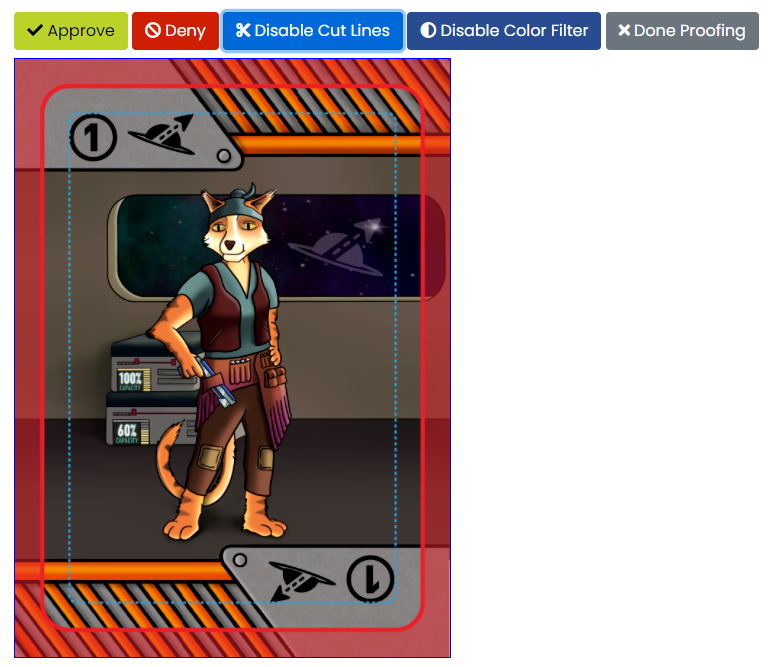
Once you have uploaded your artwork, there is a very useful proofing button that will appear underneath your artwork image ( ). This will pull up a window with the cut lines overlaid on top of your artwork. It is important to review this to make sure any important details of your artwork are inside of the blue “Safe Zone” dotted line.
Your colors might change slightly during the printing process. This window also adds a color filter to try to best resemble what your artwork will look like on your final print. Both of these filters can be turned on/off by clicking the buttons above the artwork. When proofing components you can click the “Approve” or “Deny” button, and it will mark the components accordingly so you know which components you want to make changes to.
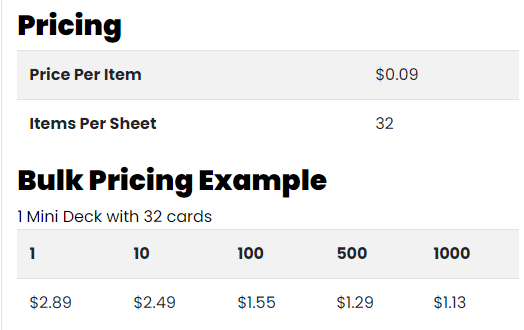
Keep in mind that each component type might work a little differently. For example, cards are printed in sheets (even though you upload each card’s artwork individually). You’ll see details about this in the pricing section of the component. In the example screenshot below, you can see that this “Mini Deck” prints in sheets of 32 cards. In this situation each card will cost 9 cents, but even if you don’t use all 32 cards on the sheet you’ll still have to pay for the entire sheet.
Once you have added all of your components, (don’t forget the rulebook!) the “At a Glance” Section will advise what size of box you might want to use. You might decide on a different box than they recommend, but this will definitely give you a general idea of what size you’ll need.
If you intend to sell copies of your game to the website’s visitors, you’ll be required to order a copy for yourself before you can make it available for others to buy. This is to ensure that the final product is approved by the creator before other people purchase it. Note that if you’d like to make some changes after you receive your first sample, you will not be required to buy another copy.
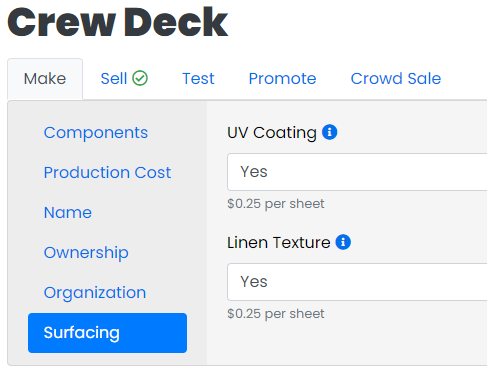
One final thing I would recommend adding to your game is under the “Surfacing” section. Depending on the size of your game this could increase the price of your game quite a bit. However, the UV Coating and Linen texture will enhance the quality to a much more professional level. Turning on these settings will add these surface treatments to all applicable components in your game.
The Game Crafter allows for a lot of customization so you can get exactly what you want. If you’re wanting to make a Trading Card Game, you can even choose for a set number of cards to be randomly chosen from a collection. You can even choose for some cards to be more rare than others.
Once you have all of the game components added and a box to put them in, you can click the add to cart button and proceed to checkout. Now you just have to sit and wait for the surreal moment when you get to hold your own game in your hands! Happy Making!