
by Ashabul A.
Suminagashi, which translates to “floating ink” in Japanese, is a traditional marbling technique that creates floating patterns on water to transfer to paper or fabric. Originating in Japan centuries ago, this art form has gained popularity worldwide for its simplicity and mesmerizing results. Utilizing kits and materials in Ignite, we’ll delve into the step-by-step process of creating suminagashi designs.
A Guide to Suminagashi – “Floating Ink” Marbling
Set Up
First things first, in order to start working on your suminagashi project, check out our calligraphy ink kit, which will have all the materials you need. You’ll need calligraphy ink, calligraphy paper, something to catch the wet ink below the paper (ex: manila folder/cardboard), as well as a brush as shown below. Before diving into the marbling process, it’s essential to set up your workspace properly. You’ll need a flat, clean surface to work on with a surface such as towels or a plastic sheet to lay your marbled art on. Then you’ll need India or sumi ink, a dispersant (I mixed a small amount of dish soap with water for my dispersant), a shallow tray filled with water, brushes (preferably fine-tipped), and paper or fabric for marbling as shown below.
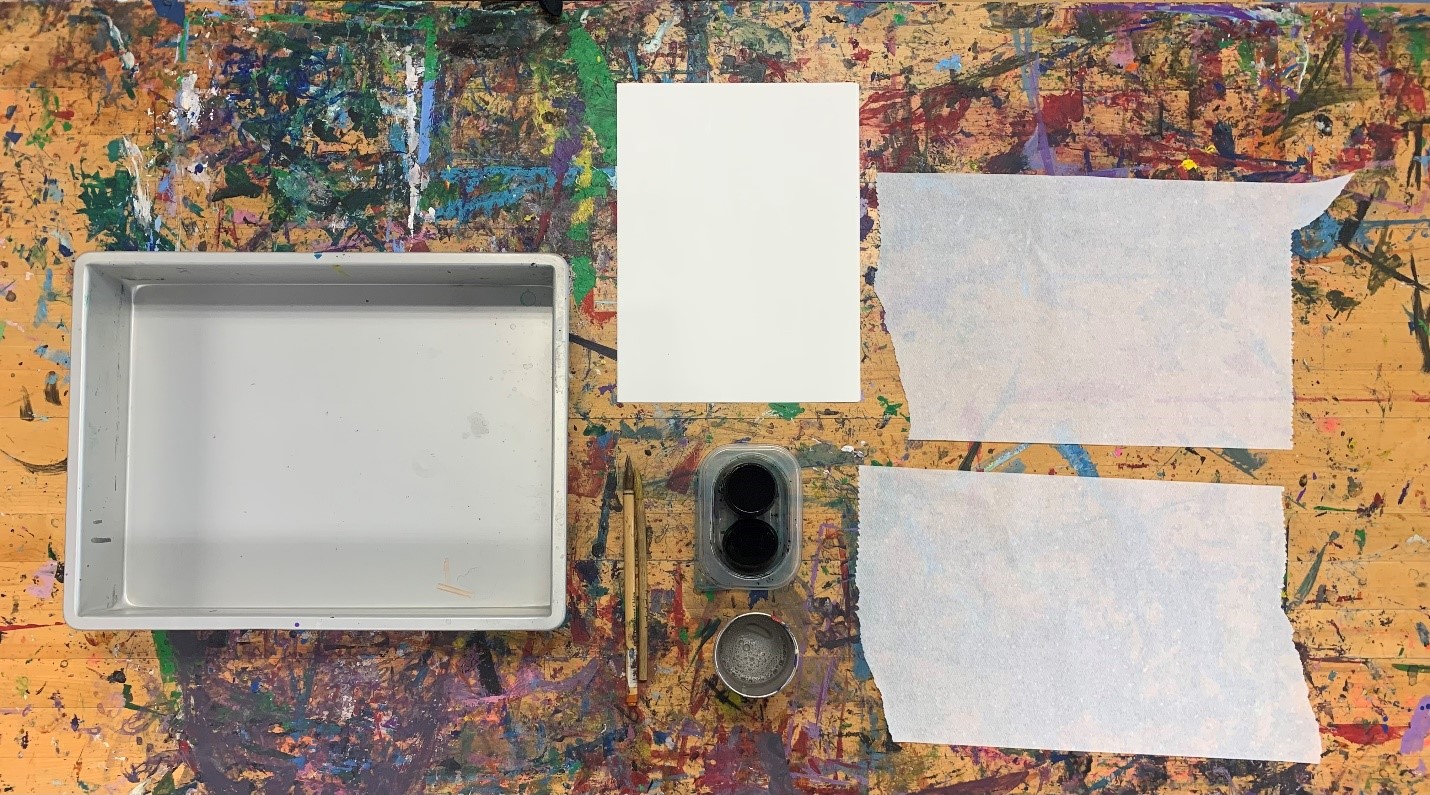
Our calligraphy ink kits have these materials ready for you, but feel free to ask any Ignite staff for any fine-tipped brushes you need for your project.
Preparing your Brushes
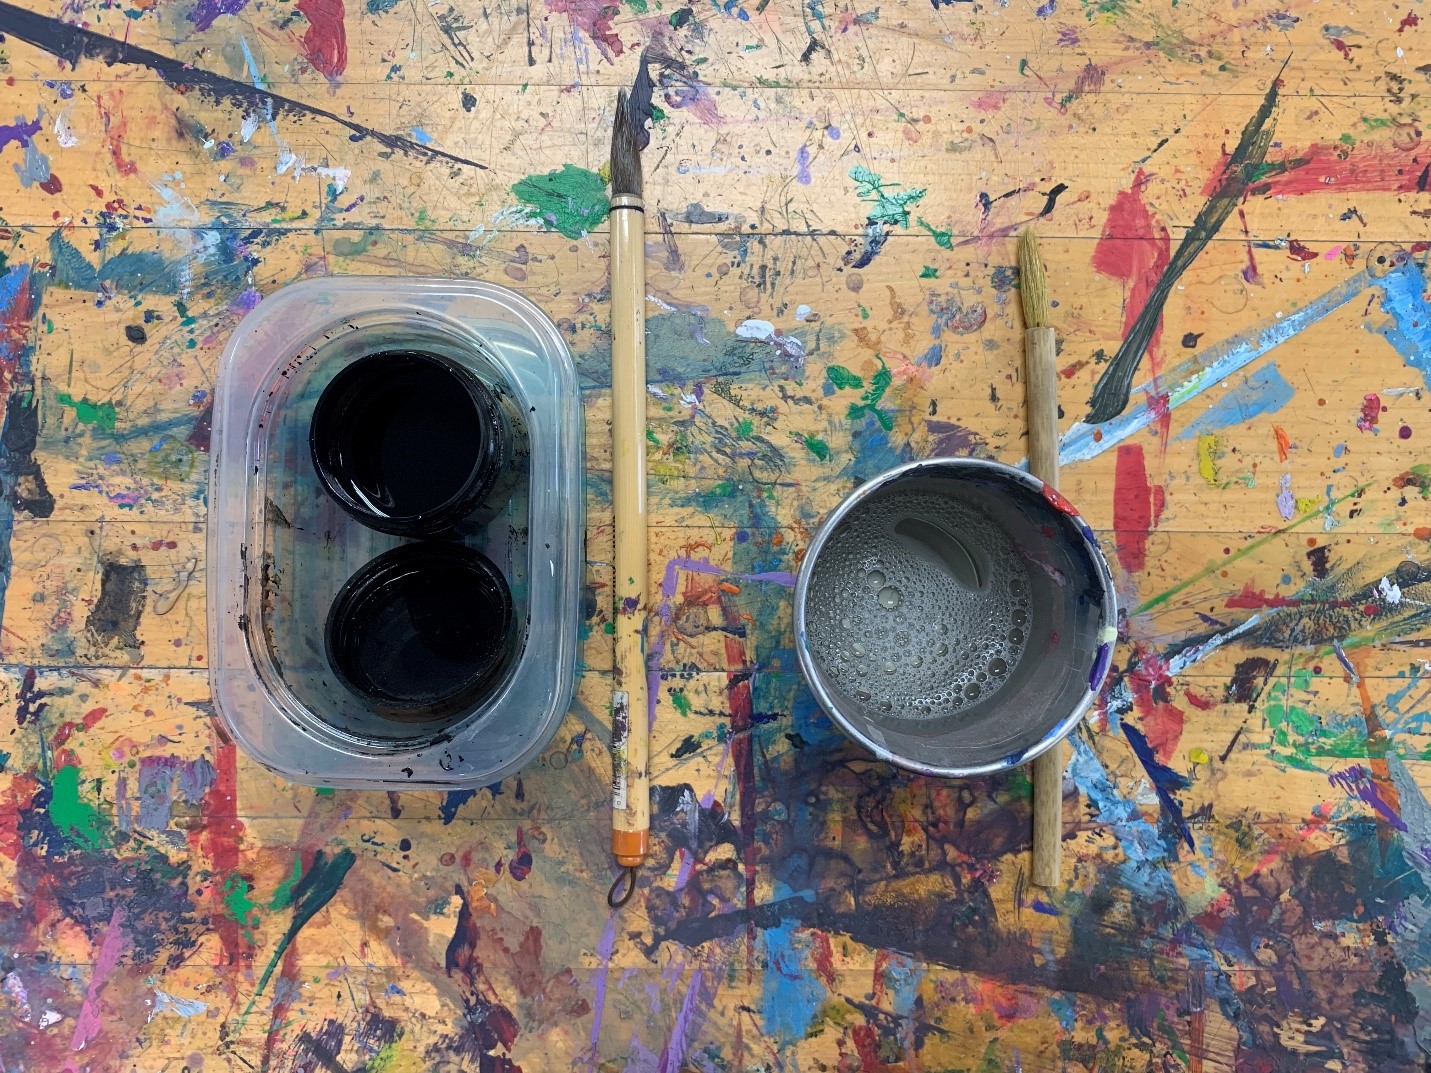
Once you have all your materials set and ready to go, you’re ready to move on to the next step. The key to successful suminagashi marbling lies in properly preparing your brushes. Start by selecting two brushes with fine, flexible bristles that can hold a good amount of ink without dripping. One brush will be dipped in the ink while the other will be used for the dispersant.
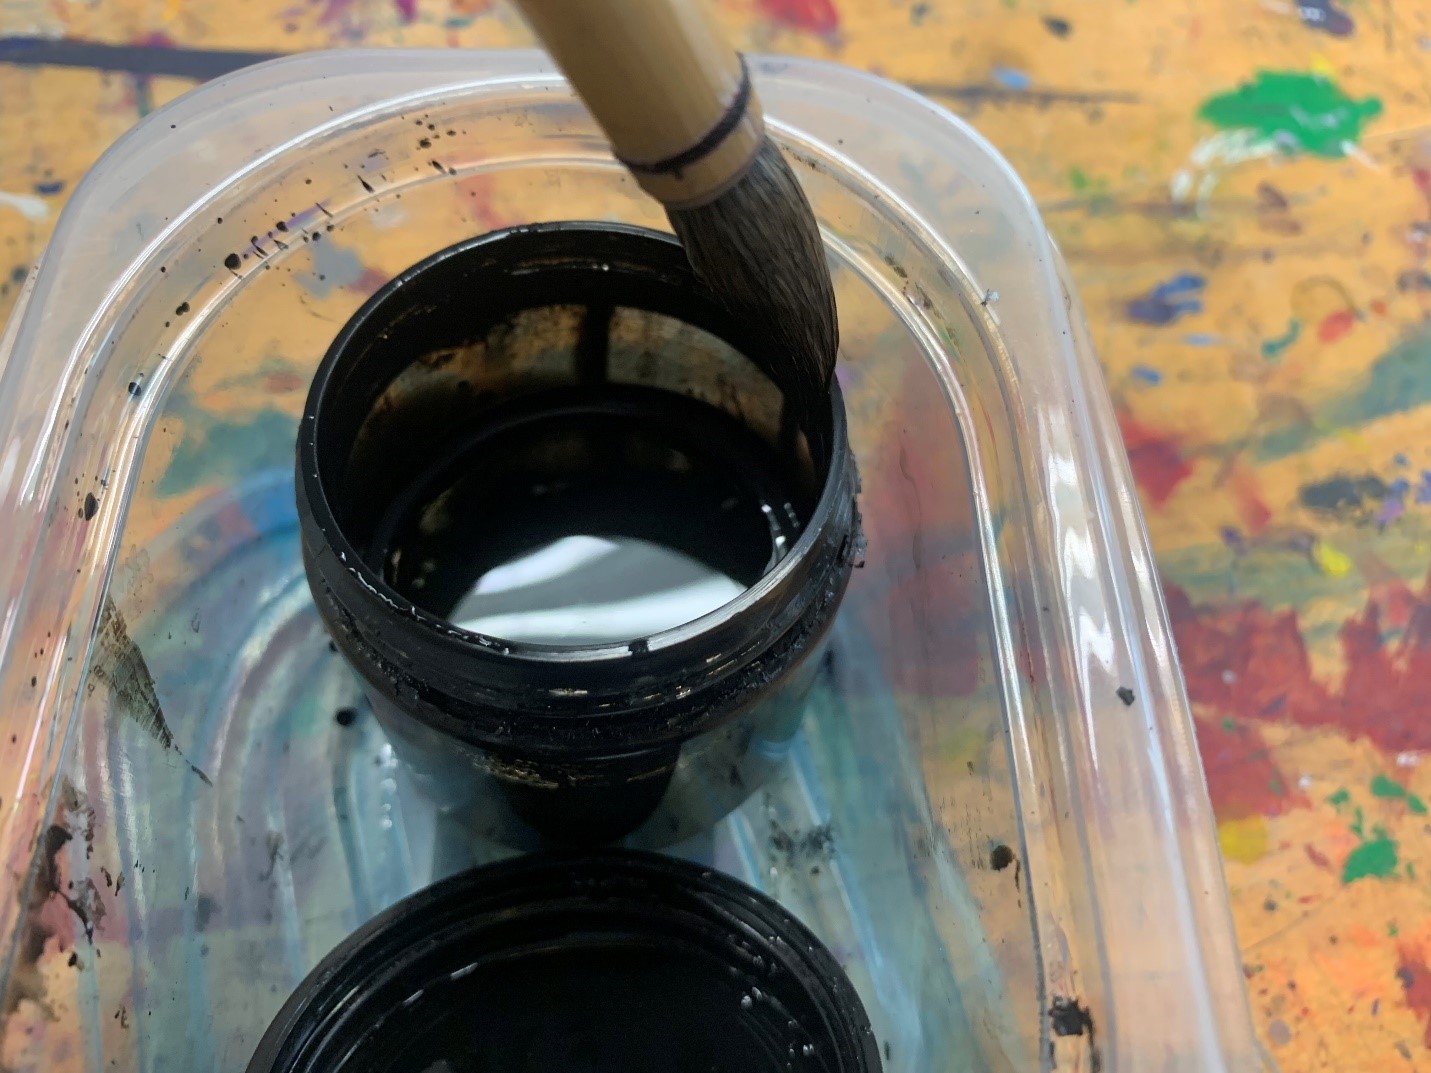
Go ahead and dip your brushes into the ink and dispersant and let any excess drip back into the container. An easy method to ensure your brush won’t spill excess ink onto your materials is to wipe the brush tip on the side of the ink container. Make sure your brushes aren’t dripping ink/dispersant since excess ink can ruin your suminagashi design.
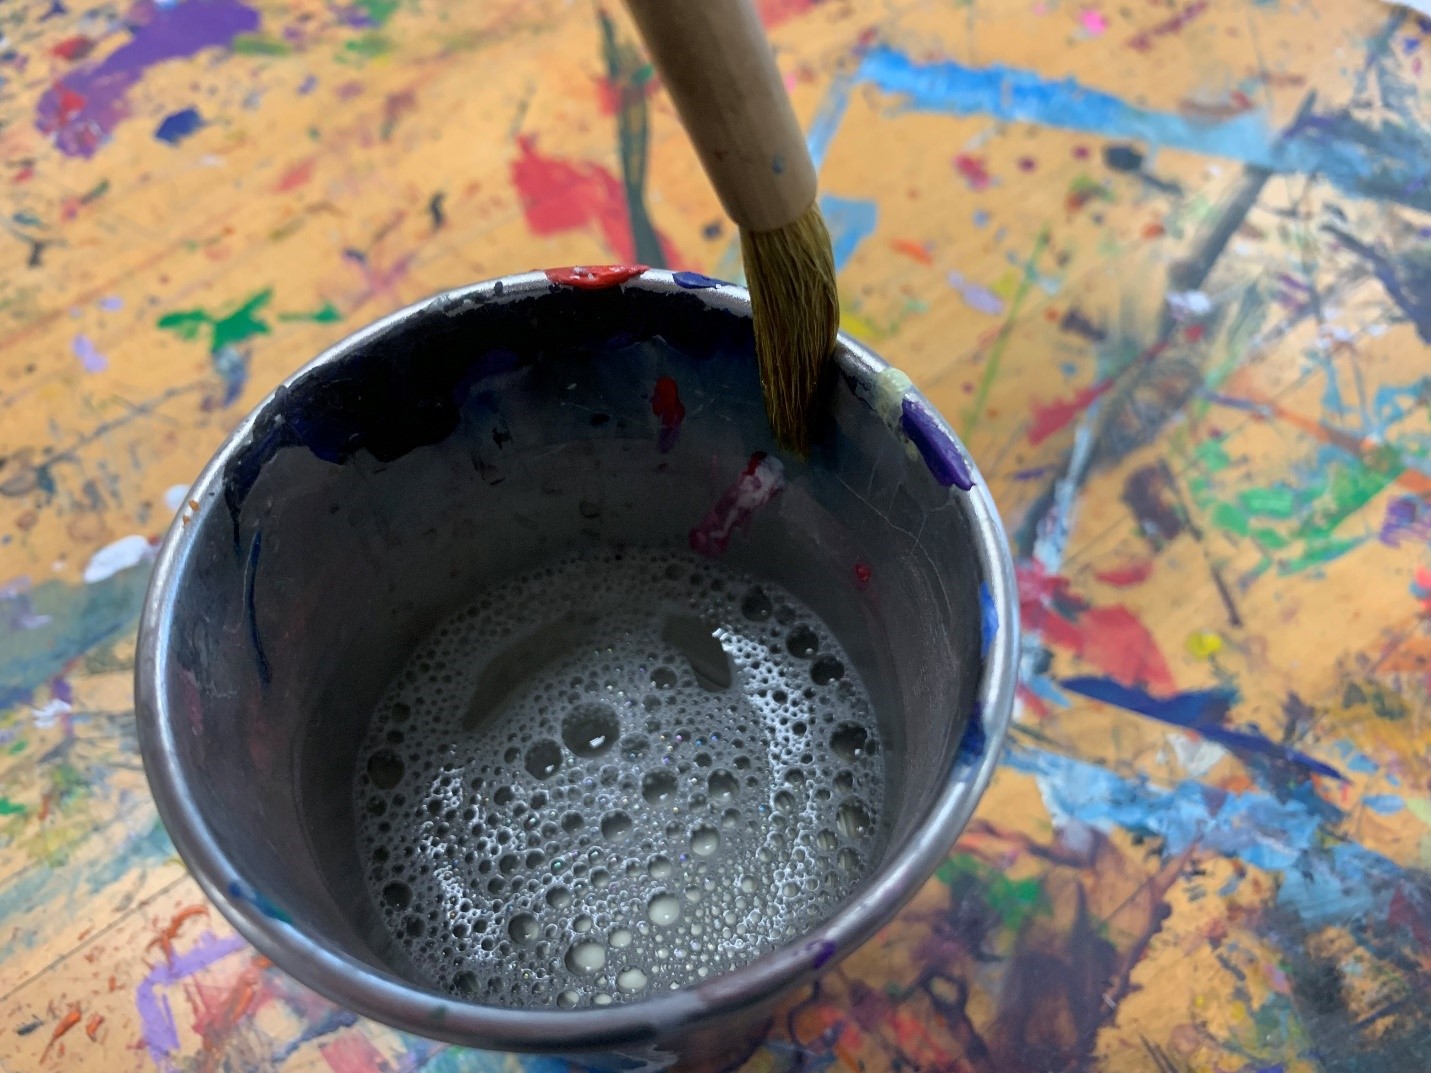
After that, you should be ready to start designing your floating ink patterns.
Ink Dipping Technique and Tips
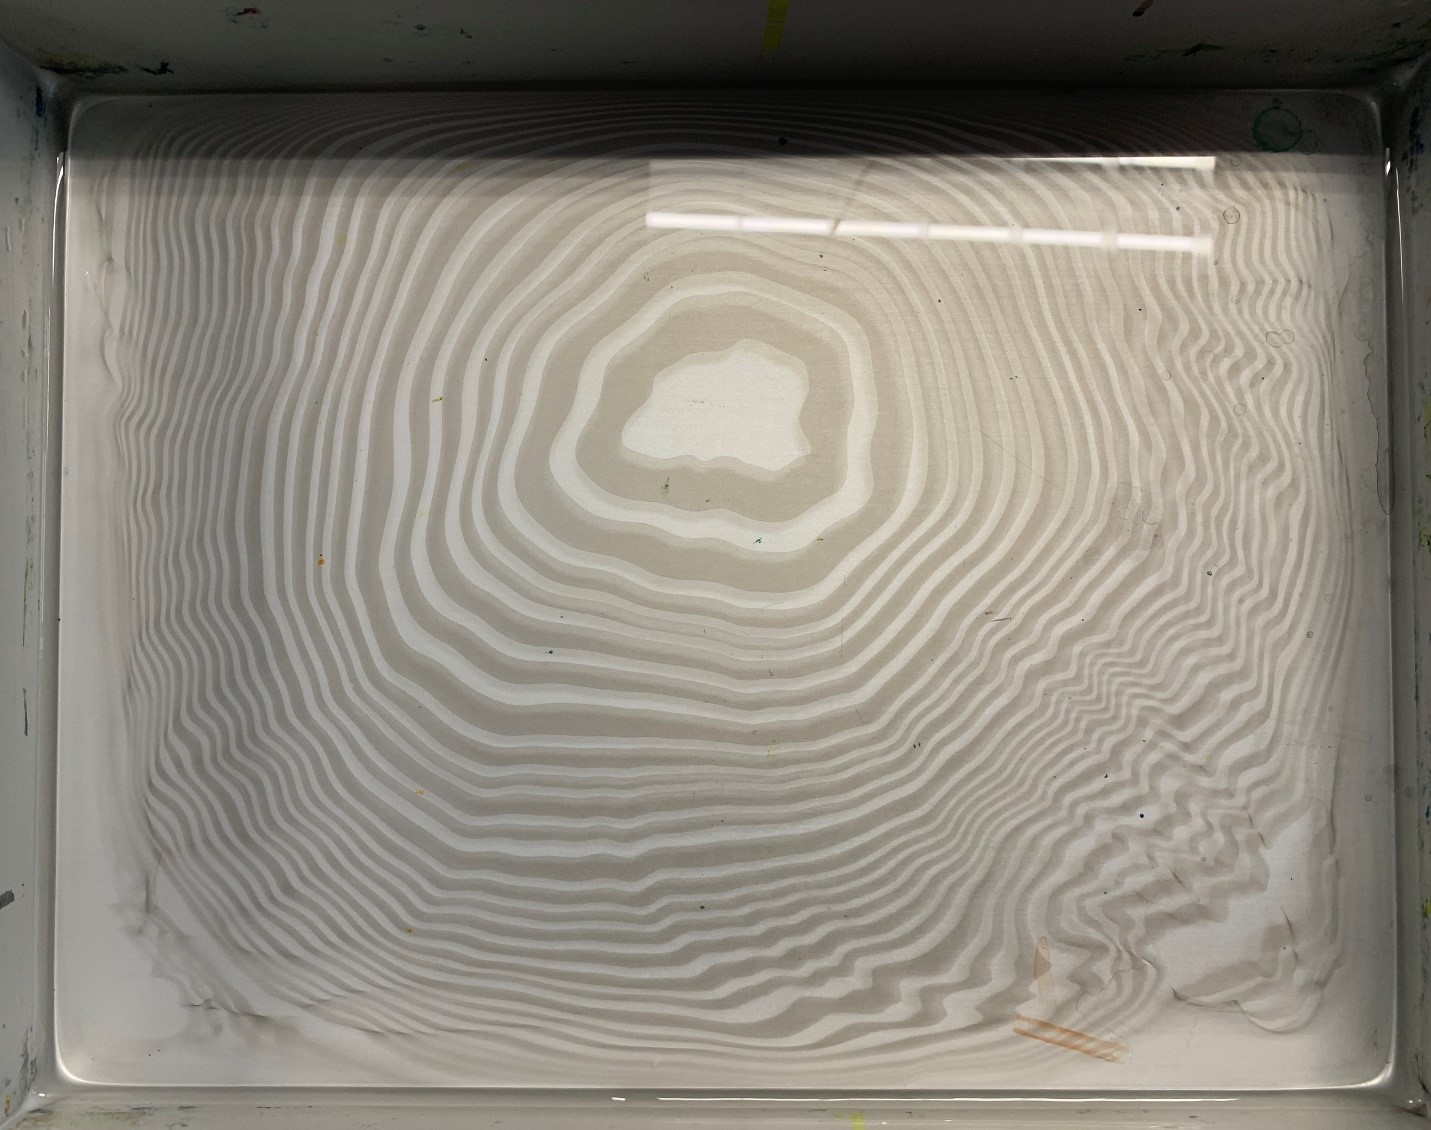
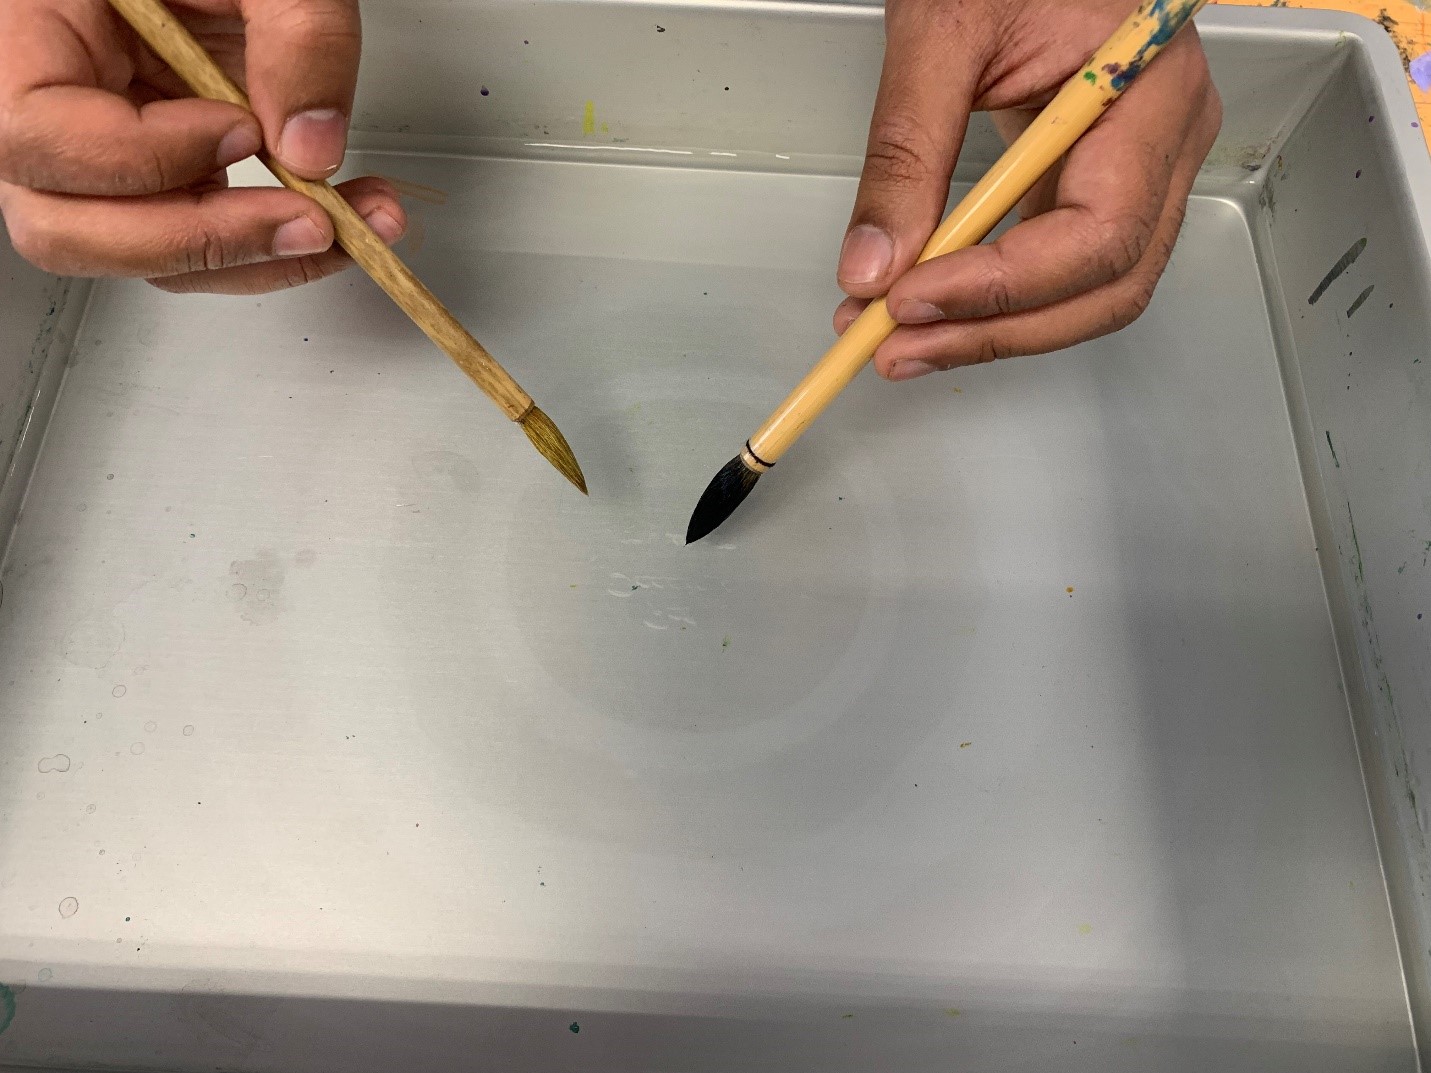
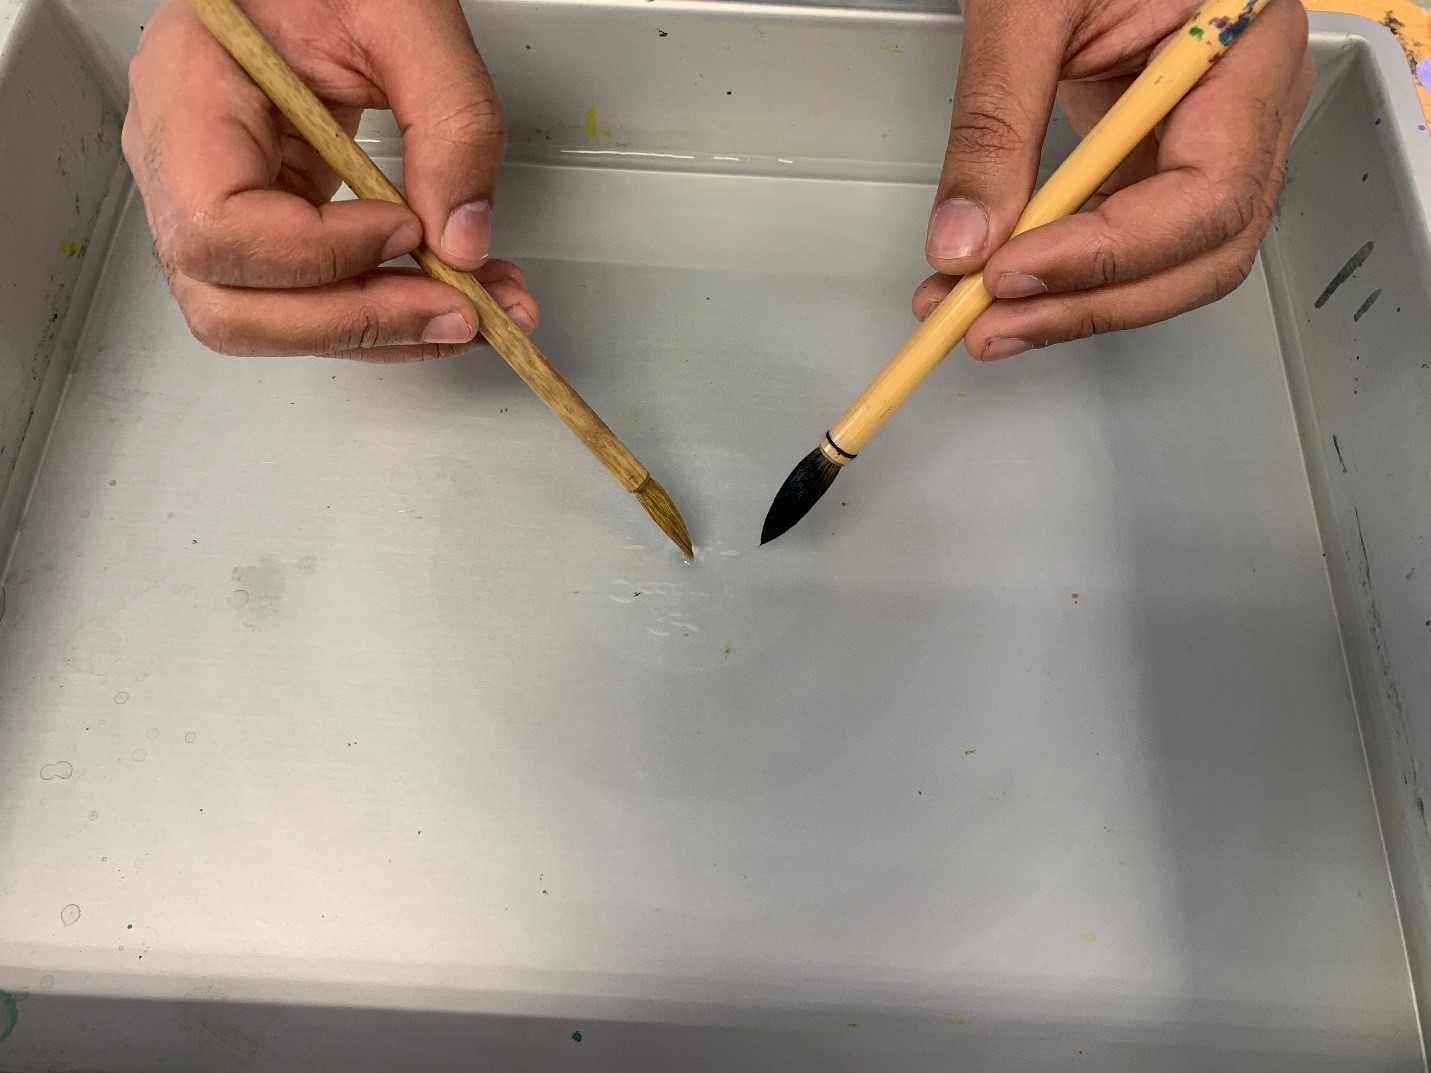
Once your workspace and brushes are ready, you’re ready to start creating your suminagashi marbling art. With a steady hand, lightly touch the surface of the water with the inked brush, allowing the ink to spread and create intricate patterns. You can experiment with different brush movements, such as swirling, dragging, or flicking, to achieve varied designs. Keep in mind that less is often more in suminagashi marbling, as subtle touches can result in striking patterns.
Here are some additional tips for successful ink dipping:
- Maintain a calm and steady hand to control the ink spread.
- Avoid overcrowding the water surface with too many ink drops at once.
- Clean your brushes between color changes and your tray between each marble to prevent muddying the patterns.
- Experiment with different ink colors and techniques for unique effects. Have fun with it, there’s no “wrong” way to create your design!
Finishing up the Final Touches
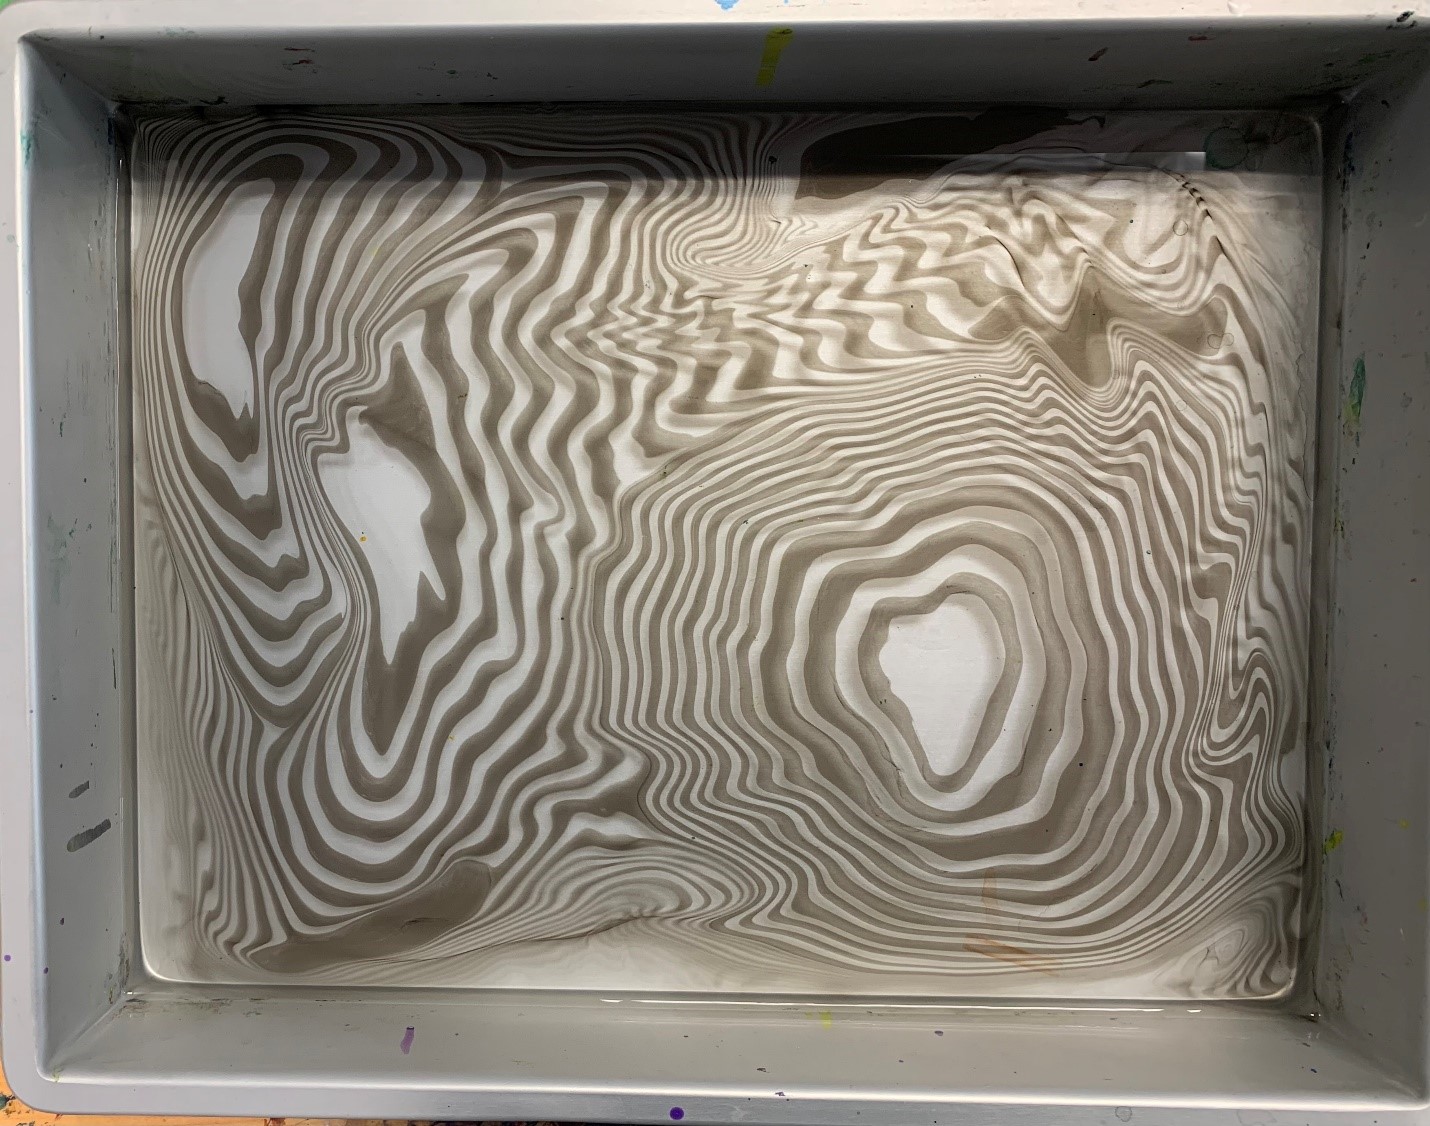
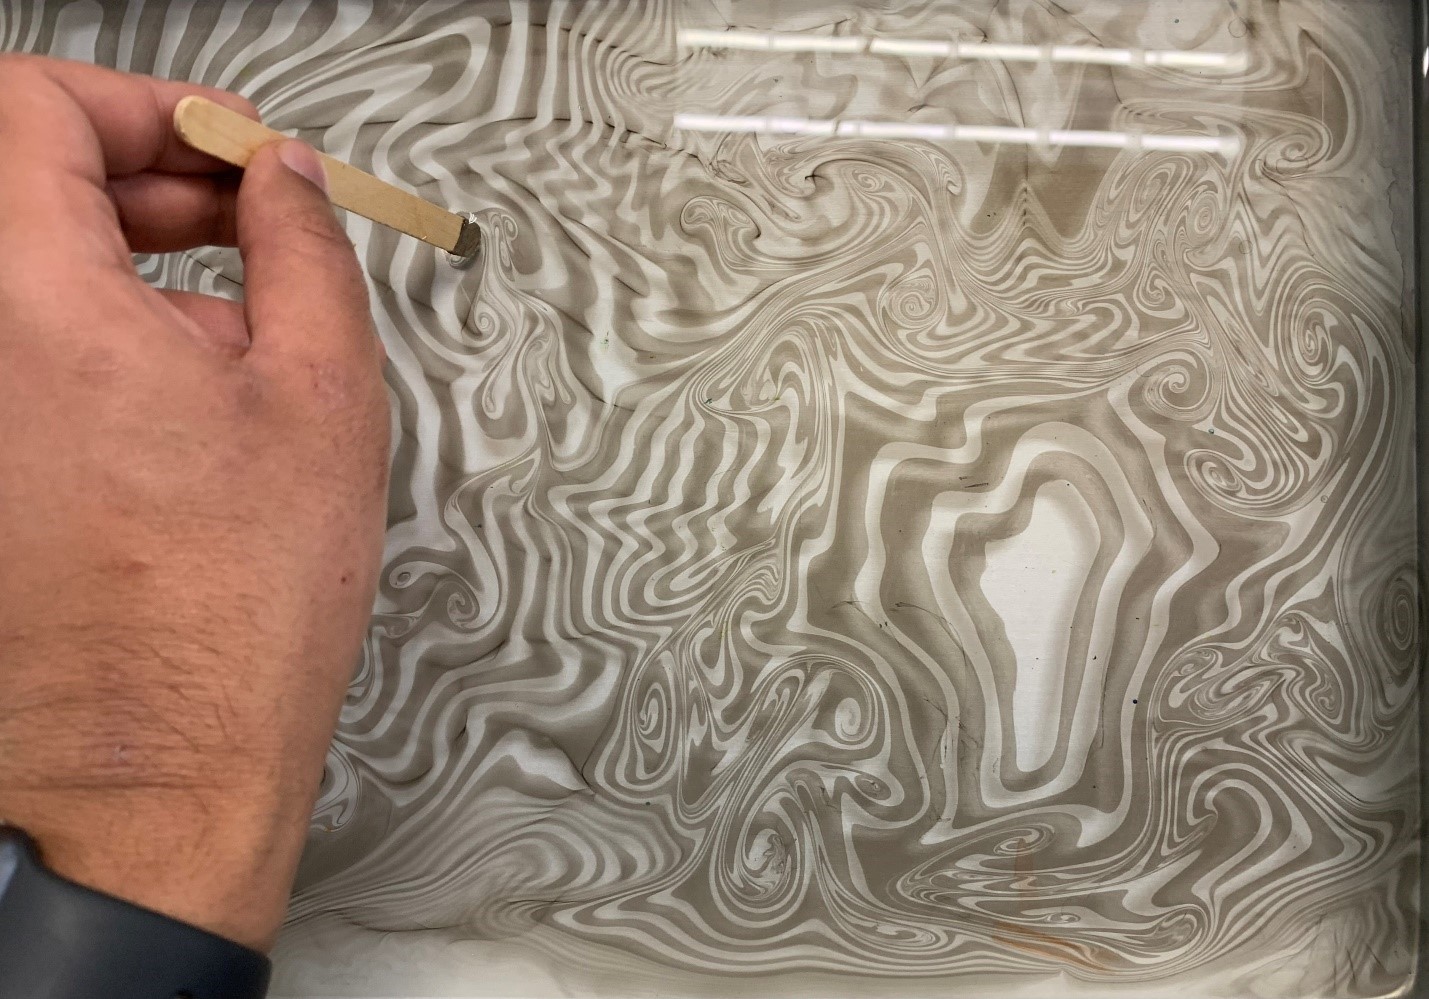
After creating your desired patterns on the water surface, you can also mess around with manipulating the floating ink to create more unique designs. I like to use a craft stick and gently pull it through the ink to make my design run along with the water to create floating, flowing design. This step is completely optional but something that’s definitely worth giving a try to see the results!
Once you are ready, carefully place your paper or fabric onto the inked surface. Allow the ink to transfer onto the material for a few seconds before gently lifting it off.

To ensure the best results, gently blot excess water and ink from the marbled paper or fabric using a clean, dry cloth. Allow it to dry completely before handling or framing to preserve the integrity of the design.
The Reveal
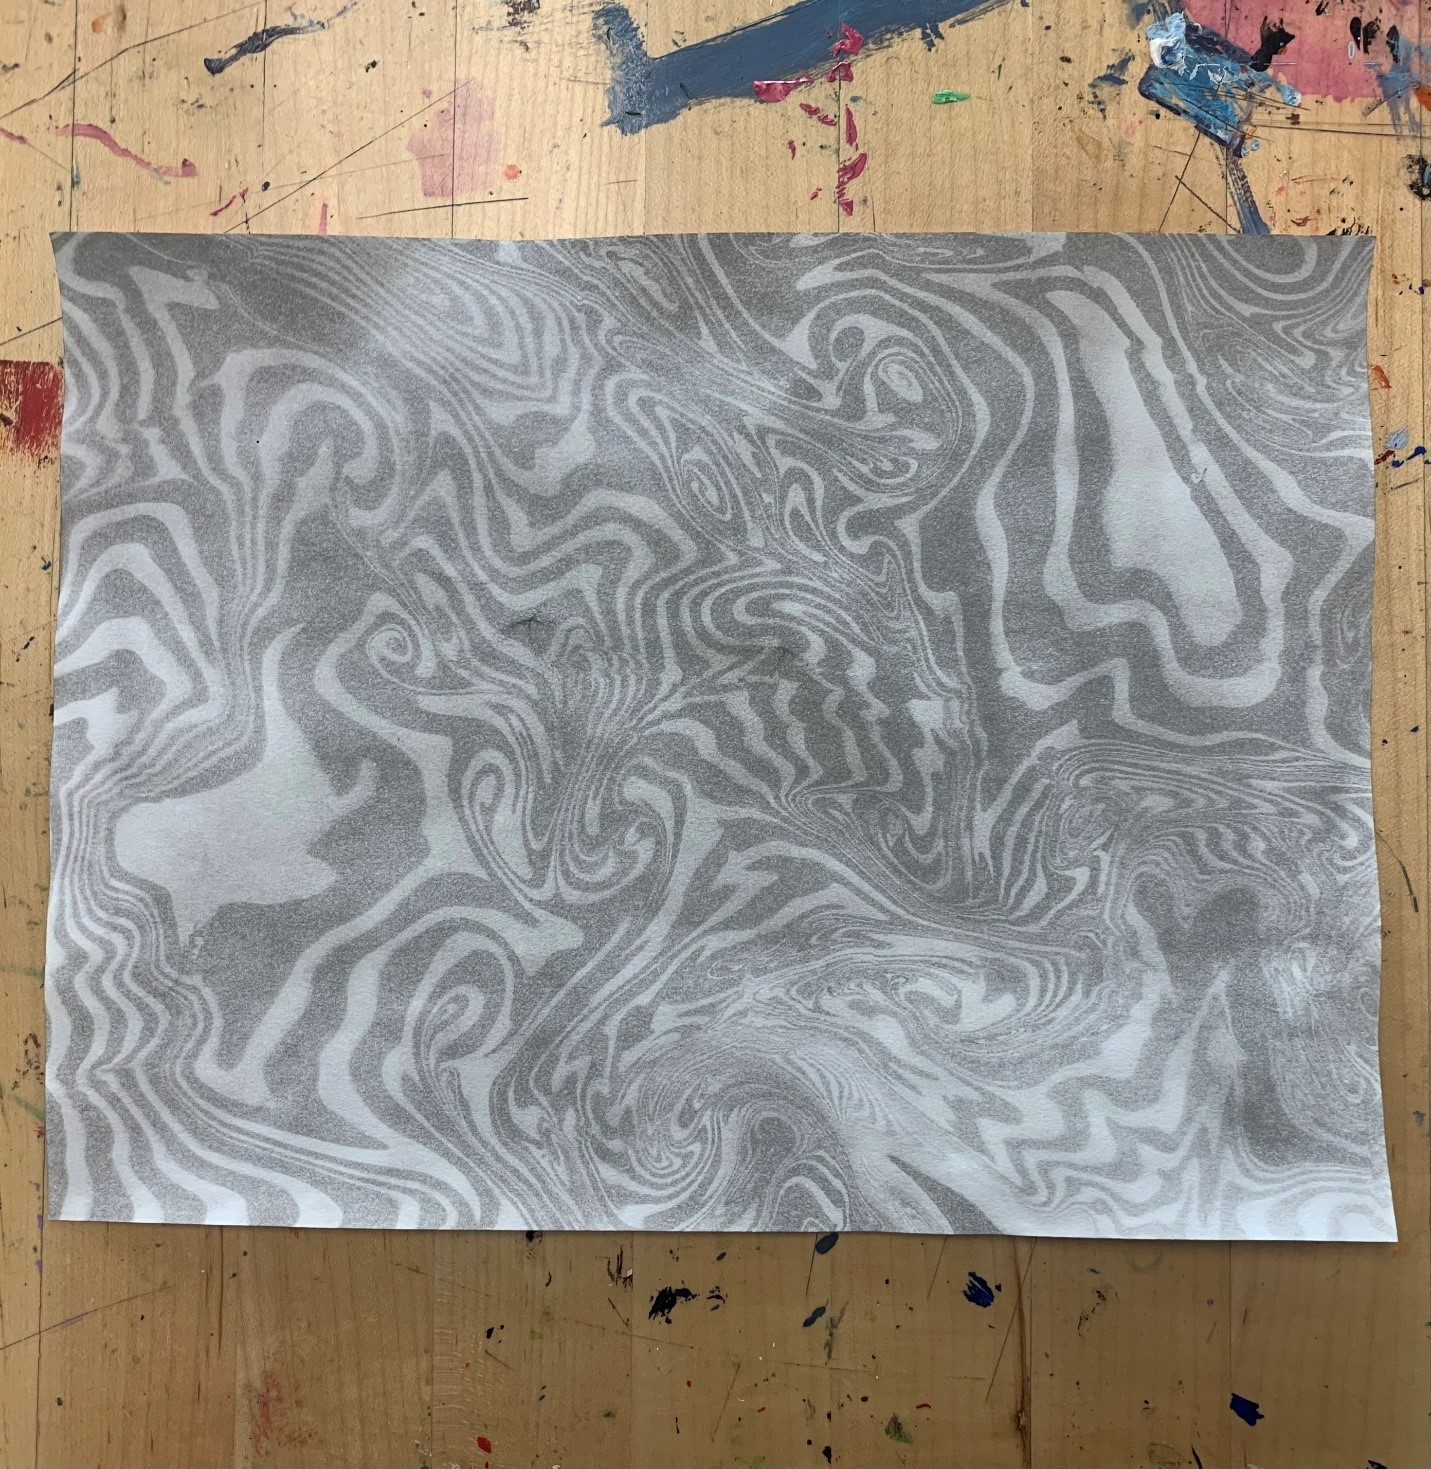
Once your marble has finished drying, feel free to put some items on top of your material to flatten it since the water can warp paper easily. Afterwards, stand back and admire your work, you’ll be amazed at the beautiful marbled patterns that emerge!
Suminagashi marbling is a captivating art form that allows for endless creativity and exploration. With the right materials, techniques, and a touch of patience, anyone can master the art of “floating ink” marbling and create stunning designs that showcase the beauty of this ancient Japanese craft.
If you use our calligraphy ink kits and try making suminagashi for yourself, we’d love to see it by sharing it with us on the Ignite Community Discussion Board!
Happy Making & Happy Marbling!
