

By Kenzye P.
Hey Makers! With summer in full swing it’s the perfect time to learn a new craft! Today, I’ll be teaching you how to use our Sublimation Station to make ChromaBlast patches! Patches are a fun way to decorate your favorite bag, upcycle your clothes, and bring a personalized touch to your everyday style.
Materials for ChromaBlast Patches
To make patches, we’ll be using 100% cotton as our base. Because we are using cotton as our base we’ll use our ChromaBlast sublimation printer. This printer uses a specific ink and type of coated paper that, when heated onto 100% cotton, initiates a chemical reaction that creates a near permanent bond. The finished product can be machine washed and has a softer feel than methods like printable paper transfers or screen printing. This is a different printer than our other sublimation printer, which uses Sublijet inks and only works on polyester fabrics and hard surfaces, so make sure you have reserved the correct printer on our reservations portal.
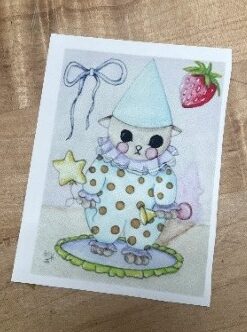
We will also be using white cotton today to ensure that the colors appear exactly as we expect them to. If we were to print on top of a colored cotton, it may alter the colors of the transfer as the sublimation printers cannot print white ink. See below for an example of what this patch looked like on a piece of color fabric.
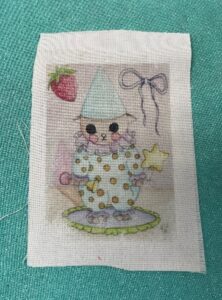
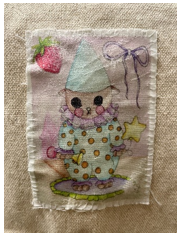
Ironed onto white cotton
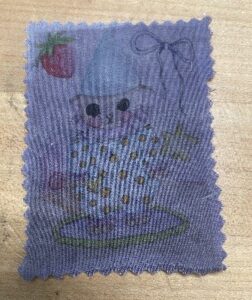
Ironed onto purple cotton
Making the ChromaBlast Patches
To get started, decide what design you’d like to turn into a patch. This can be as easy as designing something in Canva or finding an image online. The design I chose is an original painting that I’ve scanned to create a digital image. Once you have your design saved somewhere you can access on the shared laptop at the Sublimation Station, open the Sawgrass Print Utility app.
Select the “Sawgrass SG500” printer and choose the ink type “ChromaBlast UHD.”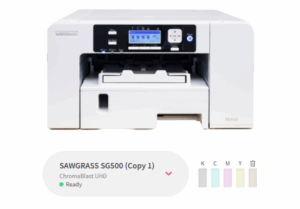
Then, upload your design. It may take several minutes for the design to appear as it scans and loads into the program.
From here, you can select different settings that you may want to change or add to maximize the amount of space you use on your paper.
- Settings to note:
- Mirror: this will ensure that the design prints backwards so that when it is ironed on, it will be facing the right way. This is especially important for designs with letters or numbers.
- Scale: You can scale your design up or down from inside of this program but if you want to make sure it’s the same size as the image you uploaded, ensure that this number is at 100%.
- DPI: Dots per inch will increase the amount of pixels used. 300 DPI is a photo standard to ensure the image doesn’t appear pixelated.
- Repeat: This will repeat your design however many times you choose across the same page. To maximize space and make the most of my materials I’ve repeated my patch nine times.
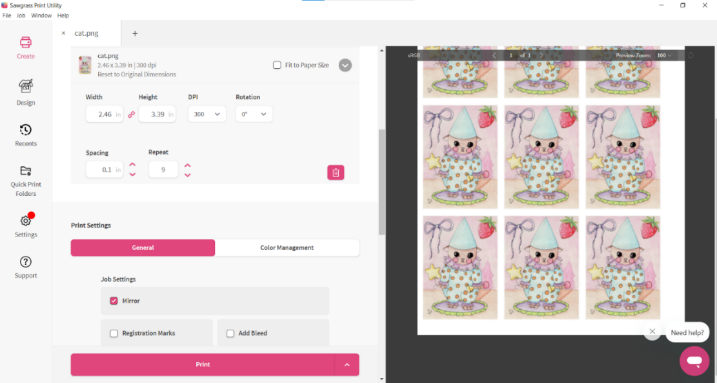
Once you’re happy with how the preview looks on your screen, put your paper into the printer. Make sure that the logo is face UP when you place it in the paper tray. Secure the paper by making sure the side guides and green guide are flush with the edges of the paper.
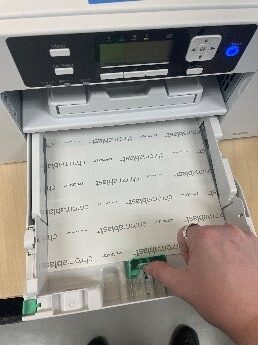
Once the paper is loaded, you can select print from the Utility Manager screen.
Note that the printed image will be very desaturated. This is normal!
Cut out each design from the paper. Precise cutting isn’t necessary for this portion as we will properly shape the patch after we iron on the design.
Set the iron to medium-high heat. Place the cut out design face down on top of a piece of white 100% cotton. Cover with parchment or butcher paper to protect your iron from any residue.
Press your iron down over the patch while gently wiggling to ensure the iron is always in motion and not burning anything beneath it.
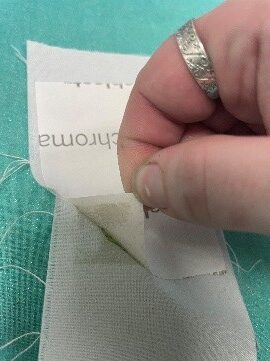
After about 30 seconds, remove the iron and carefully peel back the ChromaBlast paper. This process requires a “warm peel” which means that we must remove the paper while it is still warm. If we wait until its cold, the paper will not release from the cotton cleanly.
Once you’ve removed the paper, you can trim your fabric around the patch to the size and shape you want. Then, wash the fabric with soap and water to remove any leftover paper residue. Let it dry before attaching the patch to any garment.
Sewing the Patch On
Time to adhere the patch! These patches will be hand sewn onto our desired garment or bag.
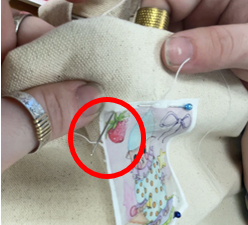
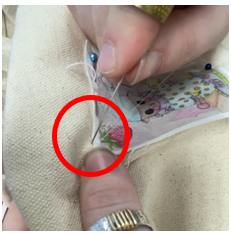
- Thread a needle with any all-purpose thread. Starting from one corner, bring your needle up from the bottom through the patch.
- Take the needle back down directly above your first hole but not through the patch.
- Bring the needle back up through the patch ¼” away from the first stitch.
- Repeat this process all the way around the patch until it looks like the picture on the far right.
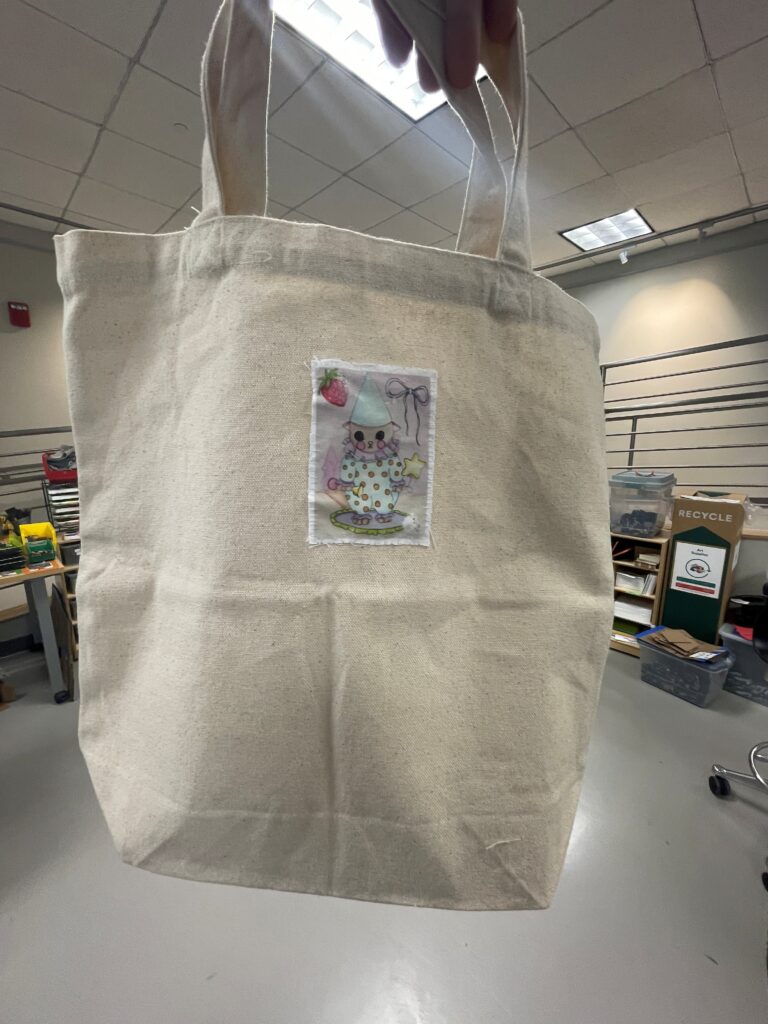
Come into Ignite to use our Sublimation Station and hand sewing supplies to make your own patches! Don’t forget to share your project to the Ignite Community Discussion Board. Happy Making!
