
by Ashabul A.
If you’ve ever wanted to learn how to write with calligraphy inks, our calligraphy kits at Ignite have all the materials you’d need to start your calligraphy art project. With our kit, I wanted to learn how to make Japanese Calligraphy and through many mistakes, I was able to improve on my technique and write Japanese characters that have meaning to me. Read on for a guide to Japanese Calligraphy with our calligraphy kit.
A Guide to Japanese Calligraphy
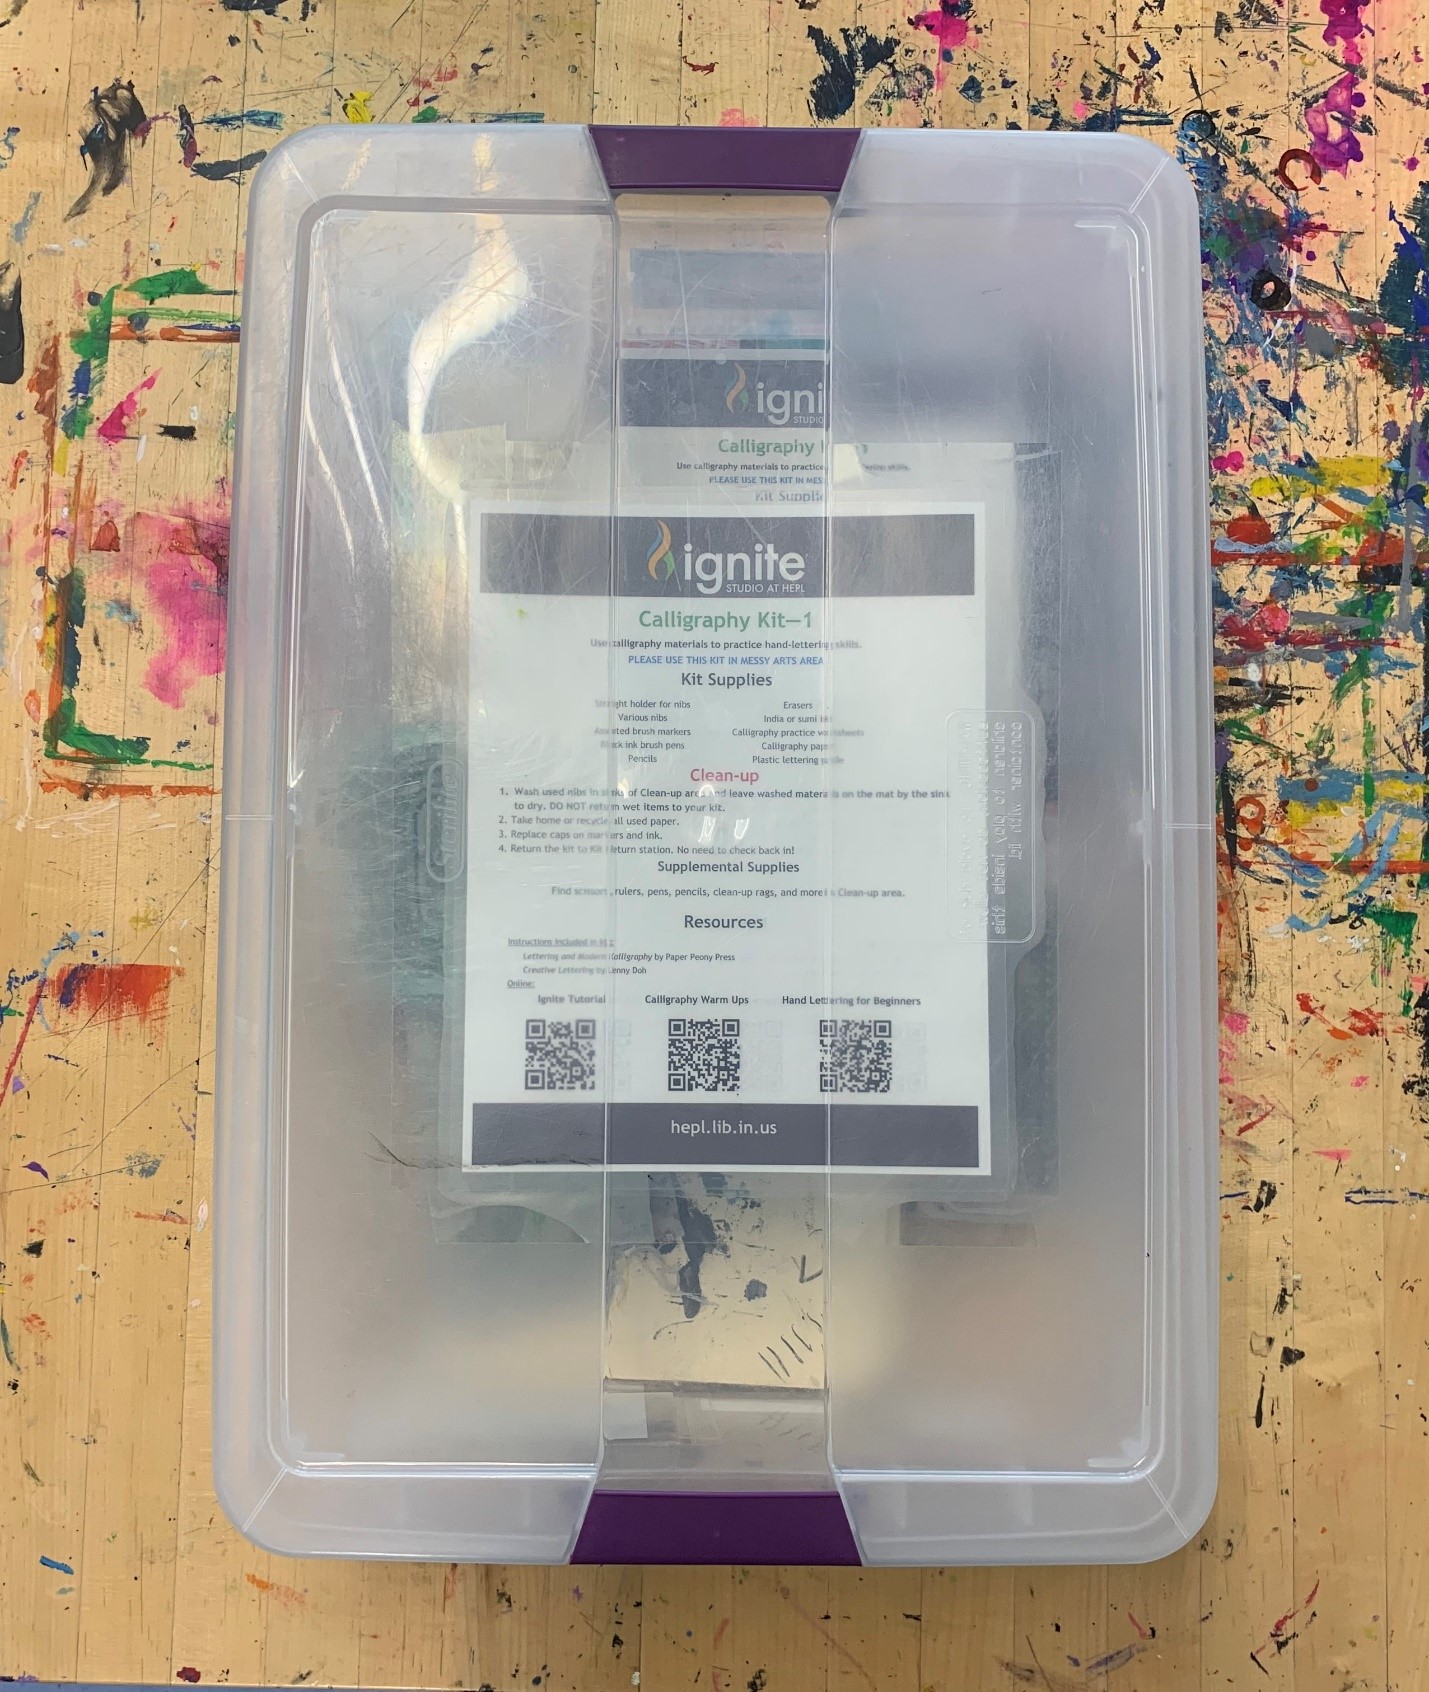
Ignite’s Calligraphy Kit
First things first, in order to start working on your calligraphy project, go ahead and check out our calligraphy kit, which has all the materials you need.
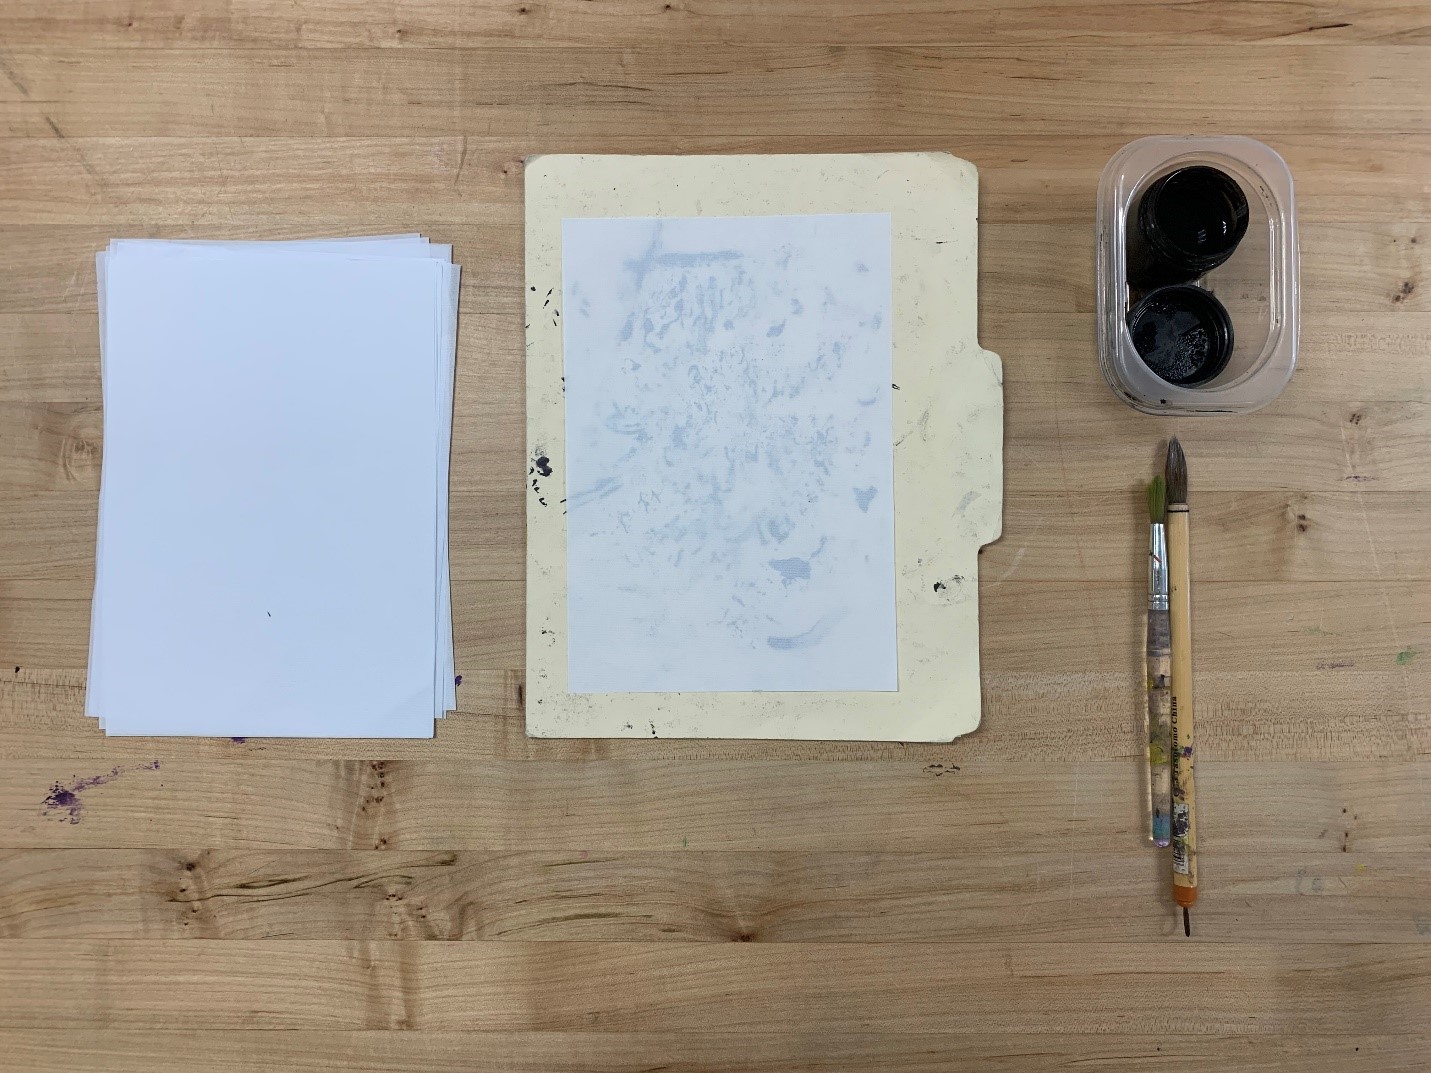
Materials include:
- Calligraphy ink
- Calligraphy paper
- Something to catch the wet ink below the paper (ex: manila folder/cardboard)
- Brushes
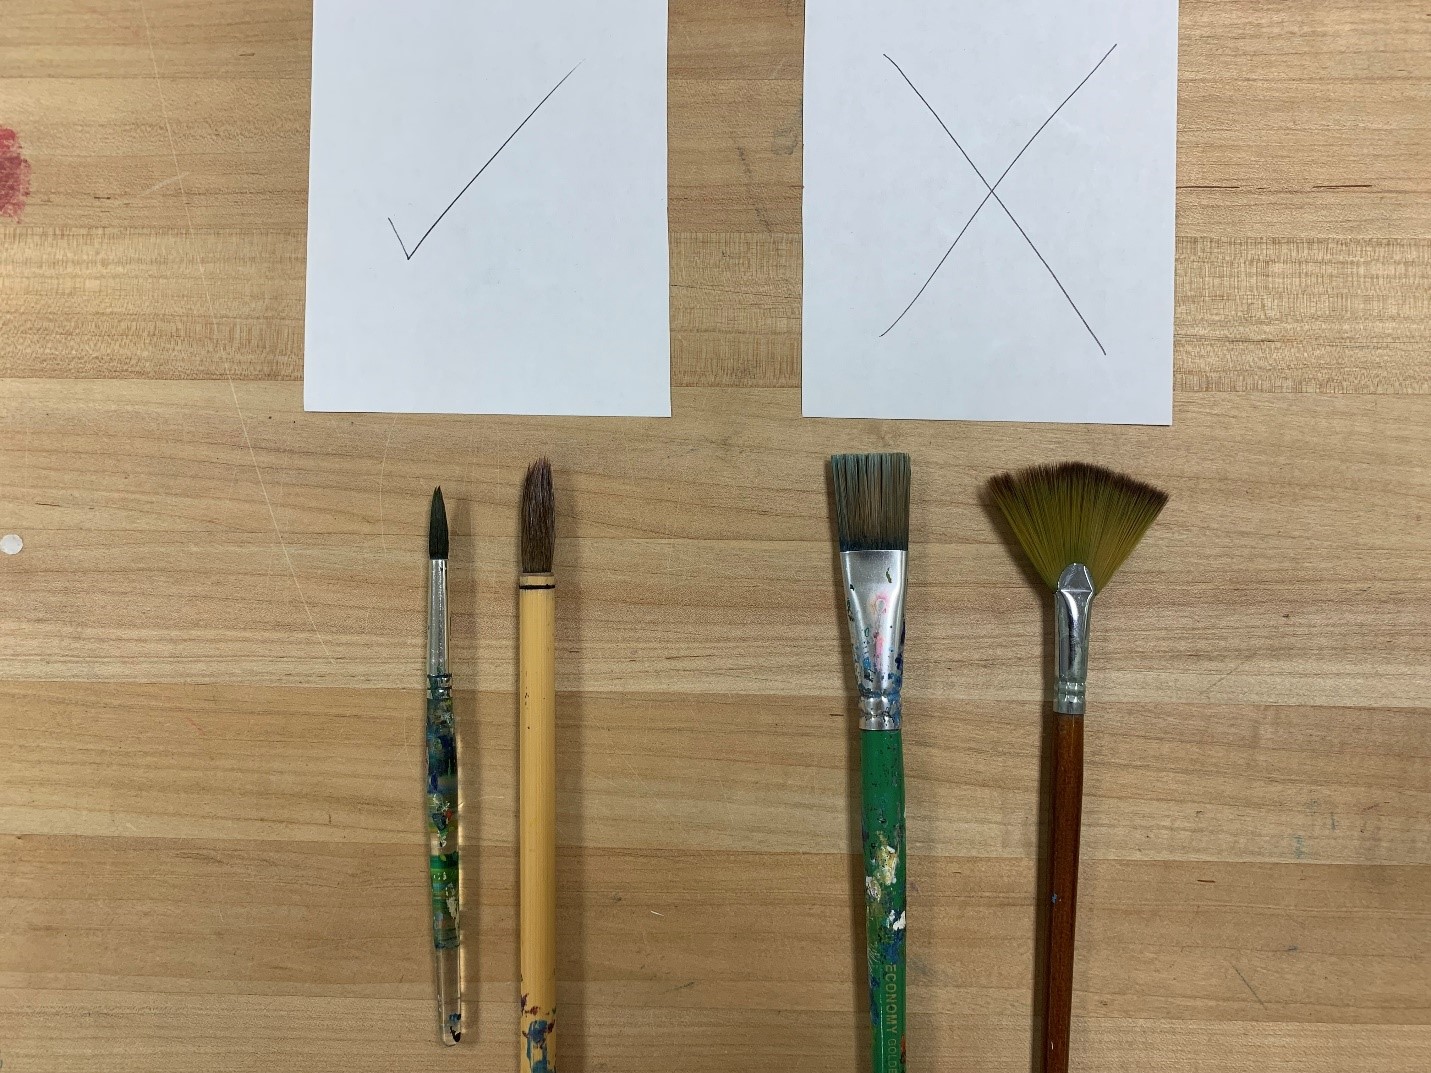
Our calligraphy kits and studio have these materials ready for you, but feel free to ask any Ignite staff for any brushes you need for your project. Below, I’ve shown the different types of brushes you could use for your project. For calligraphy purposes, I found that round watercolor and calligraphy brushes work best for cleaner brush strokes and practicing brush techniques. The flat and fan brushes on the right are brush types I’d recommend not to use since they are not as versatile and harder to write with than rounded brushes.
Preparing your Brushes
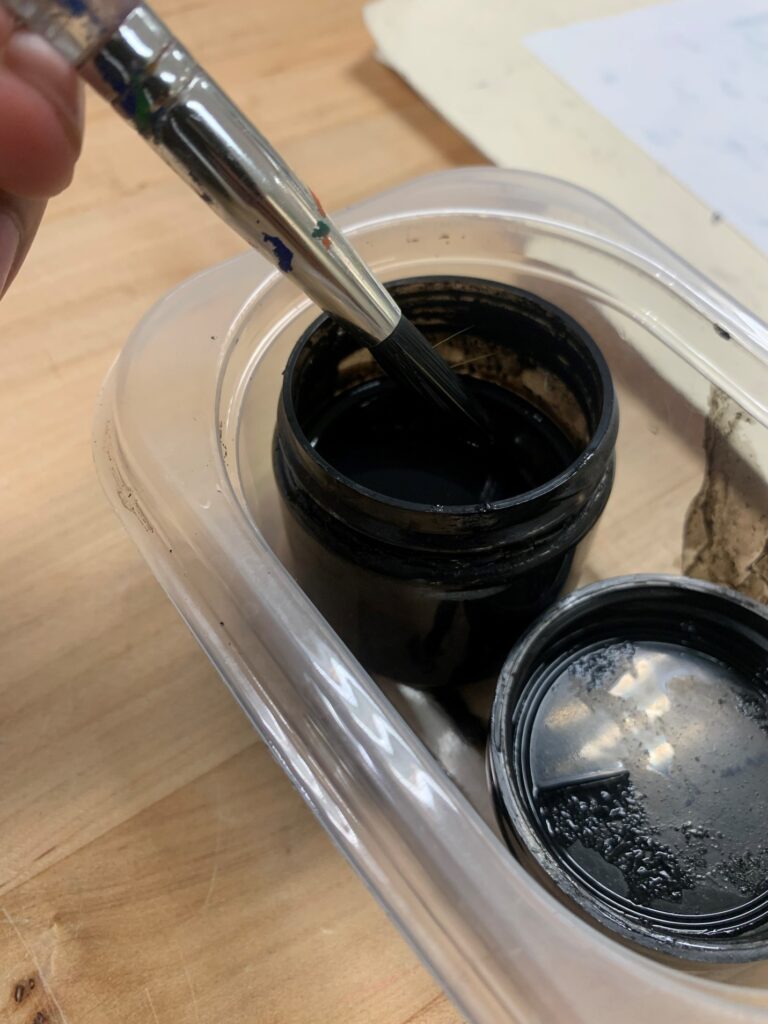
Once you have all your materials set and ready to go, you’re ready to move on to the next step. Go ahead and dip your brush into the ink and let any excess drip back into the container. An easy method to ensure your brush won’t spill excess ink onto your materials is by wiping the brush tip on the side of the ink container. This’ll let the extra ink be used for a future project, after that you should be ready to go to write your design/characters.

Brushstroke Technique and Tips
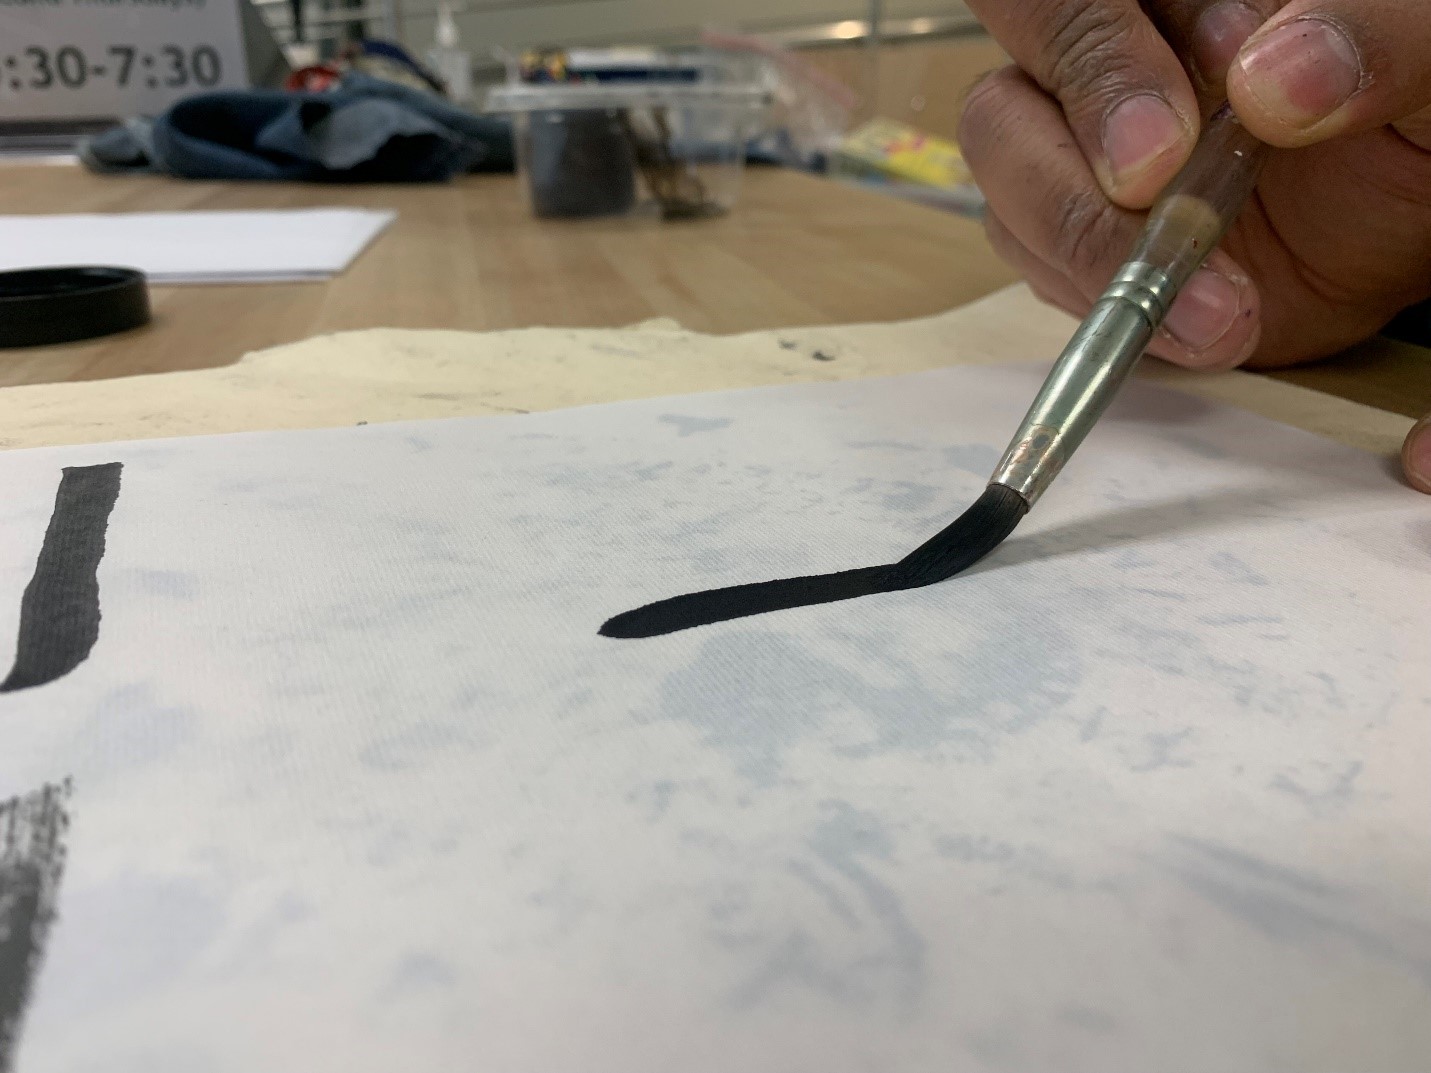
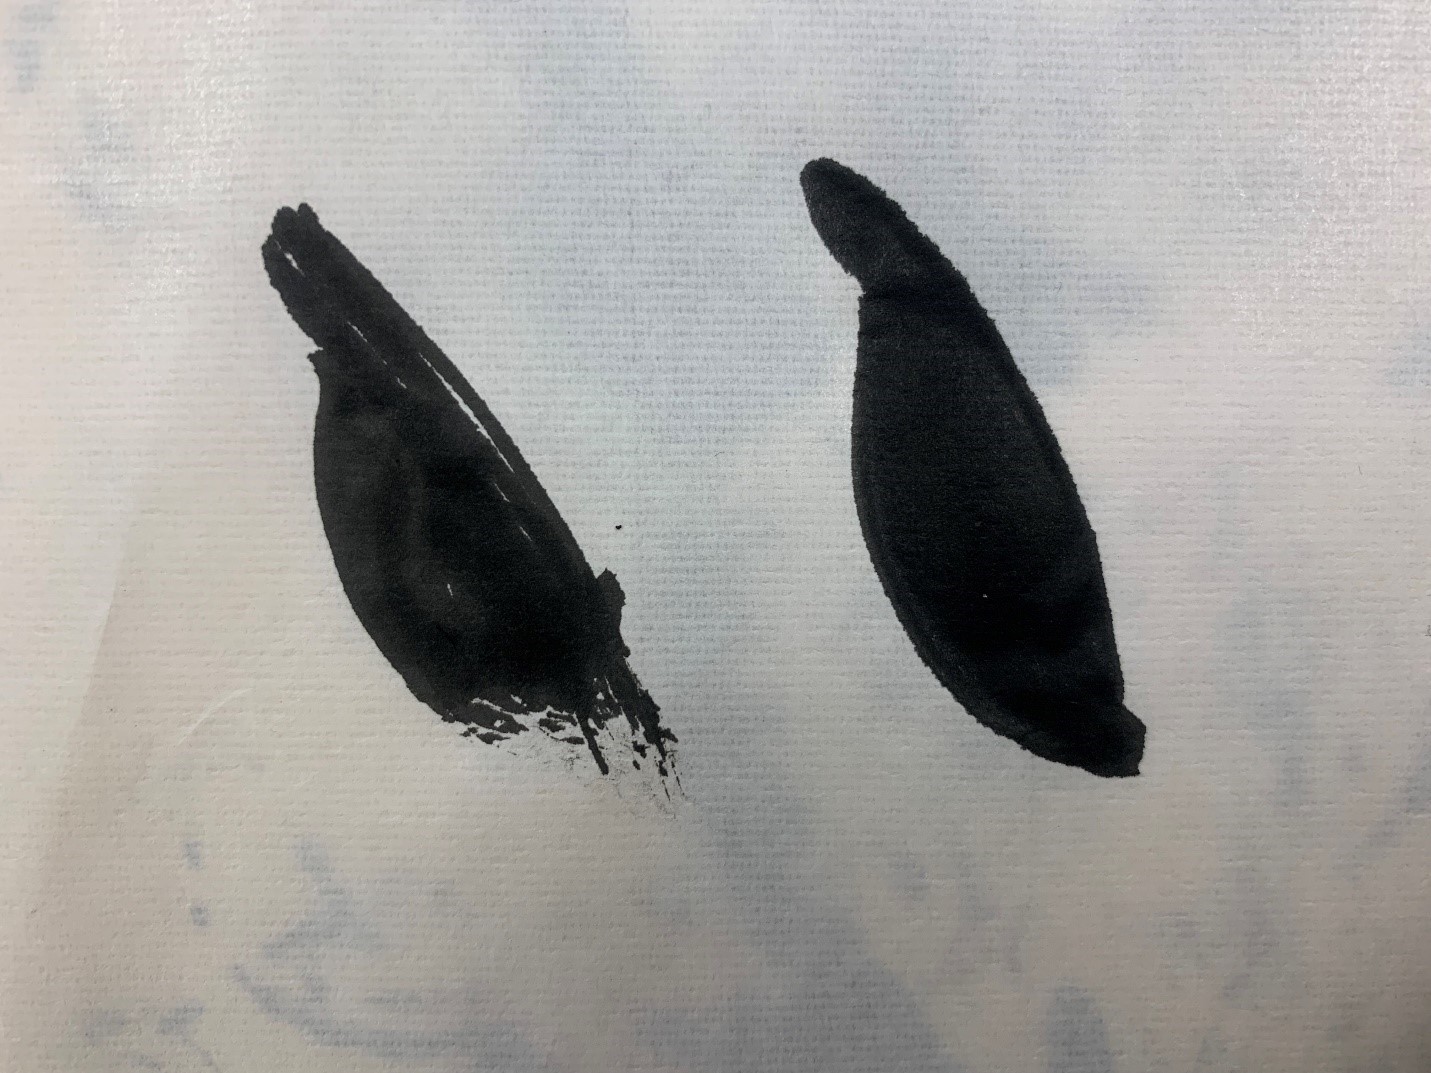
For writing Japanese calligraphy, I learned that Japanese calligraphy experts emphasize letting the brush do the work for you when making your brushstrokes. To demonstrate, I’m letting the brush glide across the paper at a 45 degree angle to press the ink down evenly. The biggest mistake I made starting my calligraphy work was pressing the brush tip down into the paper, resulting in uneven splotches and messy designs. As pictured below, I showed the differences between pressing the brush down (left) vs. gliding it across (right) your material. To ensure your brush strokes push ink into your material evenly, make sure to keep this in mind for your project and remember, practice makes perfect!
Writing and Finishing up the Final Touches
Once you practiced and have the brush stroke fundamentals down, you’re ready to go ahead and start writing your Japanese characters. What I like to do is have an image of what I’ll be writing pulled up for reference to visualize the brush stroke pattern. I’d also recommend starting with an easier Japanese character to write first and gradually build up the difficulty as your confidence grows and Japanese calligraphy skill improves.

Lastly, make sure to enjoy the process, Japanese calligraphy can be tricky so be sure to be patient with yourself. You’d be amazed at how much you can improve and as said before, practice makes perfect!

If you use our calligraphy kits and try making Japanese calligraphy for yourself, we’d love to see it by sharing it with us on the Ignite Community Discussion Board! Happy Making & Happy Writing!
