By Sydney Brink
Ignite has some incredible new maker books available for check-out to take home! One of our brand new books is Beginner’s Guide to Screen Printing by Erin Lacy. I was surprised to learn about different solutions to screen printing that I had never thought of before! I wanted to give the author’s idea about using embroidery hoops as silkscreen frames a try, and was super pleased to find how easy it was to do these prints.
Using Embroidery Hoops as Silkscreen Frames
To make your own, you’ll need:
- An embroidery hoop
- Scissors or a craft knife
- Masking tape
- Silkscreen fabric (old or new silkscreen monofilament, a silk scarf or even pantyhose would work!)
- Screenprinting ink
- Paper or fabric to print on
- Leaves, flowers and other flat things from outside
- Acetate
Making the Screen
Use an embroidery hoop and put it on your screen fabric of choice. Here, I chose to use old silkscreen fabric that had been replaced from a wooden screen frame because certain parts of the screen are blocked with dried ink. I put the hoop on a relatively clean area and cut out a large square.

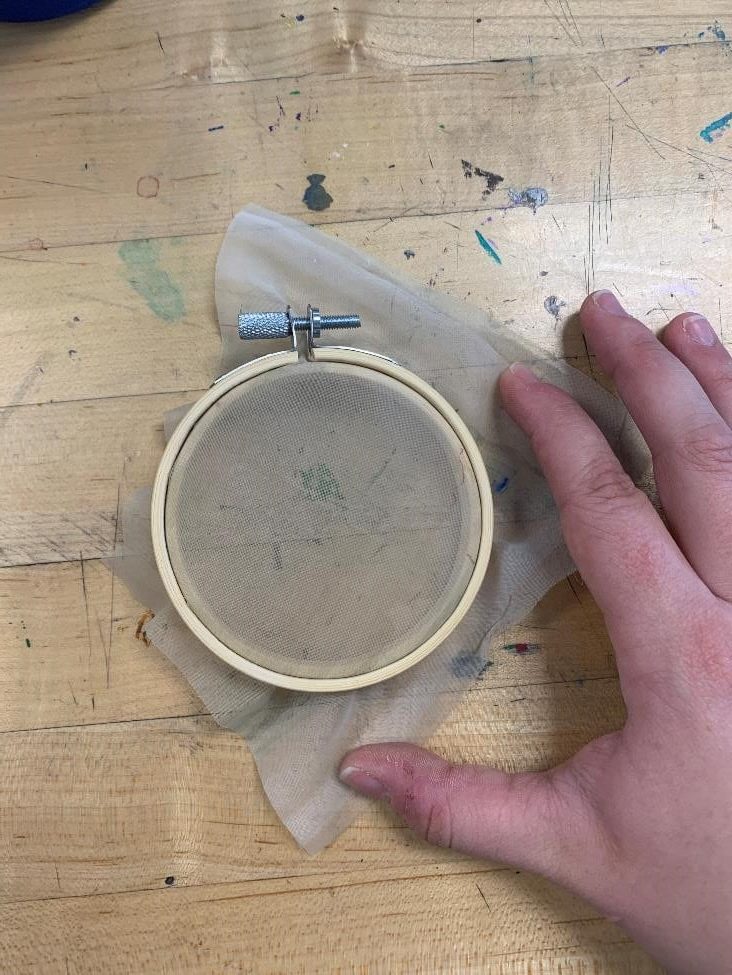
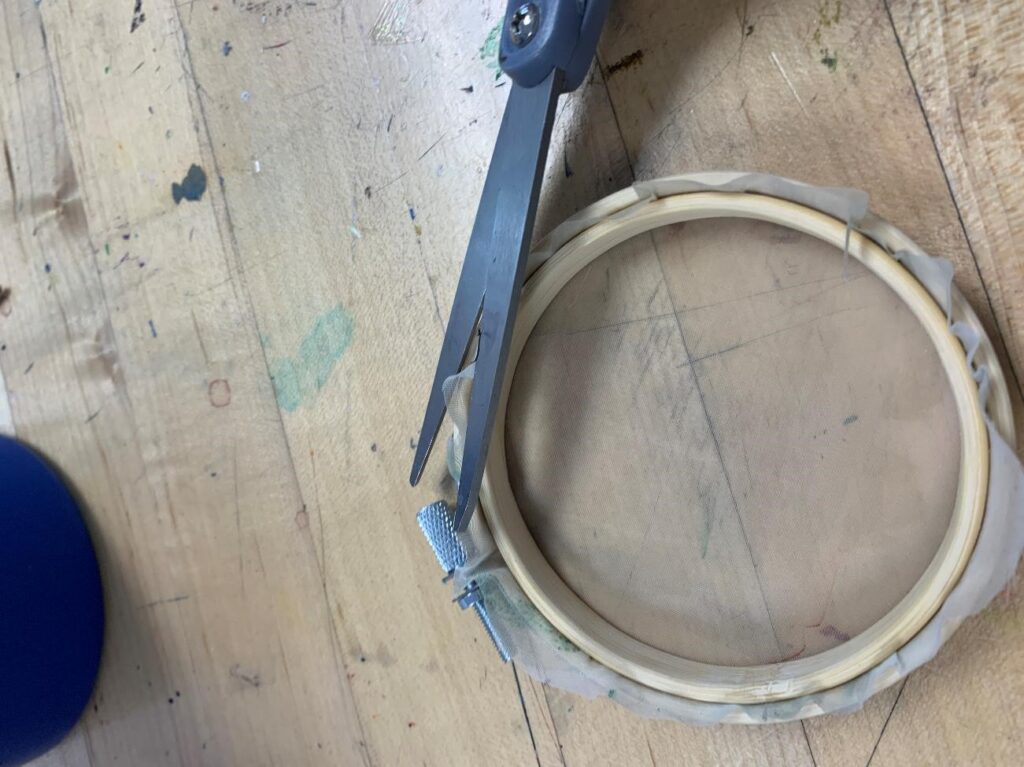
Make sure the mesh is pulled taut over the hoop after cutting it to size. It should be tight like a drumhead, and not have any rippling or wrinkles on the surface. After pulling it tight, cut off the excess fabric.
Making a Print with a Stencil
To make a stencil, you can draw something on a piece of paper, lay your transparency sheet or acetate over the top of it, and use a craft knife to cut it out. However, I saved time by cutting the design out of acetate with a Cricut, also available at Ignite. You can find tutorial videos about how to do make a project on the Cricut here.

Then tape the acetate stencil so it lays flat against the inside of the screen. Your stencil should be “behind” the hoop. The tape along the border will help ink not leak out around the outside of your stencil.
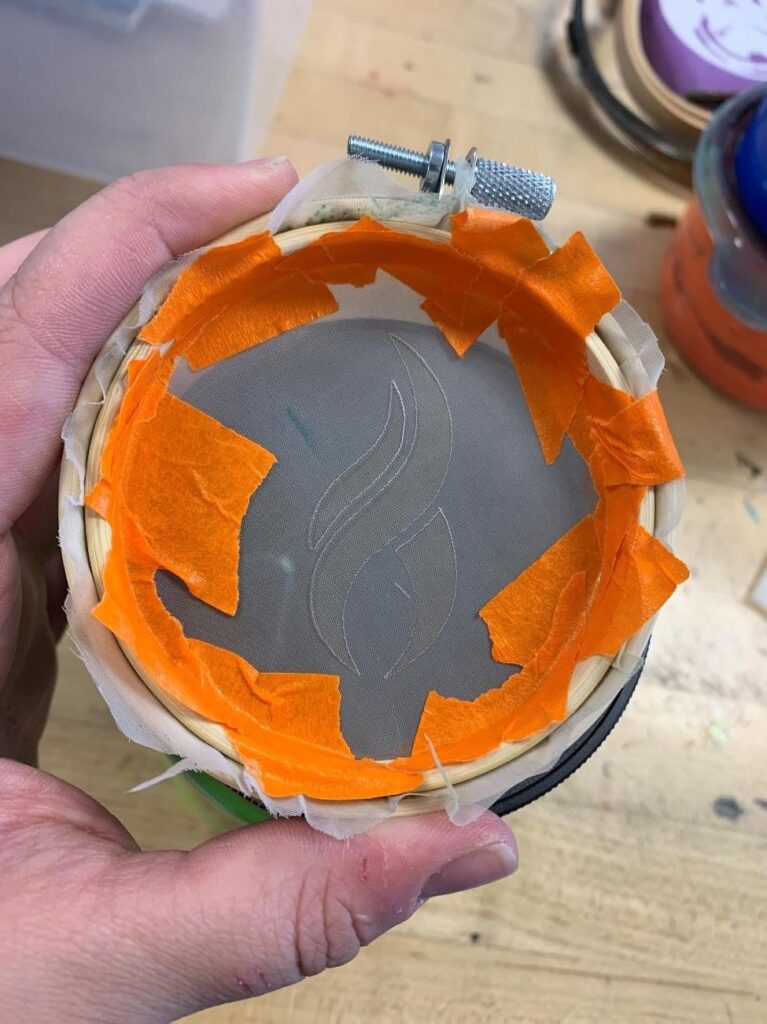
Then lay the hoop down flat on your paper or fabric that you intend to print on. The hoop should be facing down with the screen flush against your surface, which creates a kind of frame or bowl for the ink. Use a spoon or spatula to put your ink at the top of your frame.
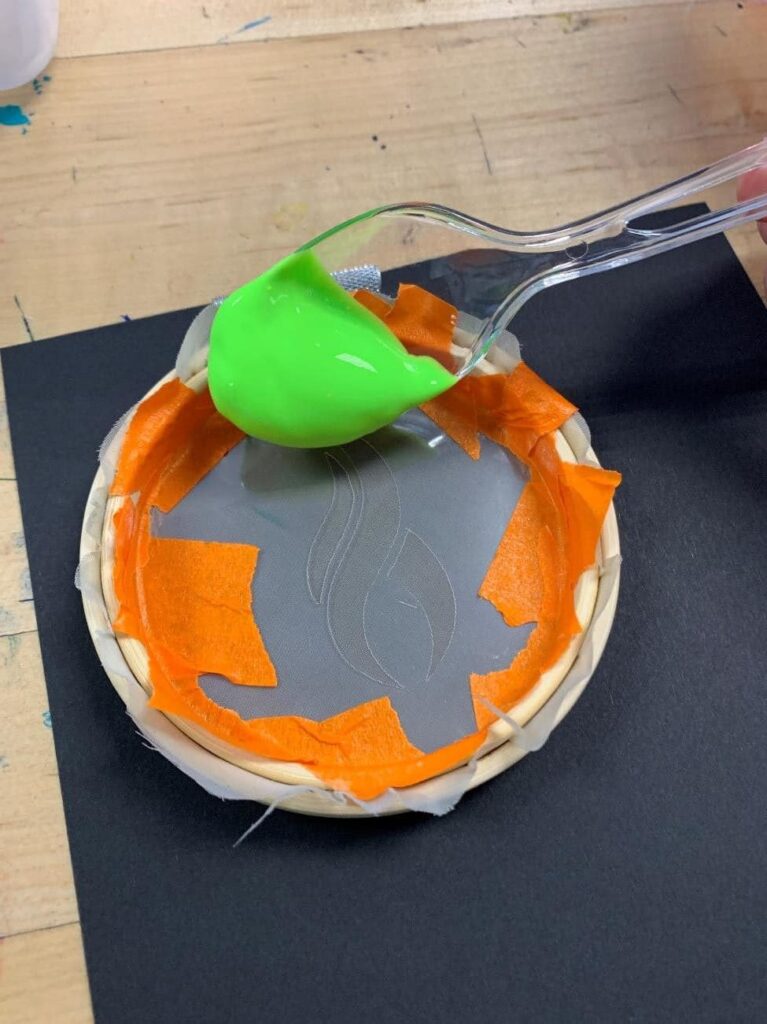
Use a squeegee, a piece of flat cardboard, or a sponge brush to pull the ink from top to bottom to cover your stencil. Hold your utensil at a 45 degree angle to get good coverage through the mesh.
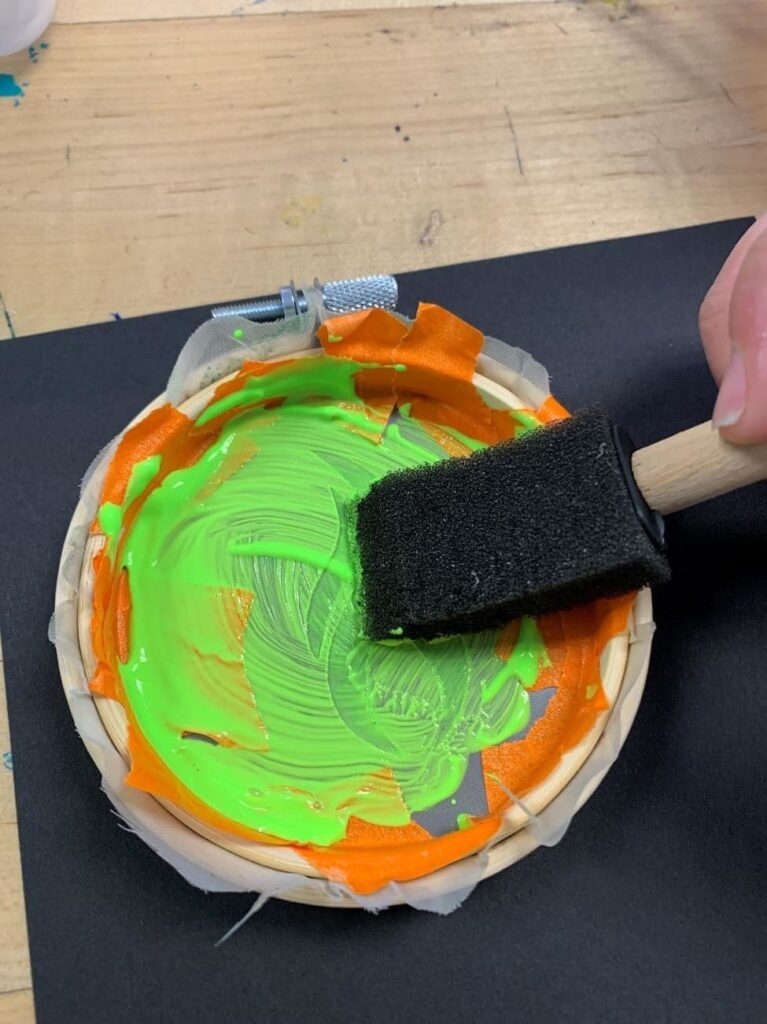
Pull the hoop away from the paper and reveal your print!
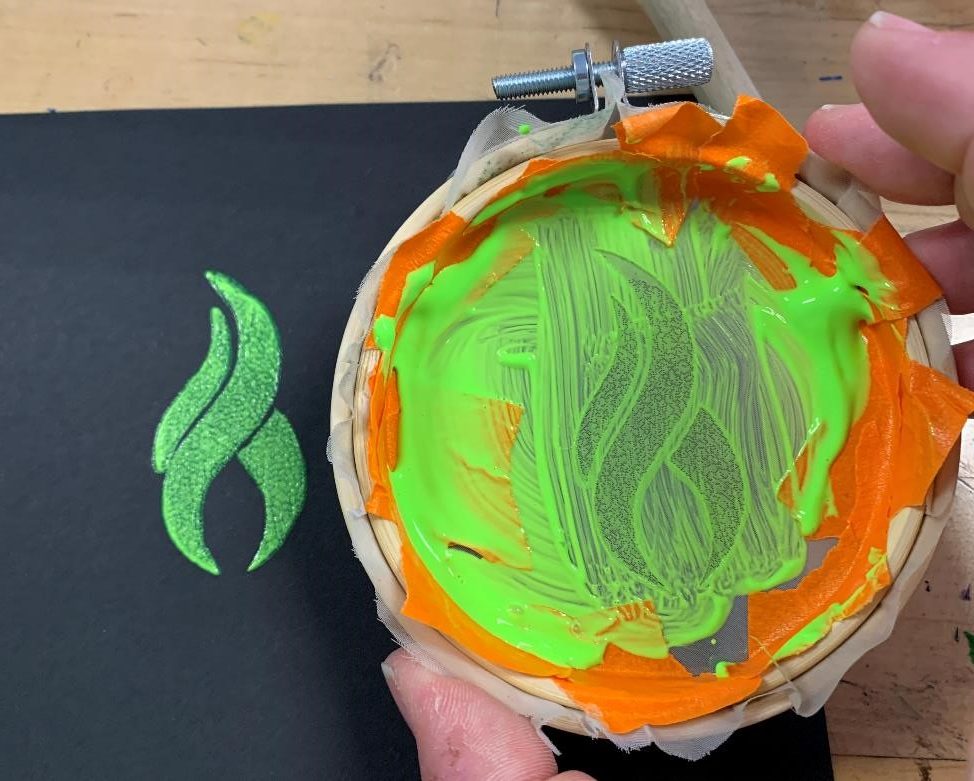
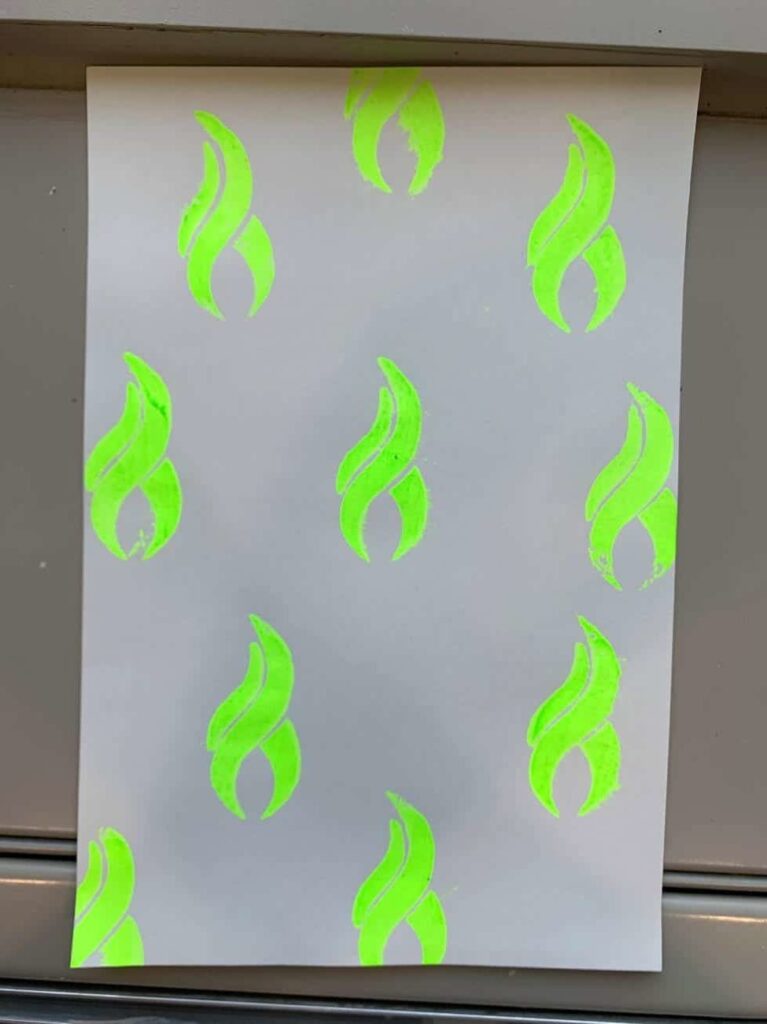
Making a Print with Found Objects
To do a found object print, or a resist print, you can find leaves, flowers or anything other flat object.

To keep ink from spilling out of the embroidery hoop when printing, line the inside border where the mesh meets the hoop with masking tape. Put your embroidery hoop down so that the mesh is facing the paper. The rim of your hoop should make a wall or bowl to keep the ink in. Then, use a spoon or spatula to put your screen printing ink on to the top of your mesh.
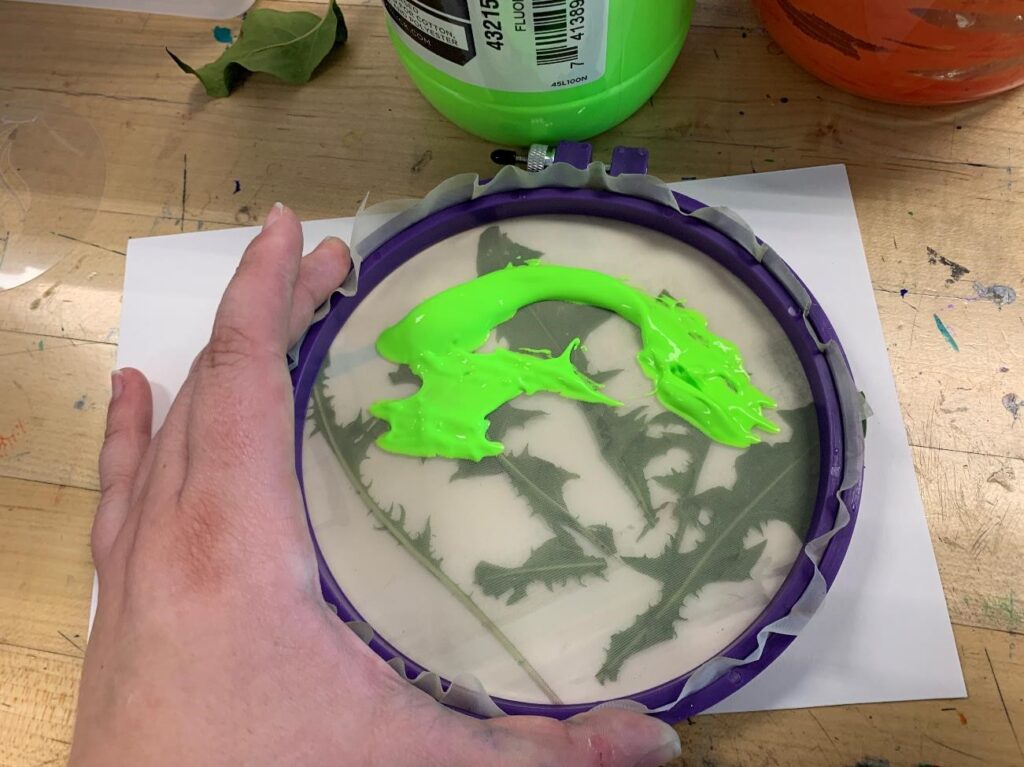
Grab a squeegee, a piece of flat cardboard, or a sponge brush and use this at a 45-degree angle to pull your ink down over the entirety of the screen. Pull your screen away and leave behind your silkscreen nature print!
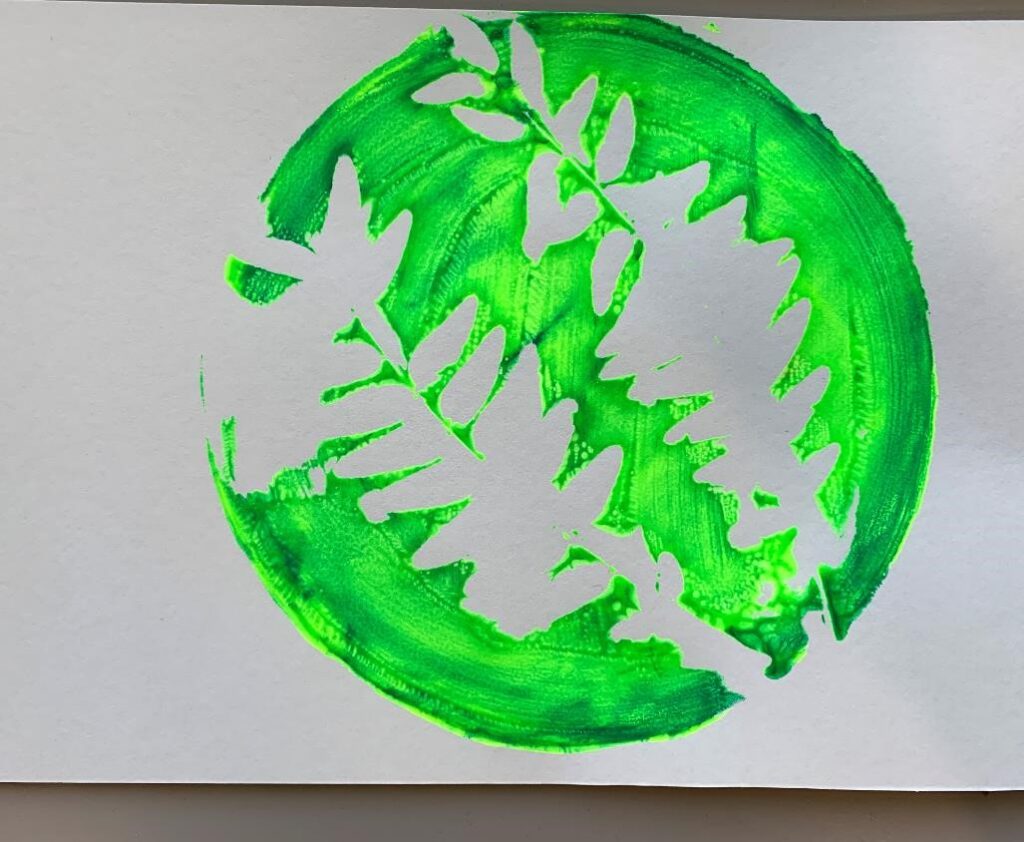
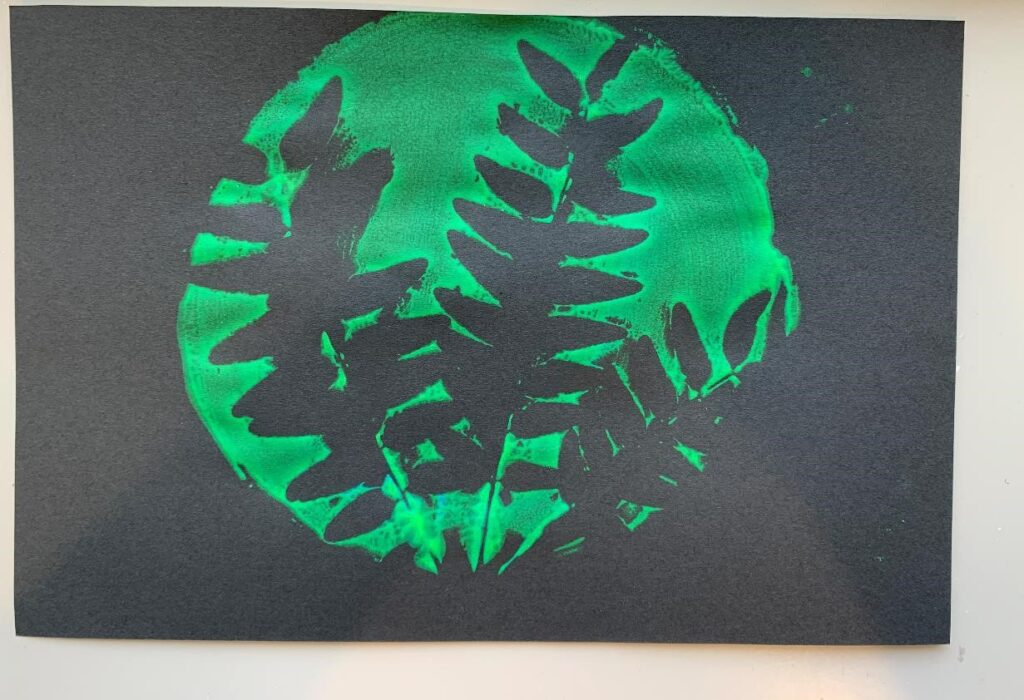
There are so many other fun screen printing projects in this book that I can’t wait to try! Stop by Ignite to get more inspiration from our Maker Books and kit libraries. Happy making!

