by Tyler Elks
Recently I have fallen head over heels in love with embroidery. I was introduced to this artform via social media and decided to use the embroidery kit here at Ignite Studio! It didn’t take too long to get the hang of, and I started wanting to branch out even more. Eventually I stumbled upon a lovely idea while meandering through the internet, and I just had to try it: embroidery on canvas. It’s pretty easy even if you haven’t done any embroidery before! Read on for four easy steps to embroidering on canvas.
Supplies for Embroidery on Canvas
Here is what you’ll need to get started:
- A Canvas
- Embroidery Needle
- Paint and paintbrush (optional)
- Embroidery Floss
Pro-tip:
All of the above listed supplies, except the canvas, are available for free in Ignite Studio.
Four Steps to Embroidering on Canvas
FIRST: Pick a Design
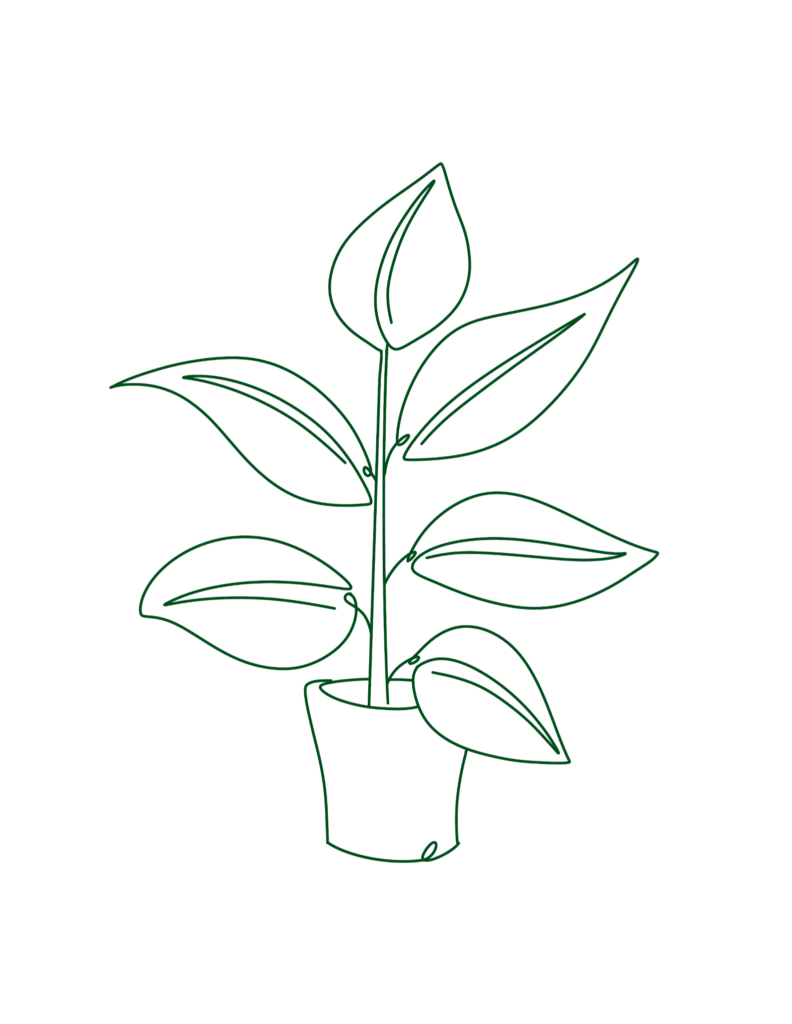
You’ll want to pick out what design you’ll be embroidering into your canvas. For example, here’s the design I used for the first photo:

Pro-tip:
Simple line art designs work the best for this type of embroidery.
SECOND: Paint Your Canvas
Once that’s done you’ll go ahead and paint whatever you want onto the canvas. You can paint a small portion of the canvas or the whole thing, but it’s not necessary to put paint on the canvas at all if you don’t want to!
Pro-tip:
Make sure the paint is dry before moving onto the next step.
THIRD: Poke Holes in Your Canvas
After the paint has dried, place your paper onto the canvas, making sure the design is the size that you want it to be.
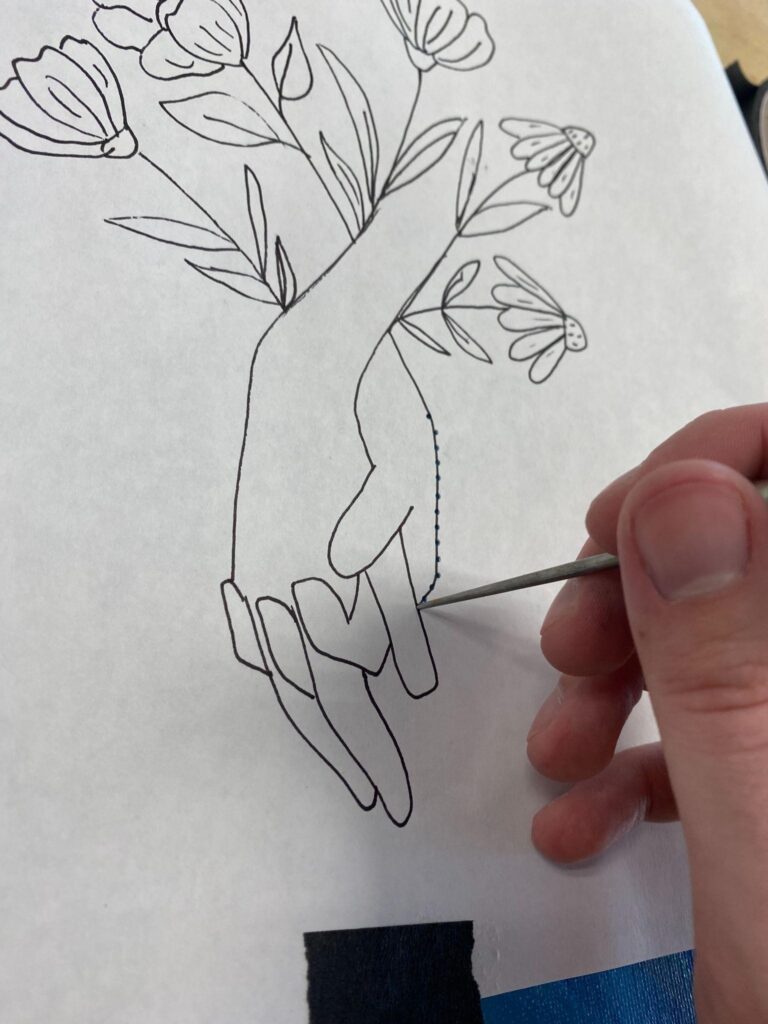
Then, using painter’s tape to secure the canvas, use the embroidery needle or a small awl to poke evenly spaced holes all along the lines of the drawing. Make sure to poke through the paper as well as the canvas since this is where your needle will go through later! Pre-poking the holes into the canvas makes it a lot easier to embroider.

Once you’ve done that, remove the tape and paper.
Pro-tip:
Don’t throw away your paper! Instead, place it to the side so that you can look at it for reference later.
FOURTH: Embroider!
Now you can place the embroidery floss through the needle and start embroidering! You can use any stitch you want, technically, but I suggest you use a back stitch or a running stitch. Here are some resources to get you started on basic embroidery stitches:
Pro-Tips:
Make sure to go through the back for the first hole, that way the end of the thread doesn’t ruin the look of your art piece
Make a knot at the very end of your floss so that it won’t go through the canvas and you can tug your stitches a little tighter.
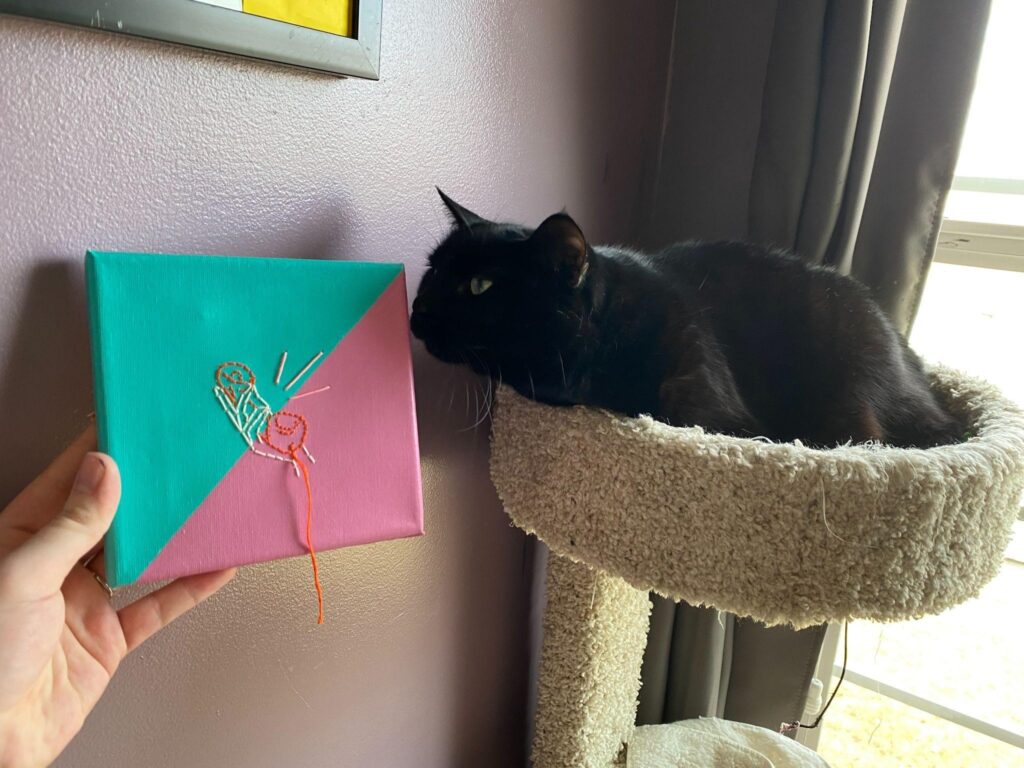
Use different colored floss for any area of the line that goes over a different color (as pictured below).
This is a really easy, simple way to make some very fun and stylish decorations. I urge you to try this yourself, I’m sure you’ll be pleased with the results! Check out Ignite’s Embroidery Kit to get started with this relaxing art form. Happy Making!

This project is cat approved.


