By Garen Robie
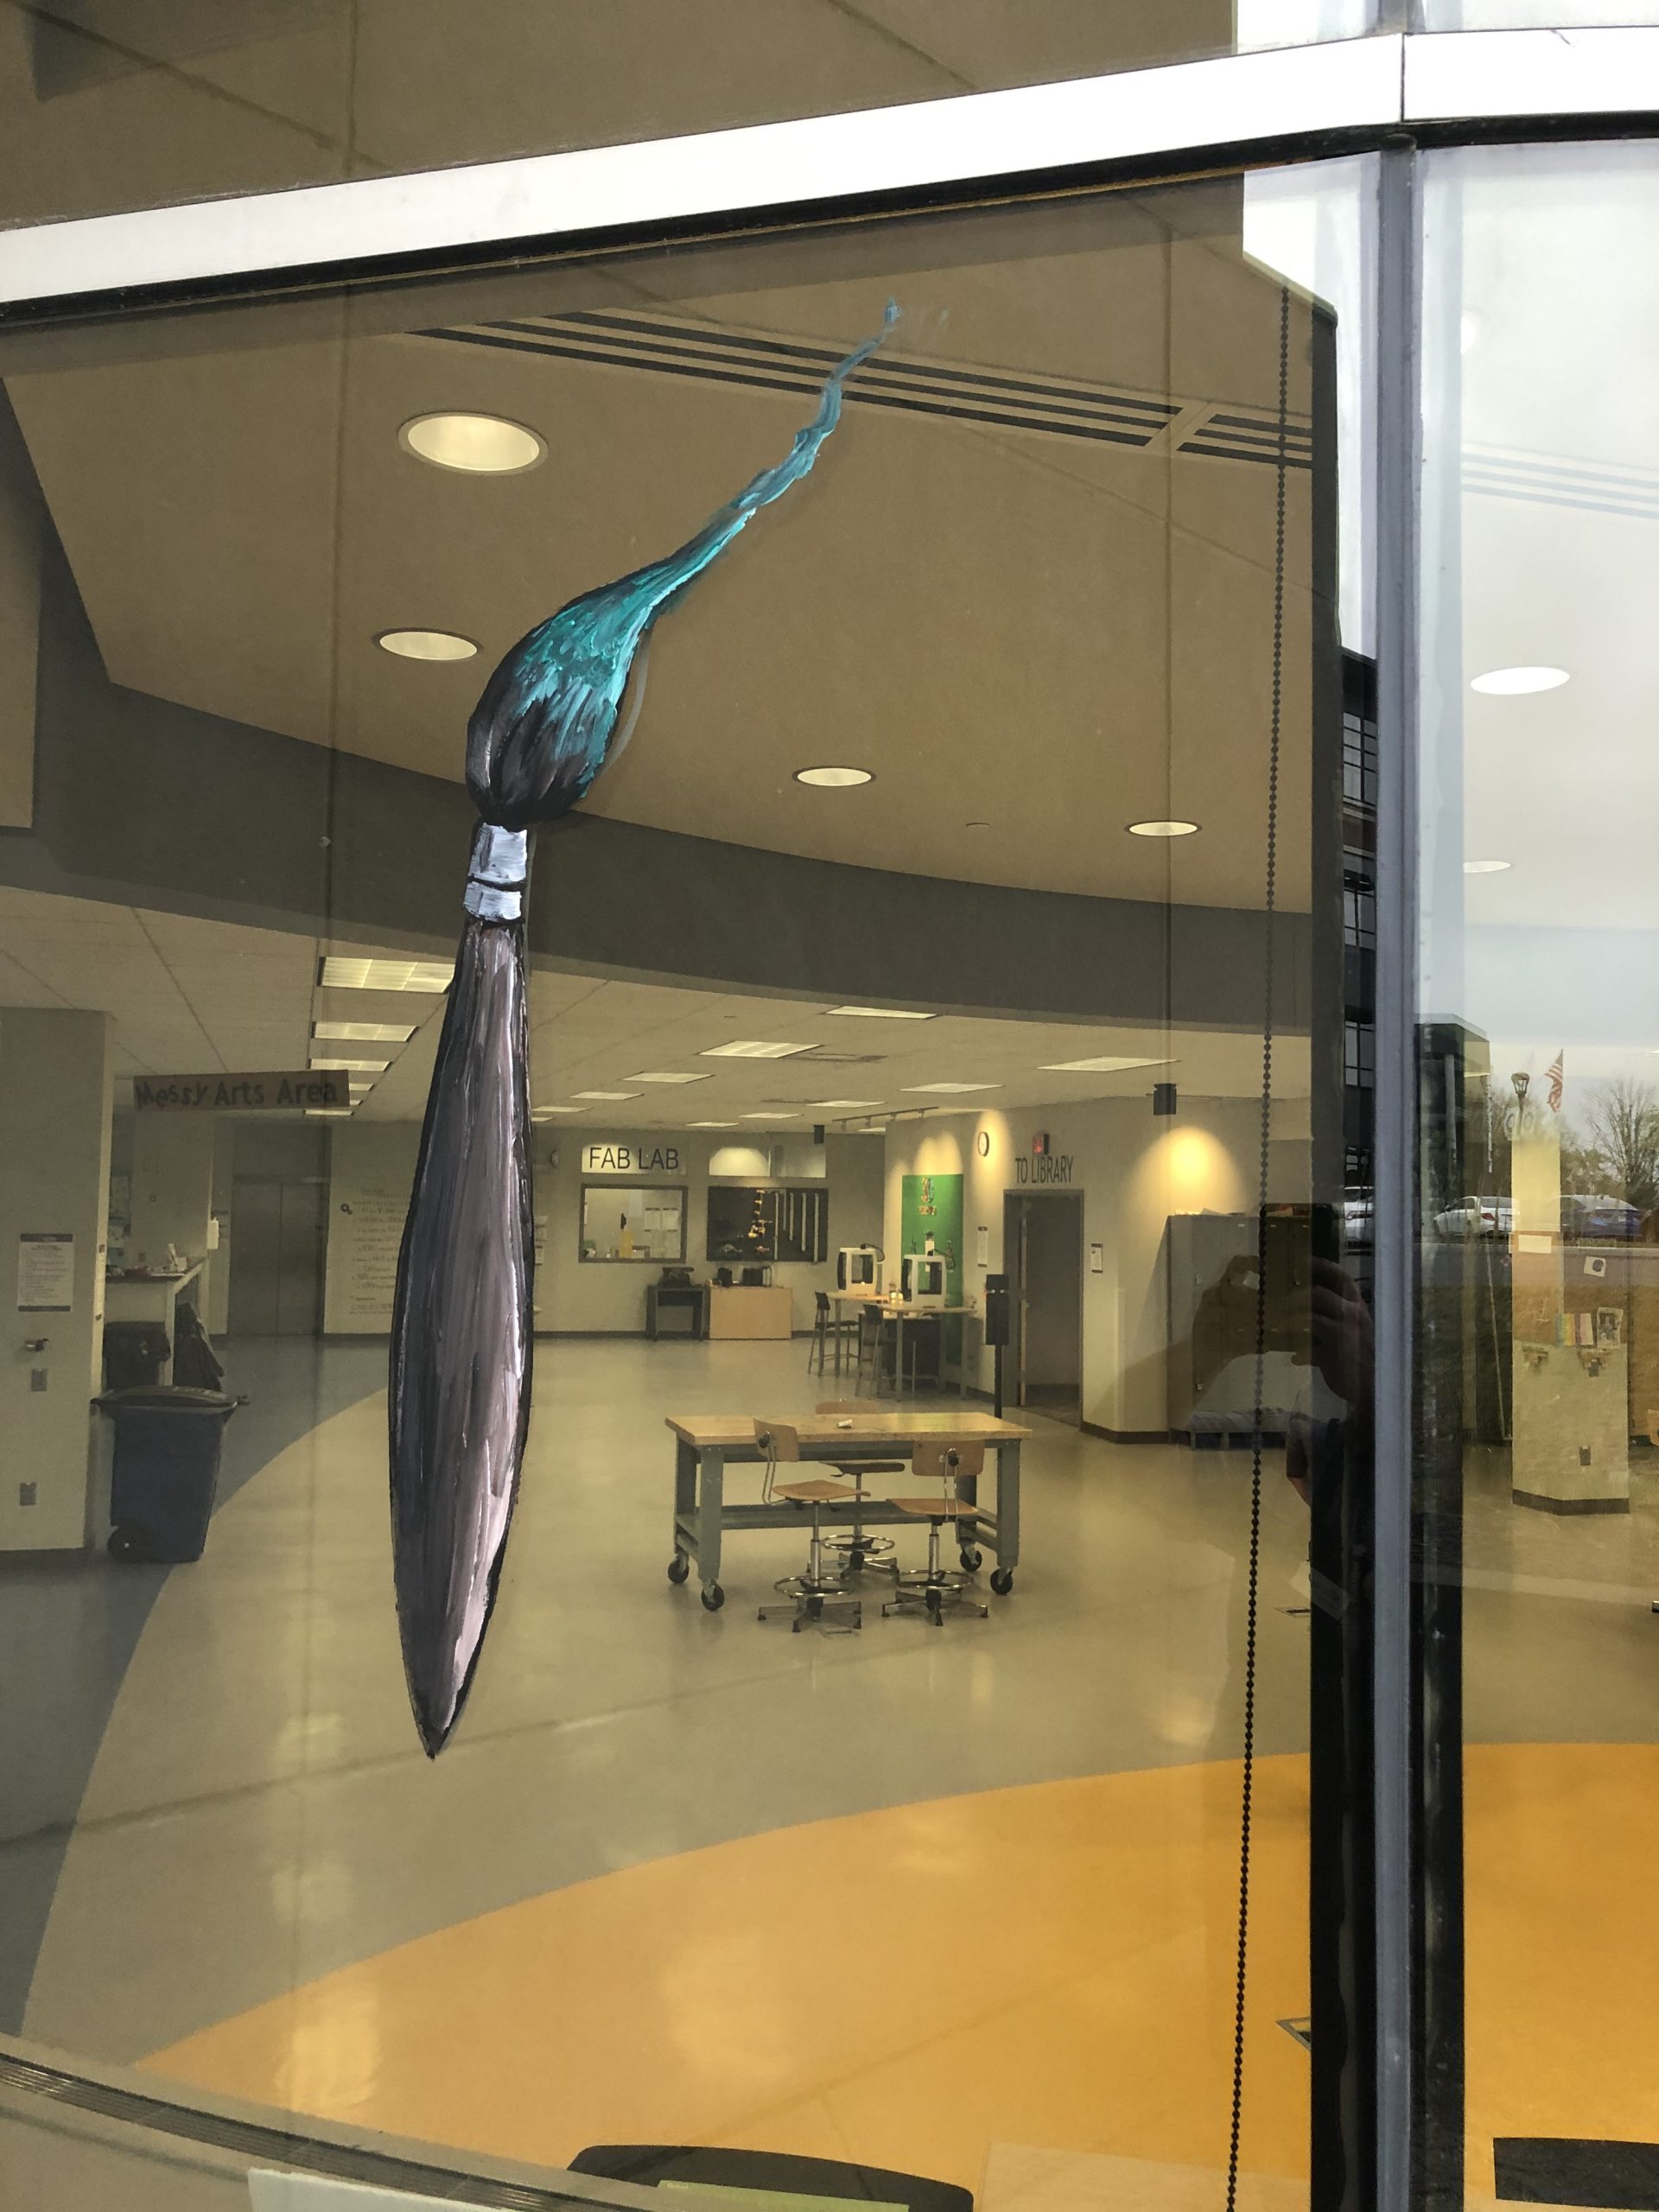
Swinging into the Holiday Season, most everyone’s creative decorating gears are turning. One simple, but fun, decorating option is window paintings. Sure, this technique is often more utilized by storefronts and businesses, but who says you can’t put your own spin on it for your home?
In this post I’ll be detailing some various tricks and techniques to help you get your image just right.
Paint
First, you may be wondering what sort of paint to use.
There are many options:
- Chalk markers that are used on coffee-house menu boards work very well on glass.
- You can also purchase paint markers made specifically for glass; however, those tend to be limited in color choices.
- Another option is to apply tempera or acrylic paint with a brush. This route gives you more color mixing options and the ability to more broadly apply paint to your window. You can also go back in with window paint/chalk markers to apply details and line work.
Using a Vinyl Cut Stencil
Free painting without a pattern or guide may be difficult for those who are not well practiced artists. An easy way to set up your window is to create a stencil that will go on the inside of the window to act as a guide or template for your paint application on the outside. You can always print an image on paper and tape it to the inside of your window, or you can come to Ignite and use our Cricut or Vinyl Cutter to create an adhesive vinyl applique. If you haven’t been certified on the Vinyl Cutter yet, good news! We have our certification courses online now. For the Cricut, you’ll have to create an online profile. Cricut has plenty of online tutorials to get you started.
Tip: When you cut your vinyl, remember to “mirror” the outline so that it will be seen correctly from the outside.

After painting you can feel free to remove the template from the back of your window, or if you’d like, you can leave it on to add an opaque layer backing your painted image.
Clean Up
When removing vinyl, make sure to peel slowly so as to not leave any sticky residue. If there is some buildup left after taking it down, you can scrape it off with a spatula or razor blade. Goo Be Gone or a similar product can make this easier as well. You can also use this technique to remove the paint from the front of your window once the moment for your themed decoration has passed.
We’re actually using this very technique in Ignite to create a painted sign in our semi-circle window bay. Each staff member designed a creative variant of a letter in Ignite, and using these images, we created vector files to create a vinyl cut stencil. Come check out our work in person at Ignite Studio!
Thanks so much for reading! Share your projects with us on the Ignite Community Discussion Board on Facebook and using the #HamiltonEastPublicLibrary hashtag on Instagram.


