by Alyssa Dyar
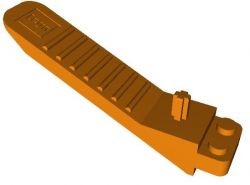
The 3D printers were always intimidating to me when I first started working at Ignite Studio. I wasn’t sure of their artistic functionality, so I mostly stayed away from them. That is until we lost a Lego Brick Separator from the Lego wall. We made a replacement with the 3D printer. I then realized these machines are great tool makers! Recently we’ve had people come in and make track pieces for Hot Wheels and even pieces for attachments to personal laser engravers.

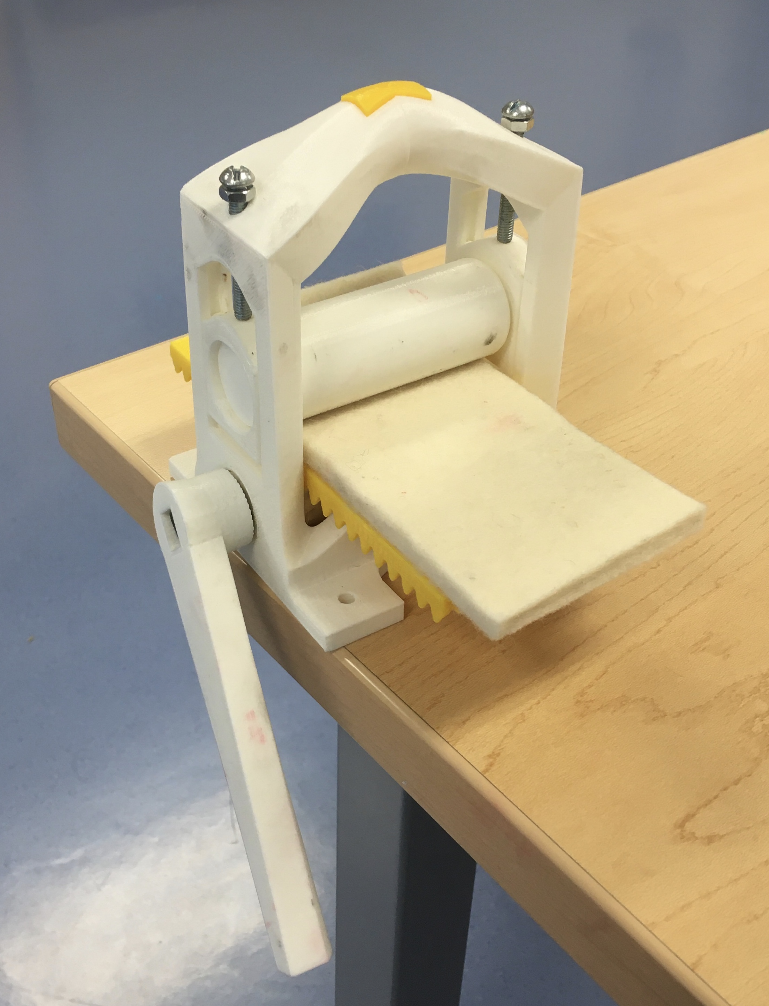
3D Printed Mini Printing Press
Around the same time that the Lego piece went missing, I read an article in Make Magazine about building a mini-printing press with a 3D printer. I was very excited to give this a try. The mini-press was designed by Martin Schneider and Dominik Schmitz, who also started the Open Press Project. They have written up instructions and tips for successful 3D printing of the press, which can be found here.
It was designed with the intention of making printmaking more accessible and affordable to a wider population. The idea has flourished into a world-wide community of printmakers who share successes, tips, and discoveries for successful prints (both 3D and 2D).
The files can be found on Thingiverse and are published under a Creative Commons Attribution-NonCommercial License.
The press requires a couple of parts that are not 3D printed: two M5 bolts and nuts (about 50mm long) and a felt printing mat. I had to reprint a couple of parts with size adjustments and sand a couple of pieces. After I did that, it worked out great! Once you have your press, you’ll need materials to make prints. For my first few attempts I used watercolor paper, intaglio ink, and the inside of a juice box to make the plate (tip from Open Press Project).


If you’d like to make your own 3D printed mini printing press, get certified to use our 3D printers. You can also take advantage of supplies in our various printmaking kits in our Kit Library to help you get started. Happy making!


